Workshop
things made, fixed, rebuilt or rescued
Click the project titles below to view each one.
Projects
A Jewellery Box for My Daughter
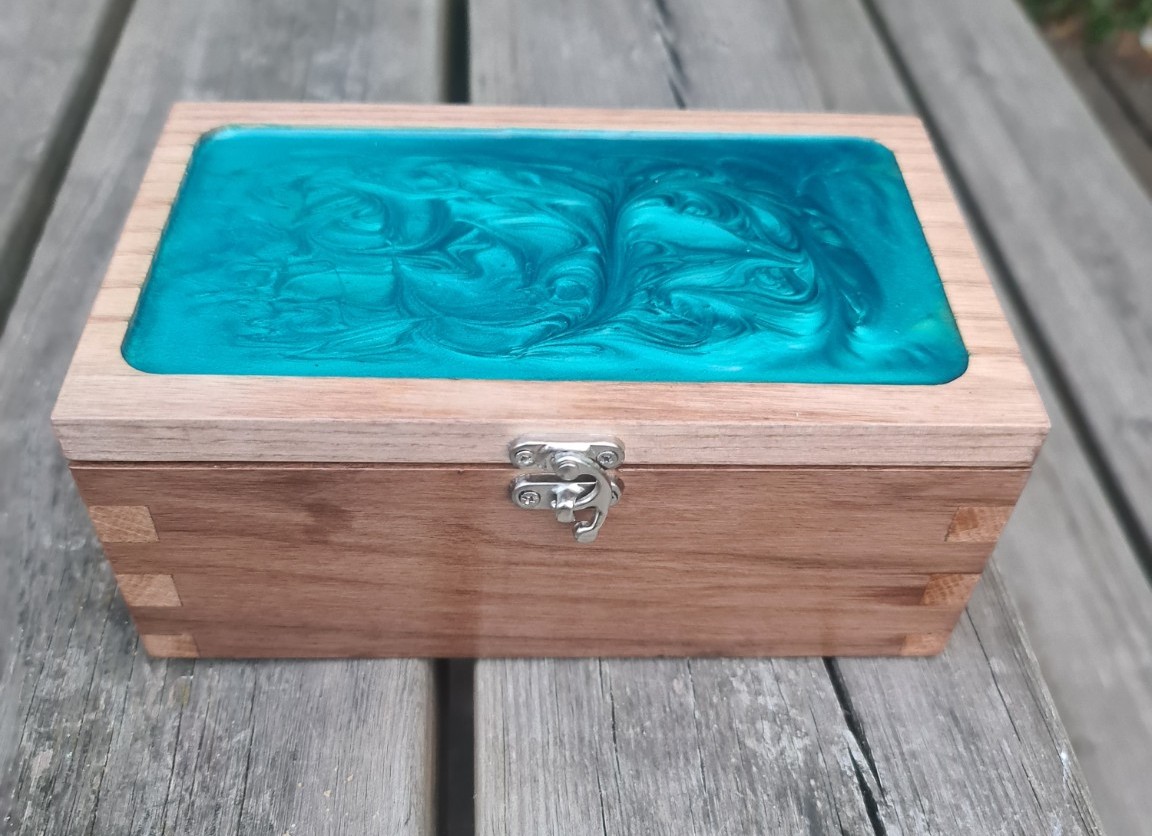
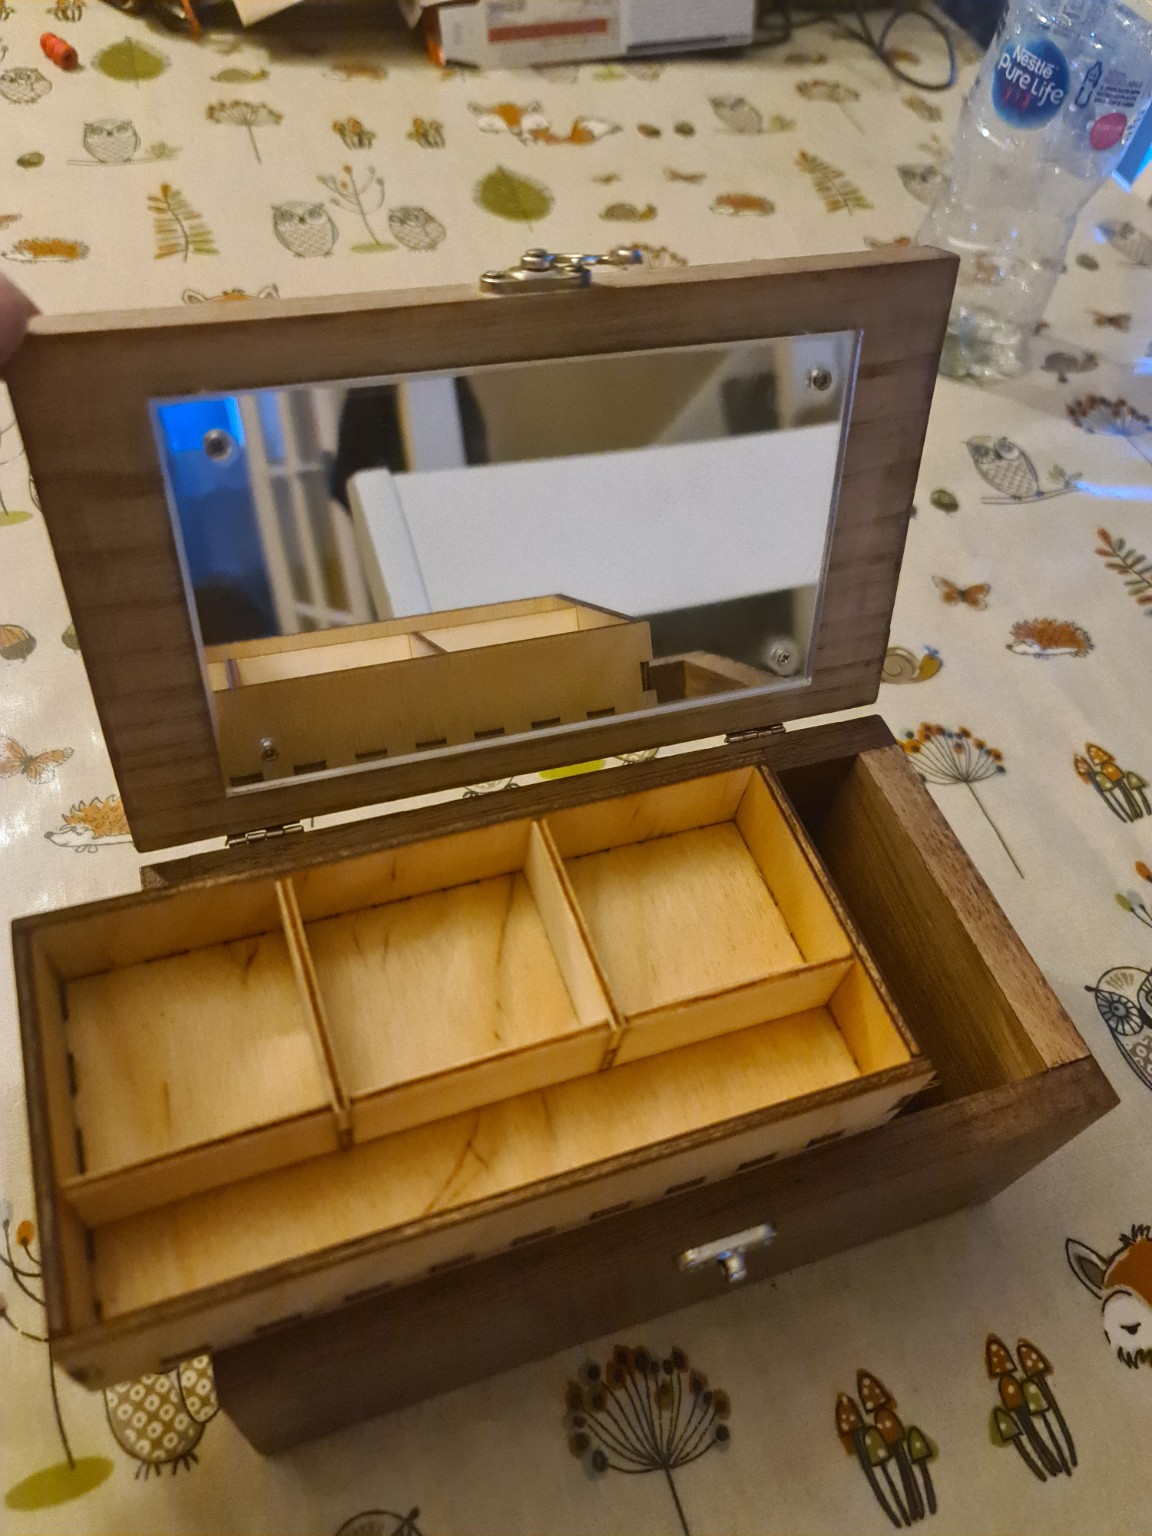
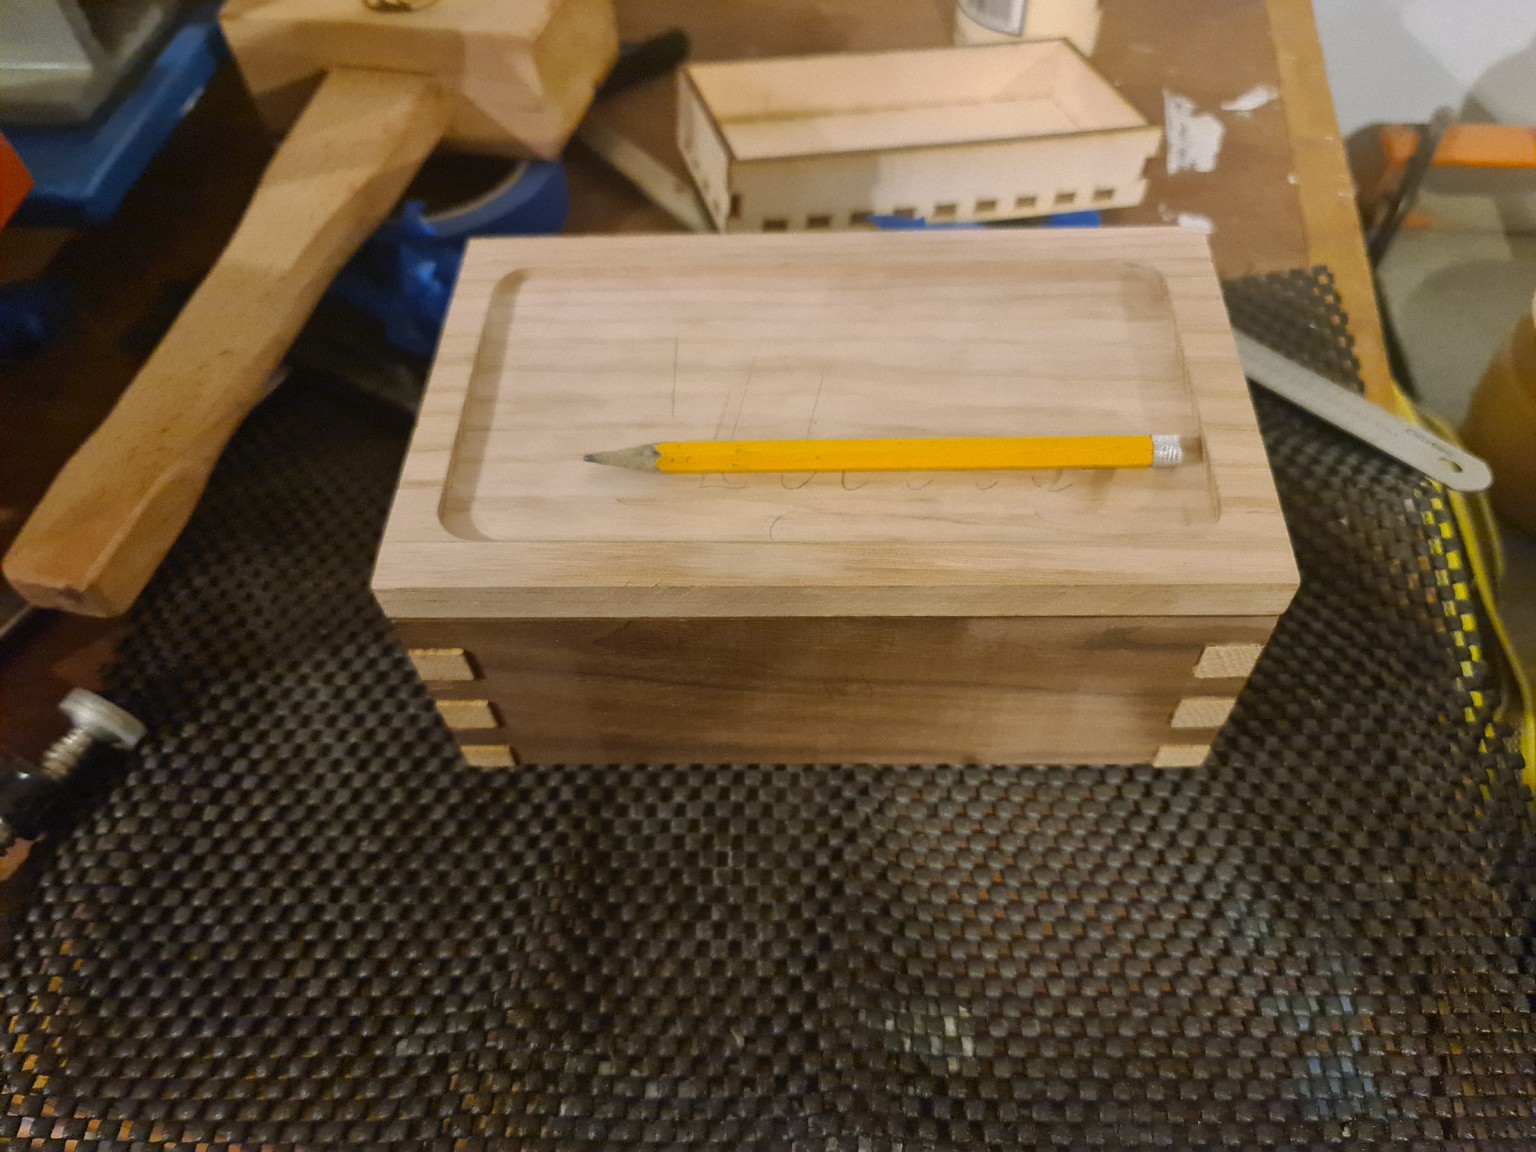
An oak and walnut finger-joint jewellery box with lift-out internal trays, a mirror fitted into the lid and a poured resin panel top.
The finished box
Construction
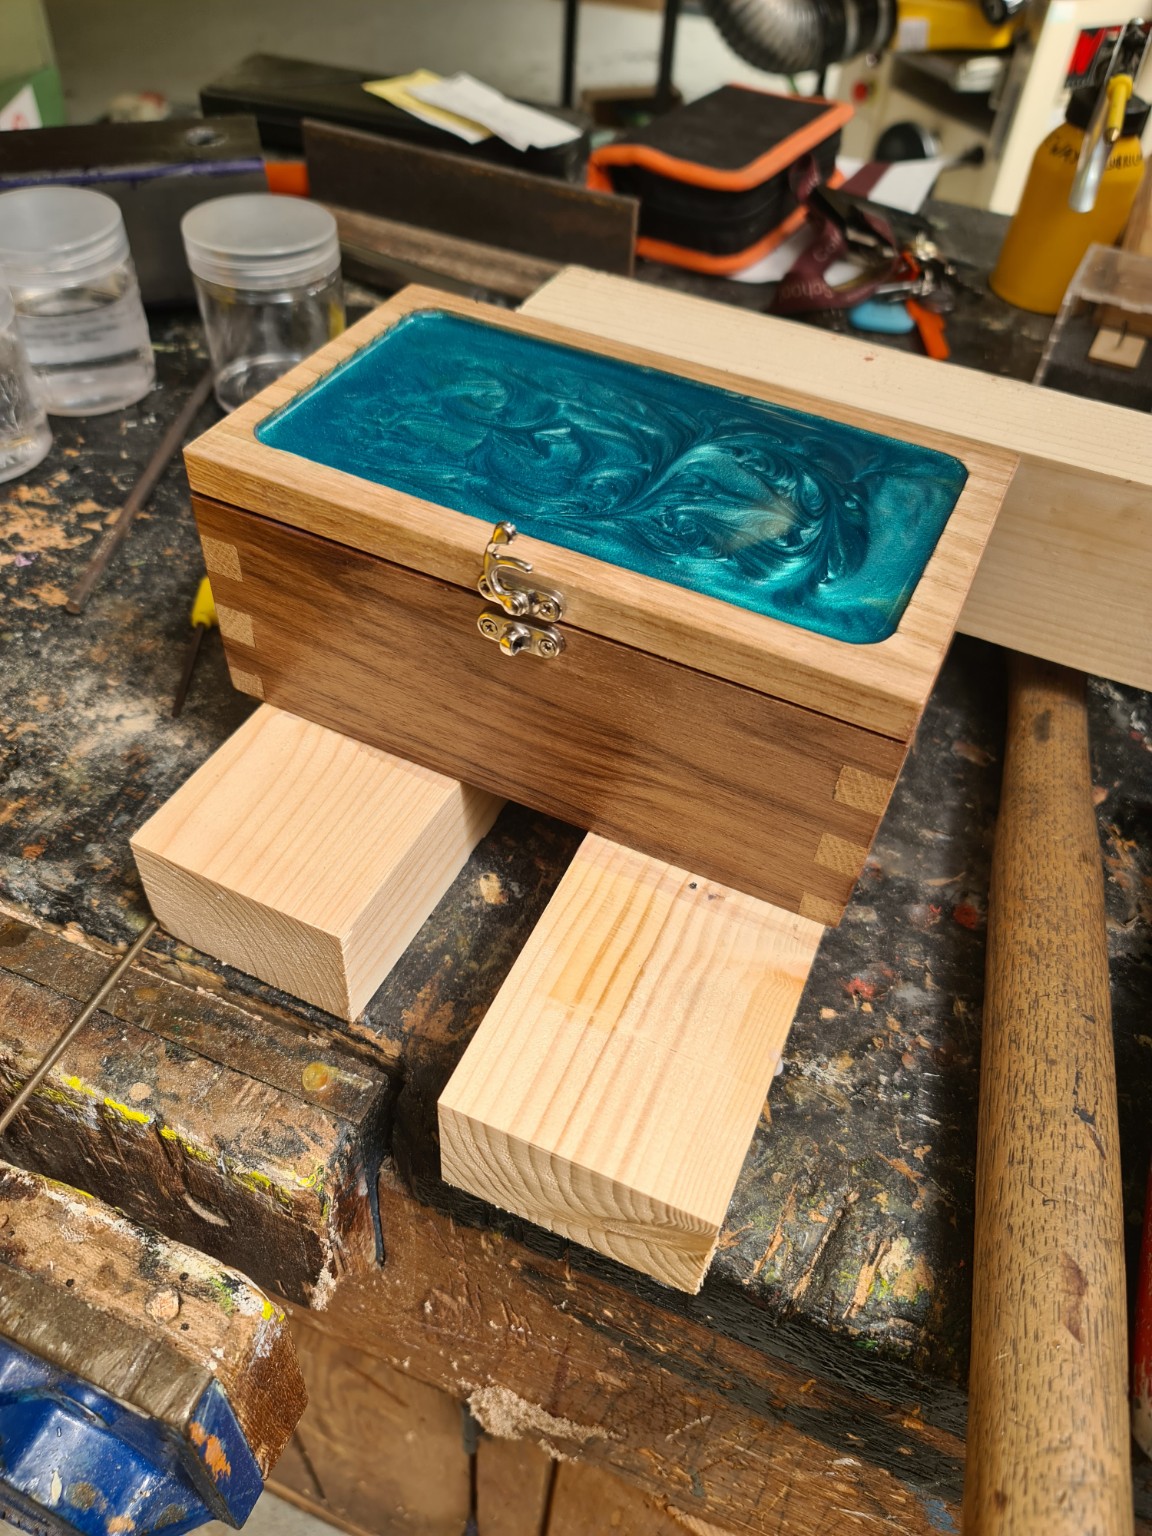
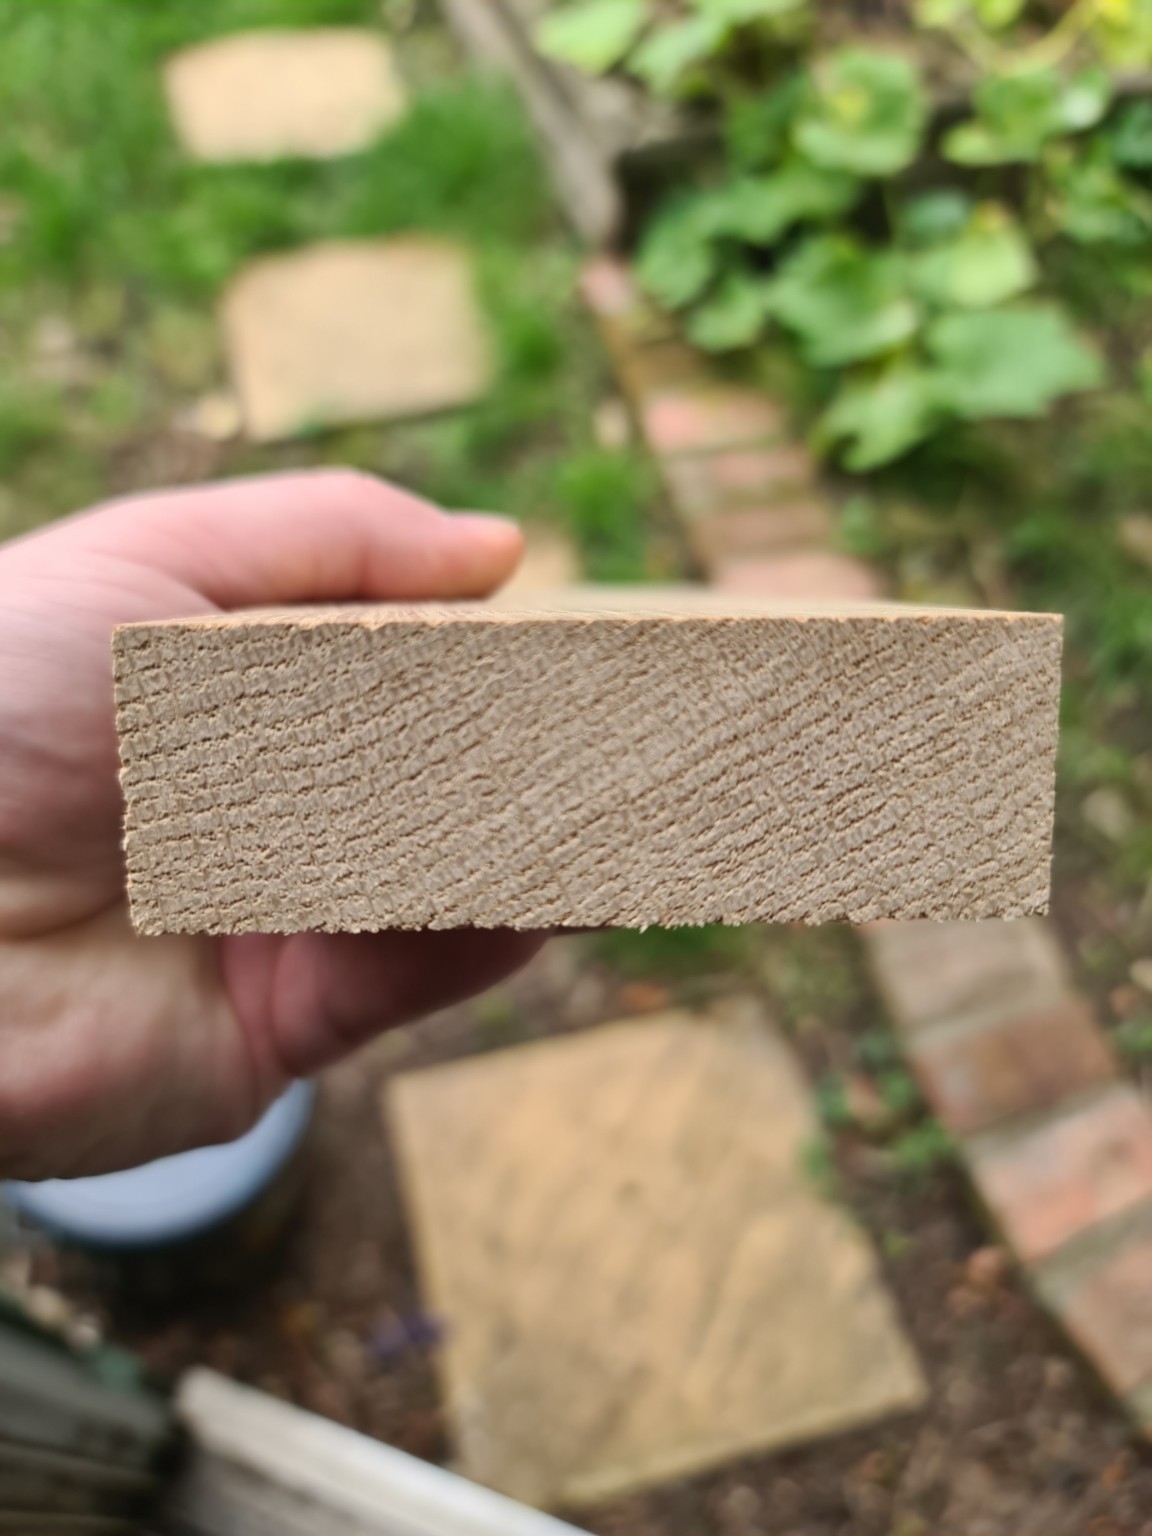
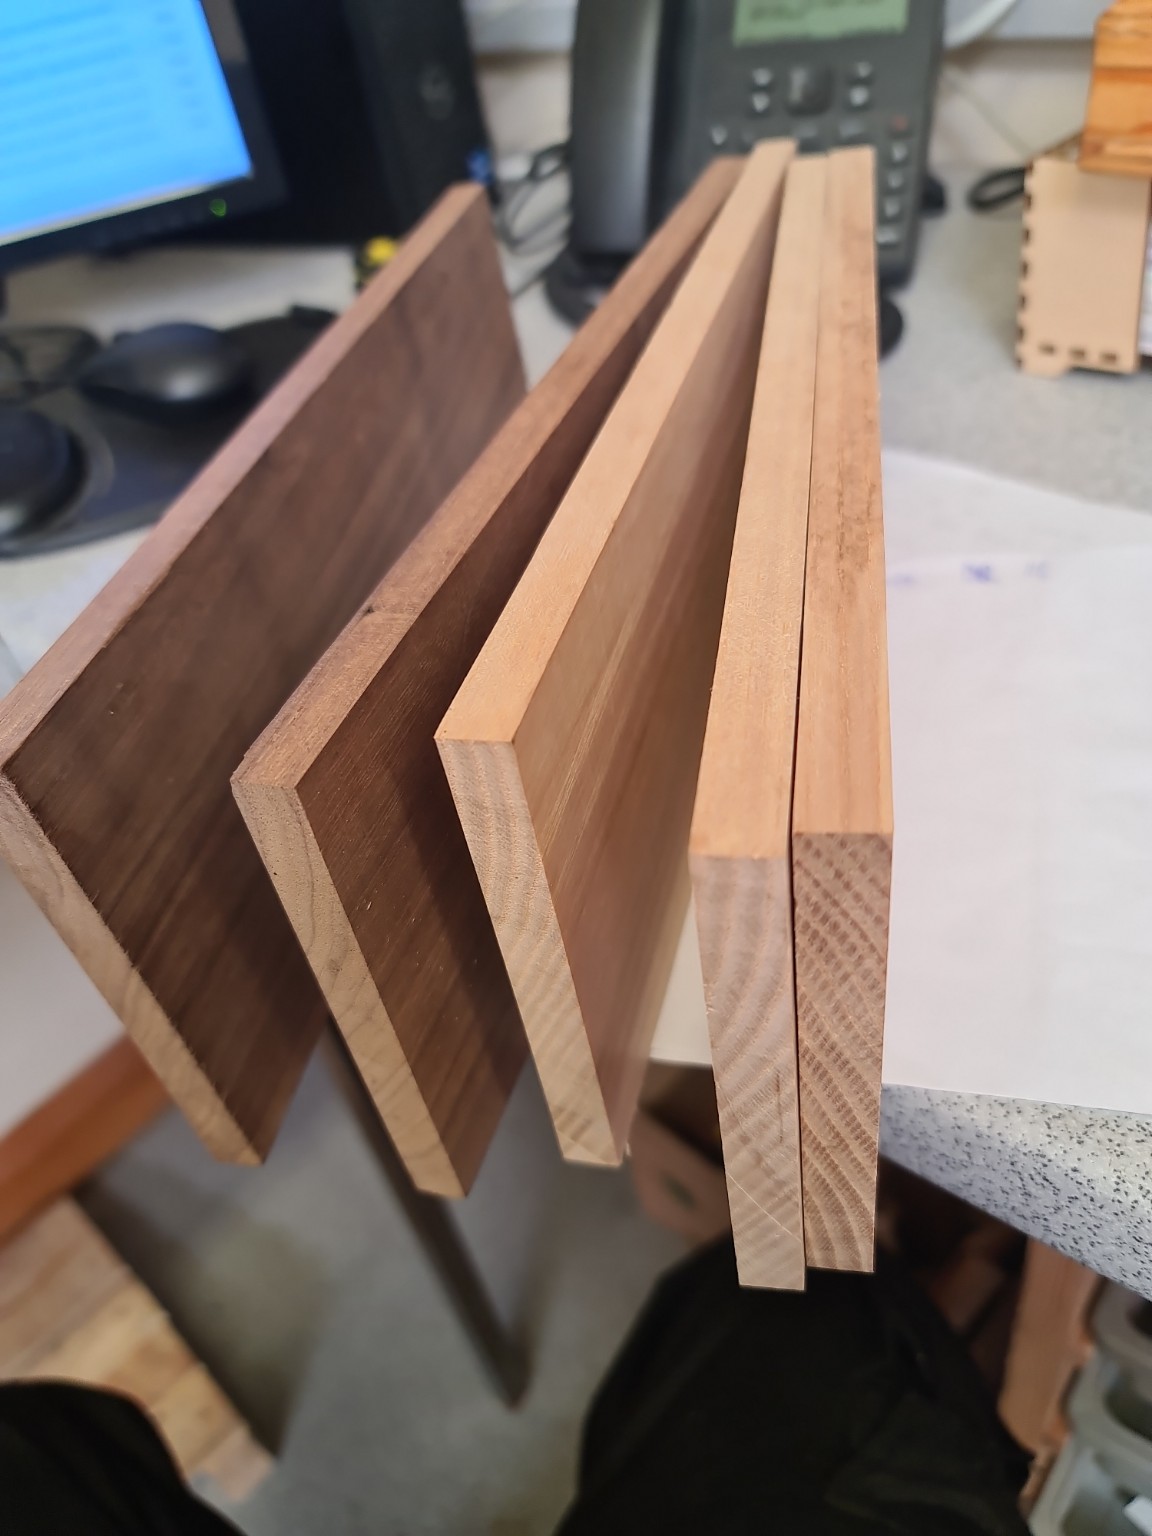
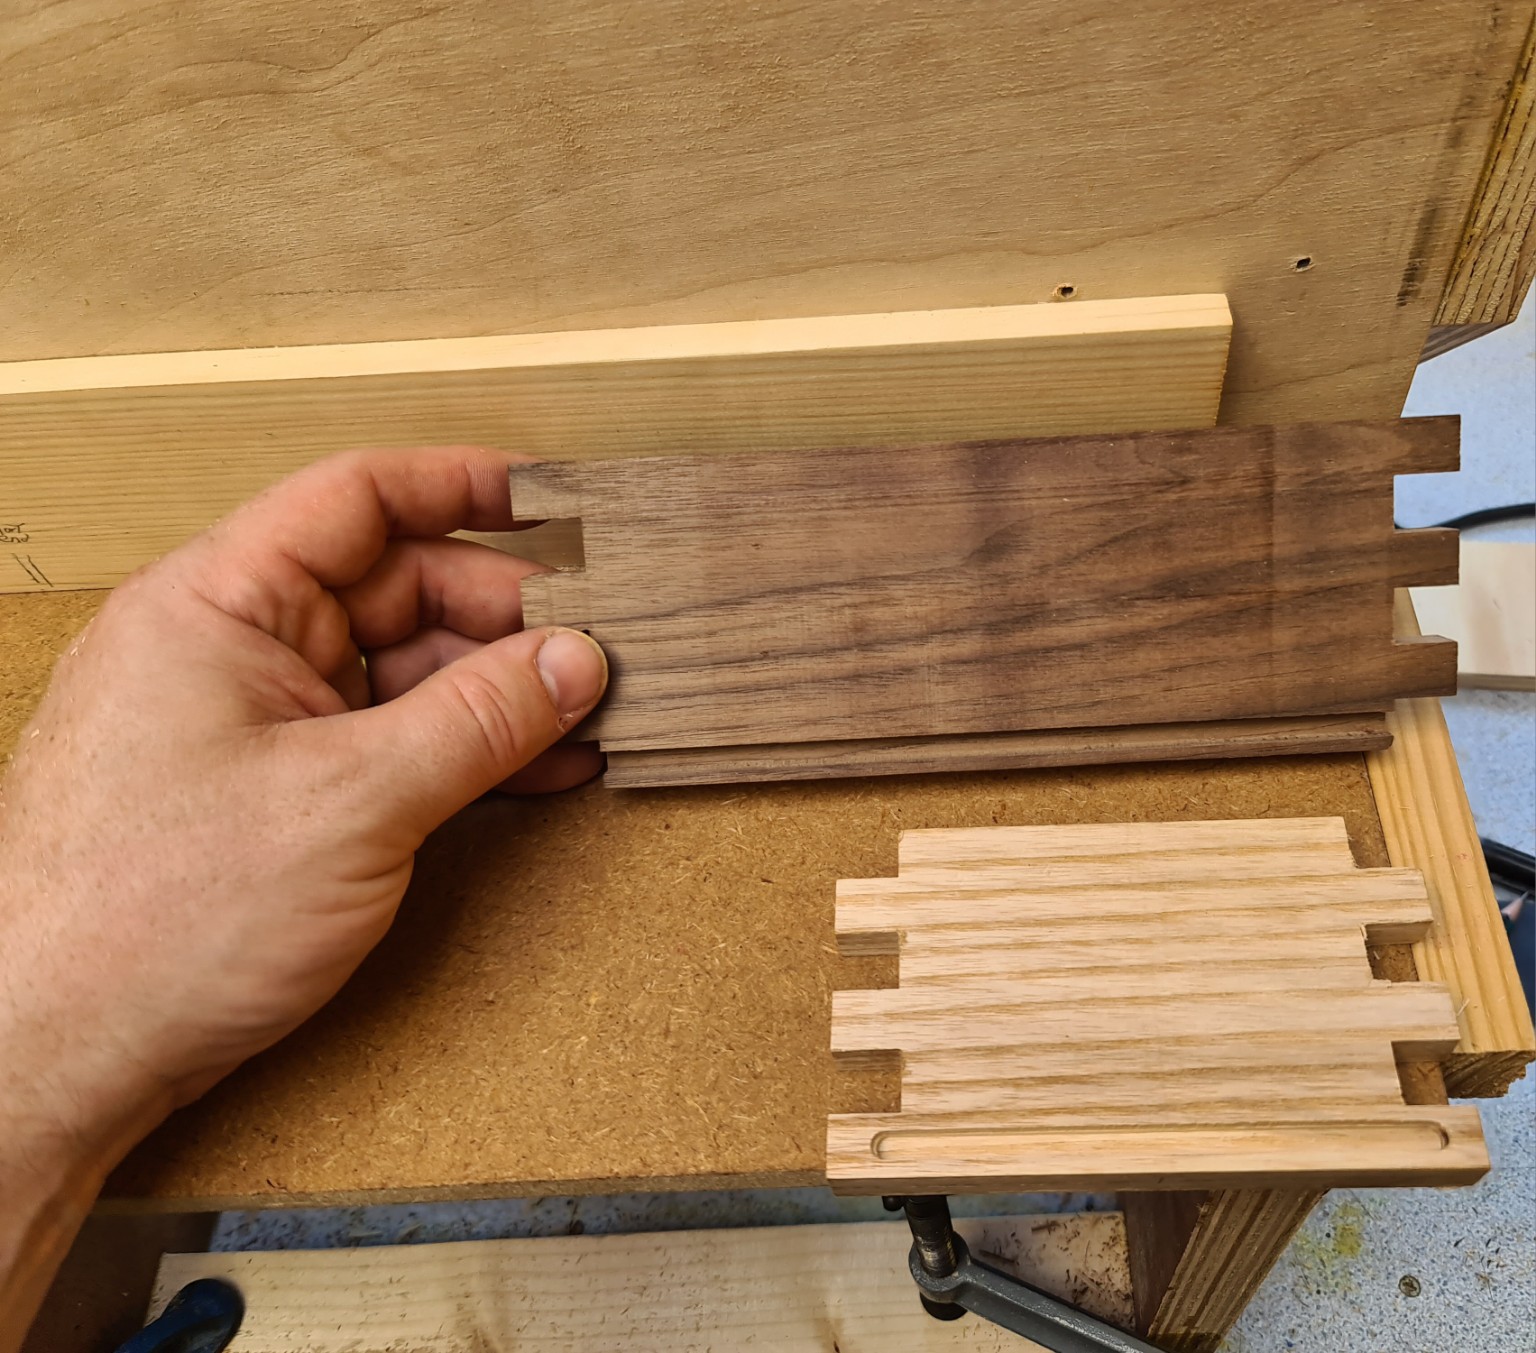
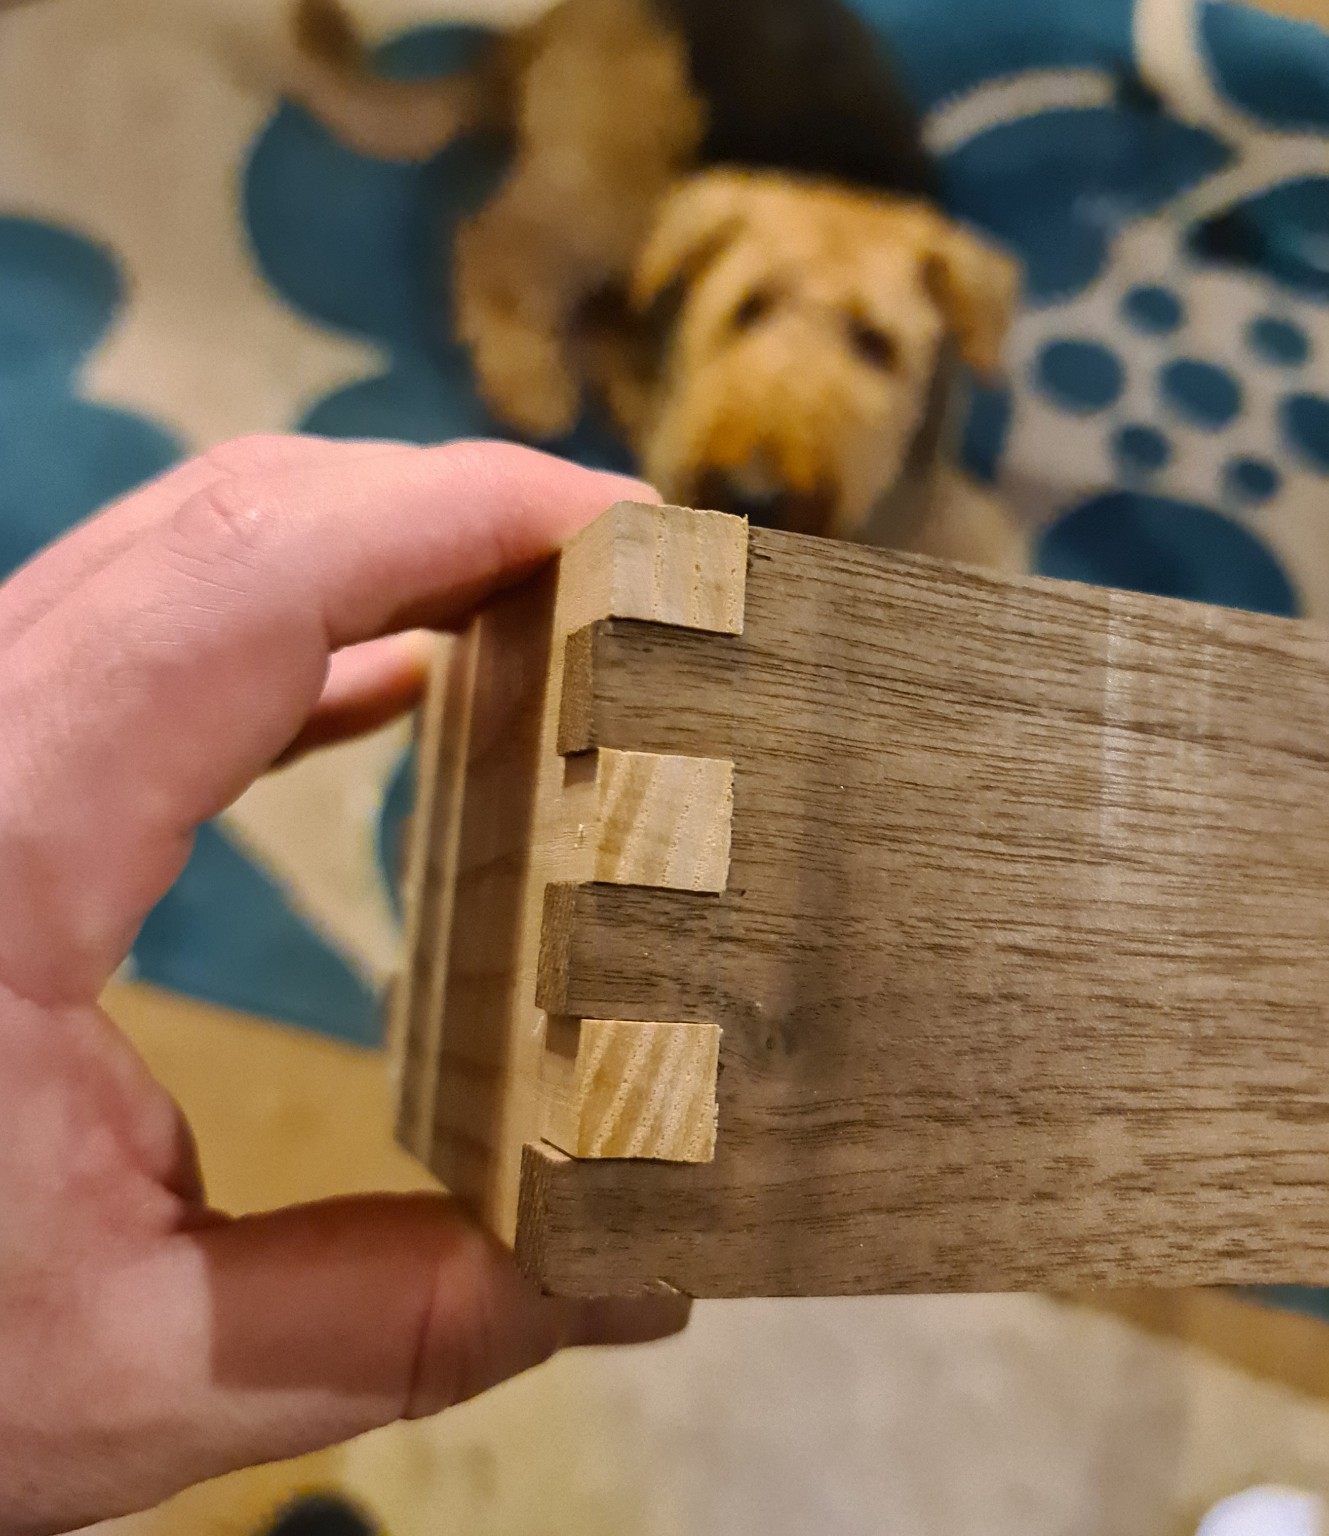
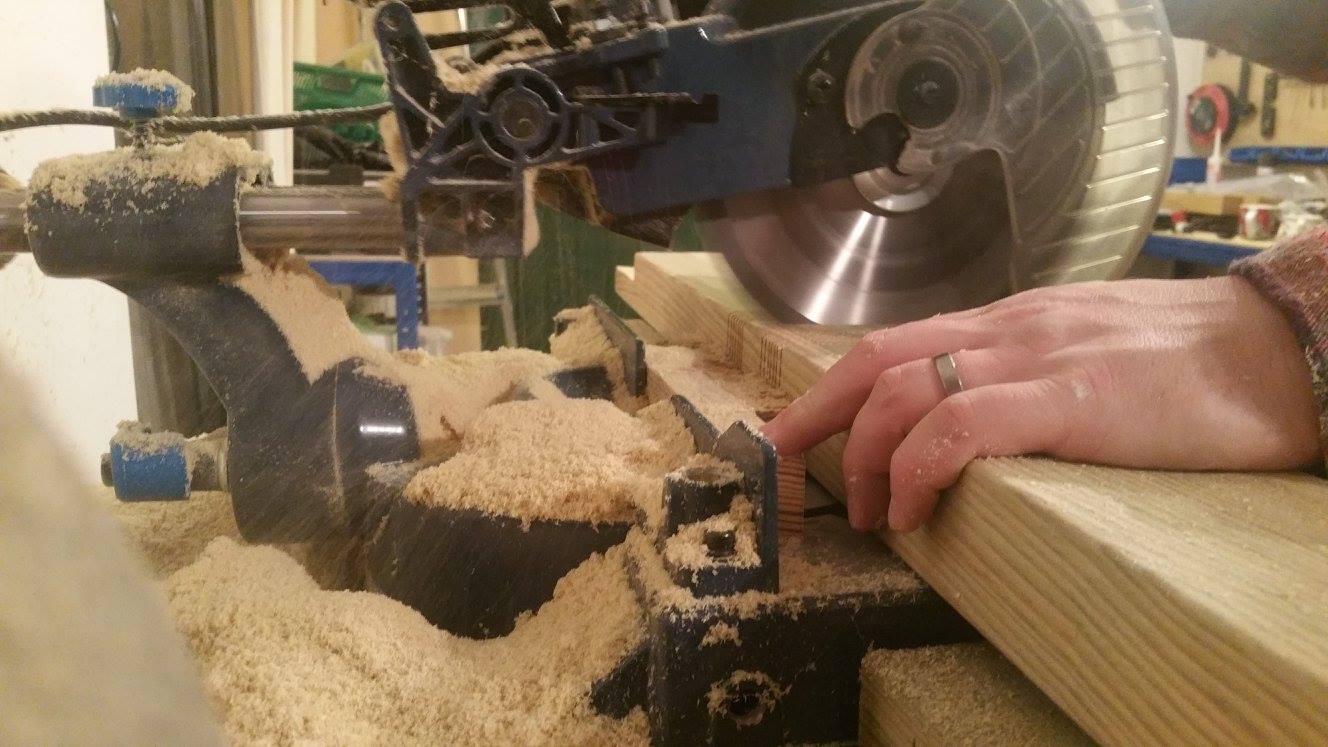
The box sides were prepared from oak and walnut. The two hardwoods were about 40mm thick to begin with so needed resawing on a bandsaw then thicknessed down to a final size of 12 mm. After many finger joint test cuts on pine, I cut the fingers slightly proud so I could creep up on the final size by sanding the finger joints flush.
Lid and resin panel
I used a router with a straight bit and bearing guide to recess the lid top to a depth of about 5mm. I used a two part epoxy (epoxy and hardener) that I split into 3 cups after mixing that would then be coloured with mica powders. Cup 1: this was the base colour of turquoise. Cup 2: Smaller volume of Emerald green and Cup 3: a tiny amount of silver.
The cups were poured into the lid recess in that order and swirled around with a lolly-stick to give the swirly effect. Some tips I found out the hard way:
Tip #0: Mess around and experiment with the resin and mica powder colouring before committing. I regret not including a white in my final colour choice.
Tip #1: Ensure the surface you are working on is flat and level
TIP #2: When mixing epoxy and hardener, stir SLOWLY to reduce bubbles forming in the mix
Tip #3: Seal any edges where you do NOT want the resin, in this case the perimeter of the recess
Tip #4: If pouring into a recess; slightly overfill it (hence tip #3). This ensures an even final flush height of the resin. It can be sanded back flush to the box lid once it has fully cured - otherwise you'll end up with a 'deep' and 'shallow' end
Tip #5 Have something ready to use to cover the resin to keep dirt/dust out of the resin (removes the need for sanding out the 'nibs' later). An upturned cardboard box would be ideal.
Internal trays and final assembly
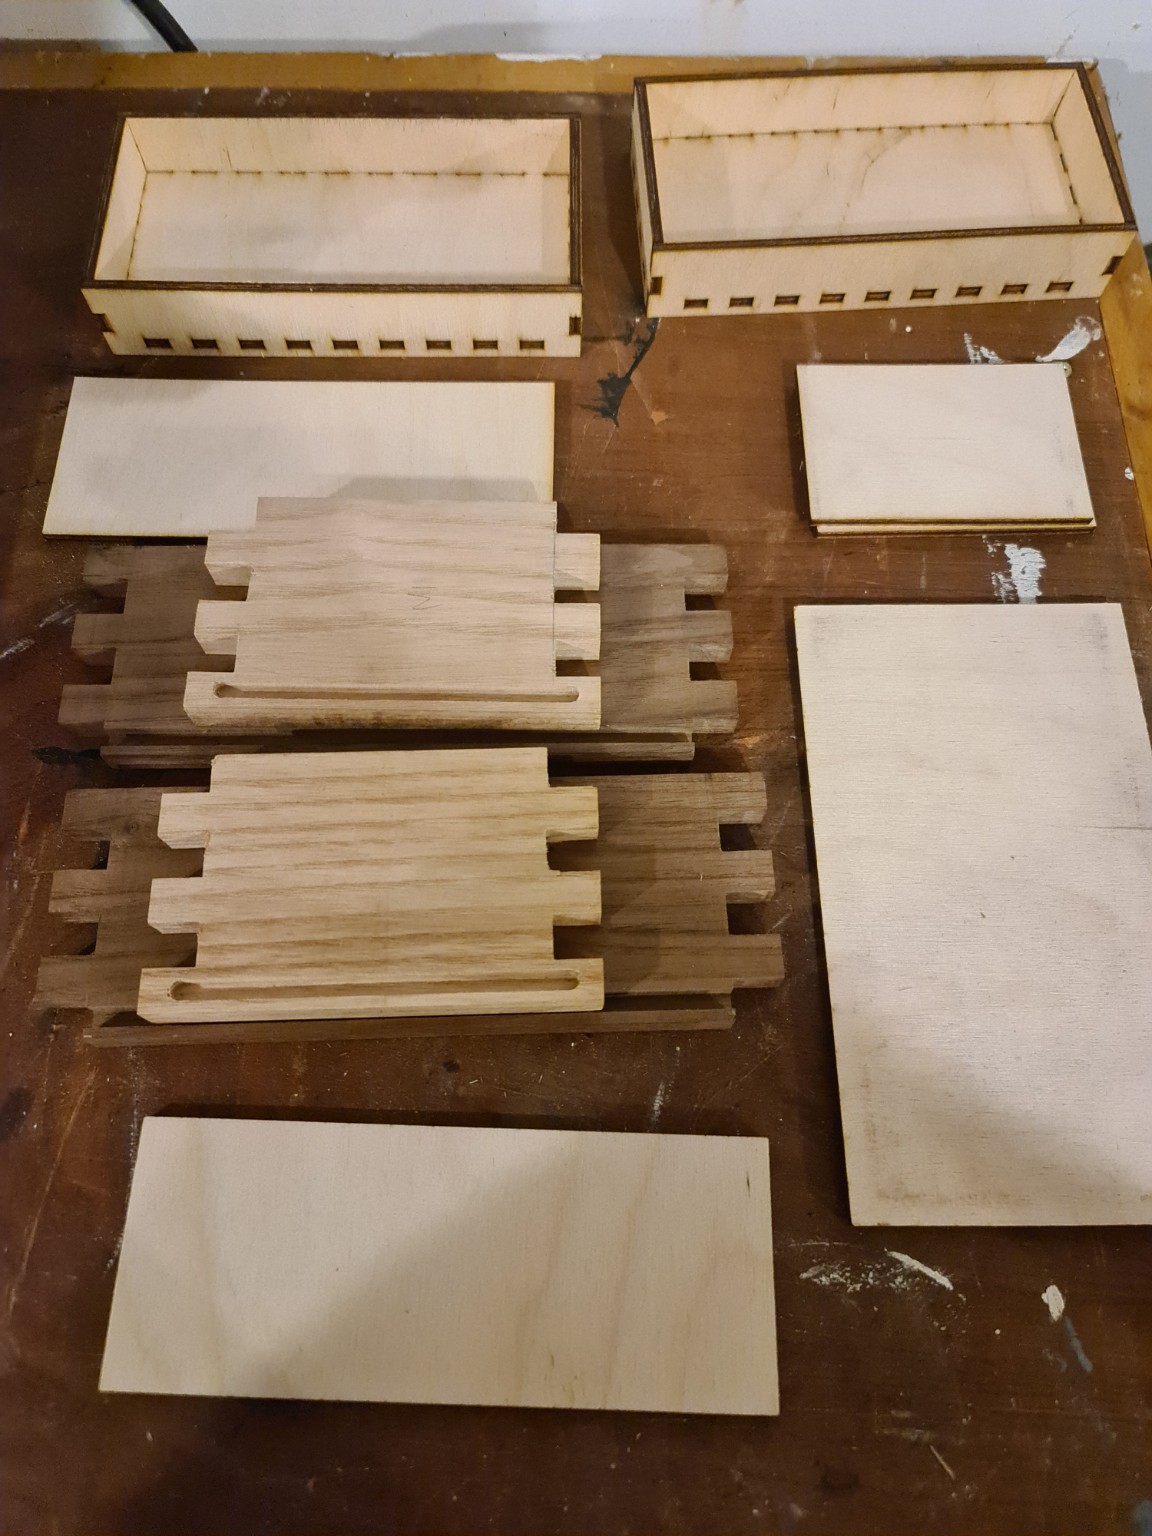
Inside, the box is fitted with removable tray inserts to split the space into smaller compartments. I did cheat a bit here: to save time I made the inserts using a laser-cutter. There are lots of easy ways to make these inserts by hand - simple glued butt joints for example - if you want an entirely hand made box.
Finishing:
I used what I had available at the time, so the ironmongery is not very exotic, simple butt hinges and a latch mechanism with some sort of plating. I've used a length of black nylon string on the inside as a lid-stay (to stop the lid opening past 90 degrees.) Poor planning on my part, I didn't think about the room I'd need on the inside of the box between the trays and box wall to allow for a proper lid stay!
I applied Rustins quick dry varnish (about 5 coats total) to the outside of the box. This is very quick drying and little to no odour when applying so was ideal. Between coats I lightly sanded with a 400 grit paper before cleaning with a tack-cloth and re- applying varnish:
Some more tips.....
Tip #1 Follow the instructions on the tin! The stuff I used had a lot of sediment on the bottom - this needed to be mixed in as it's some ingredient that stops the varnish drying overly glossy
Tip #2 I used an old strip of purple cast acrylic to stir the varnish up - I'm sure I saw traces of purple appearing in the mix; varnish degrading the acrylic? dunno? prob best to use wood - or your favourite screwdriver for mixing ;^)
Replacing the Garden Decking
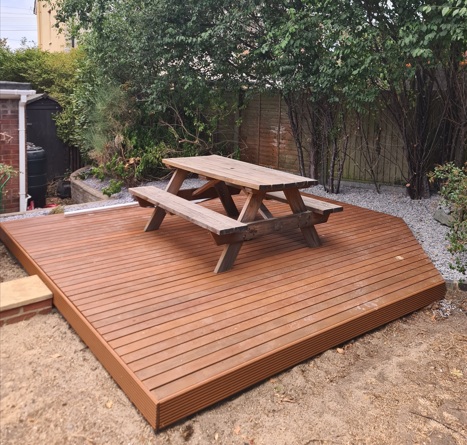
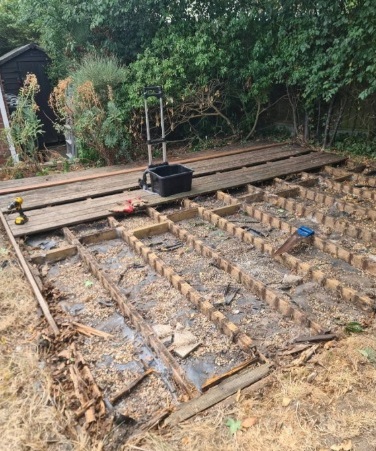
Quite a time-consuming job this one. The decking in my garden was quite old, and badly in need of replacing (all of the bearers were rotted away).
Despite using second-hand materials where I could, this isn't an environmentally friendly project. The greener option would have been not to build a deck at all, but I spend a lot of time in the garden and without it, this area would basically be a dry weed pit. Anyway...
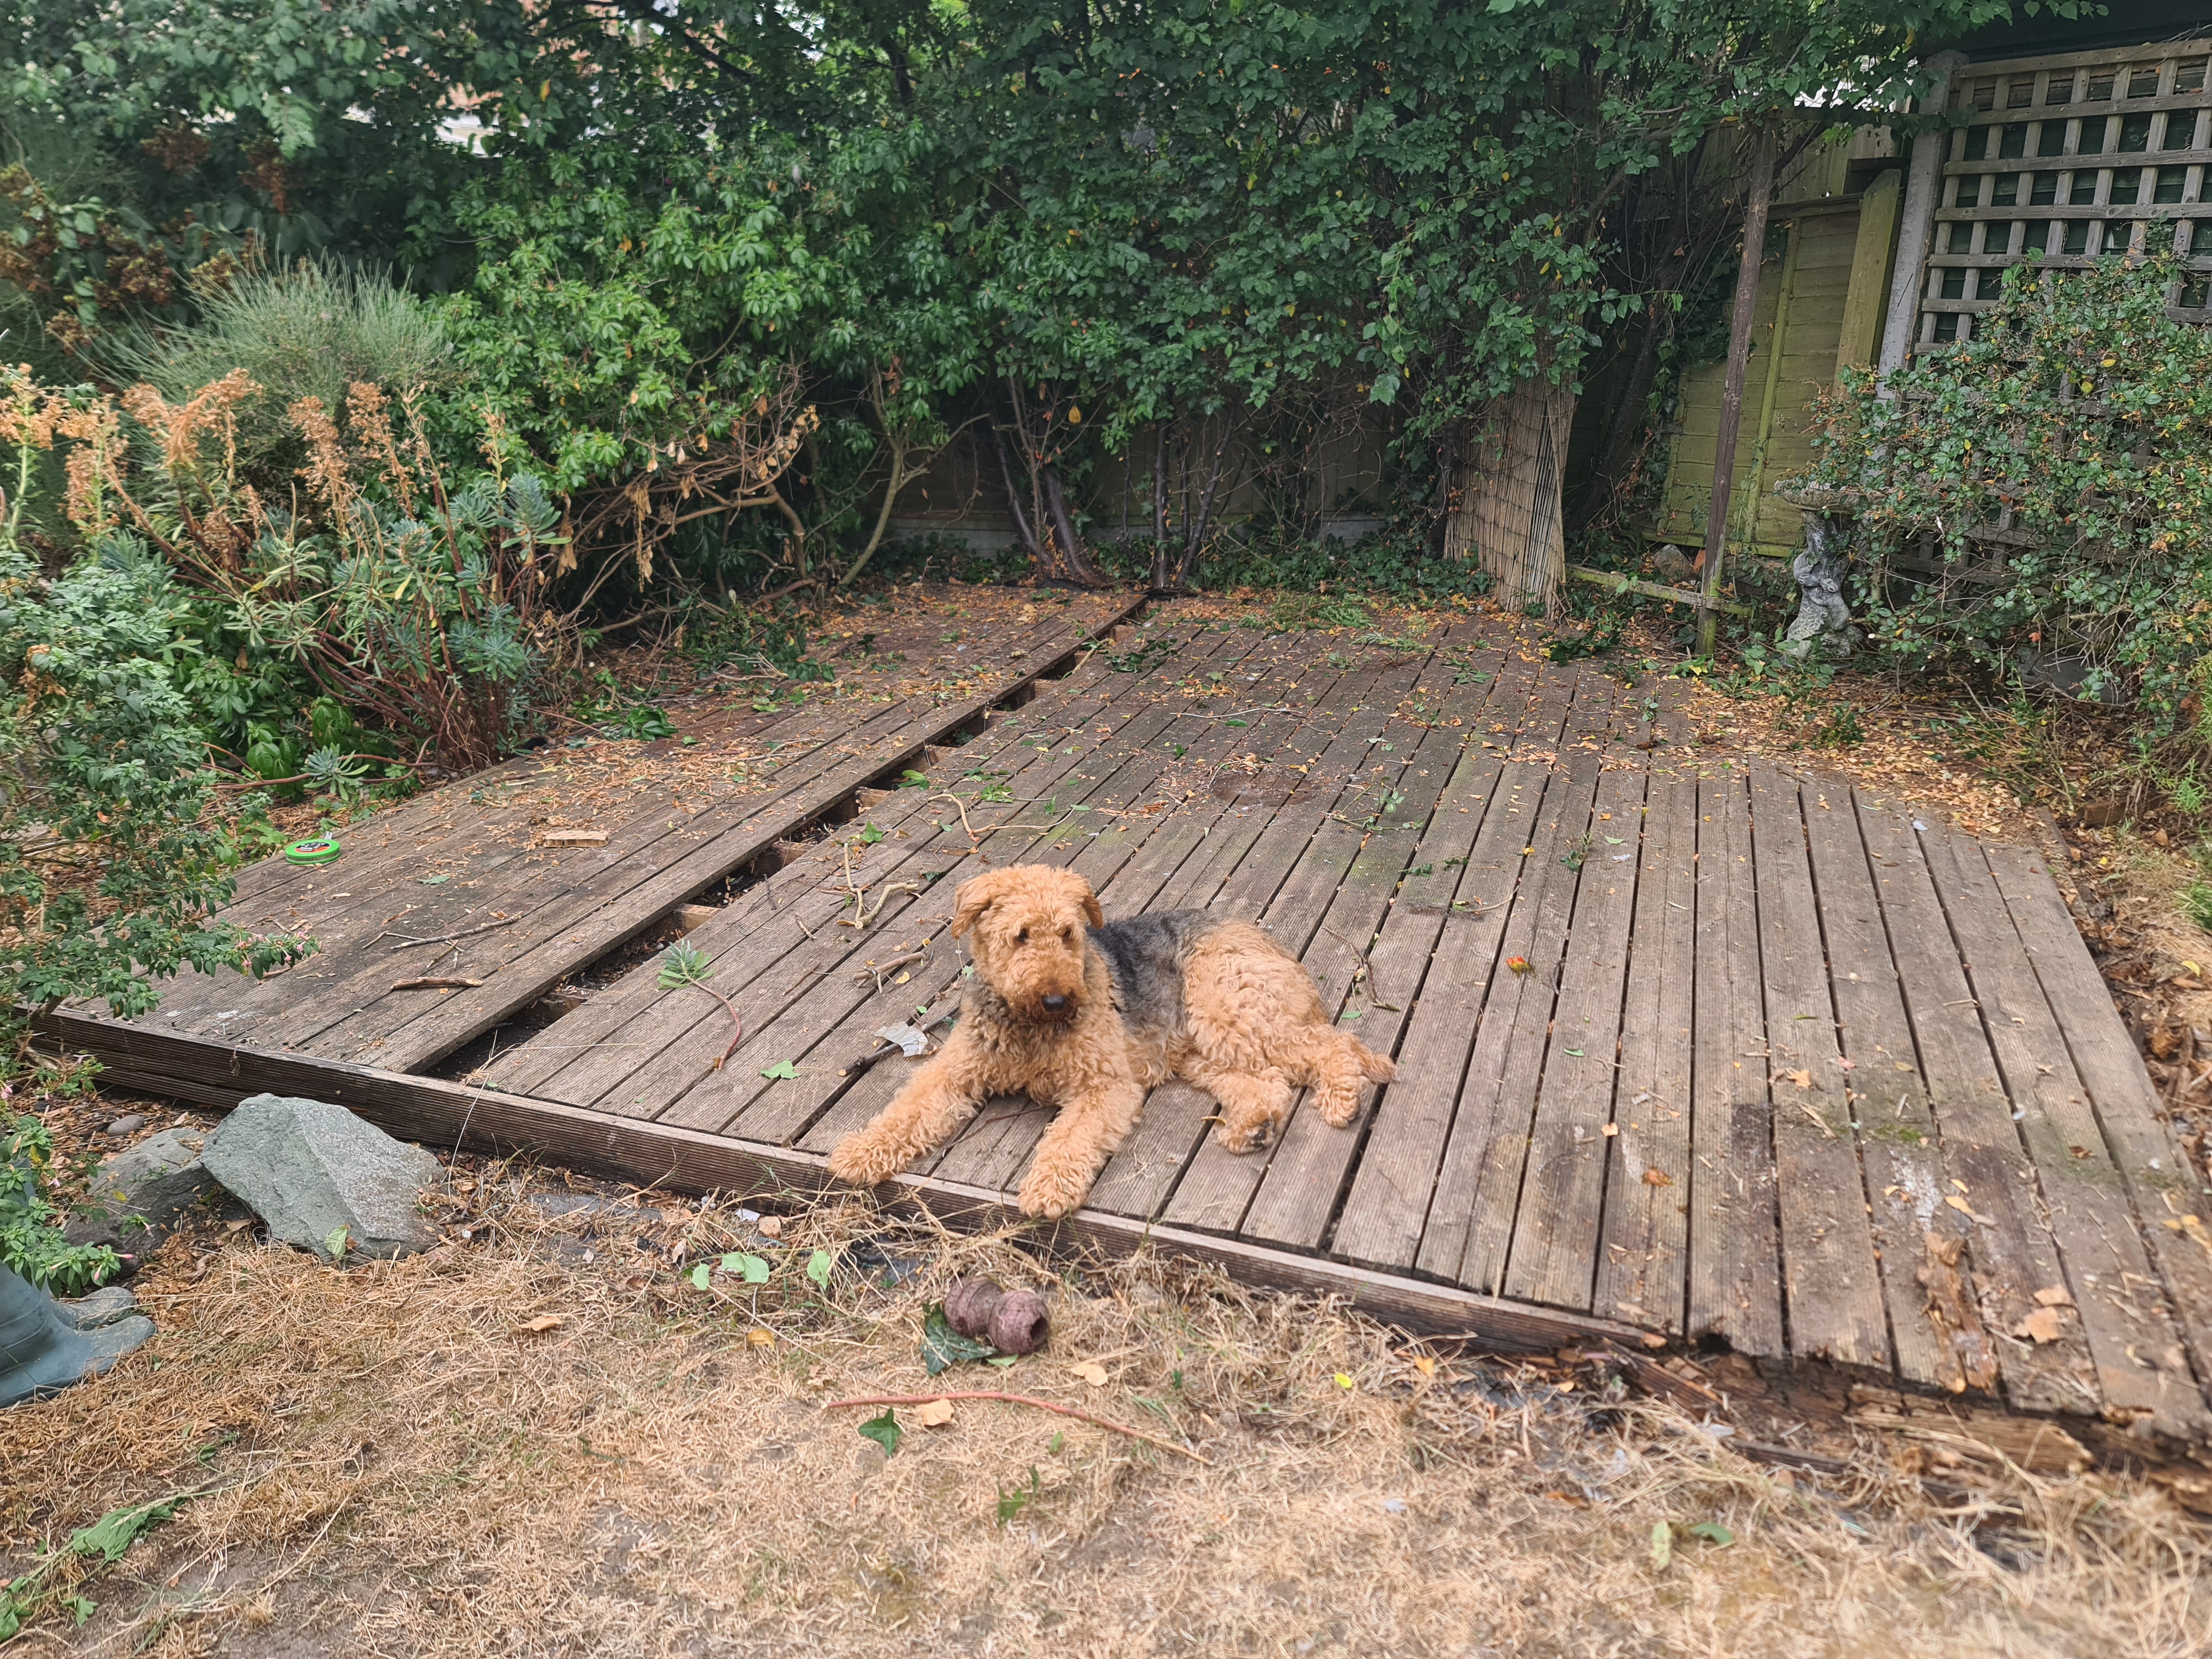
When ripping it out I could see the old deck was built on compacted sharp sand and the bearers sitting on top of a thick Damp Proof Membrane (DPM) which I suspect was used to suppress the weeds. Because DPM is 100% waterproof, the timber joists would have been left in pools of water causing the timber to rot over time.
The old deck
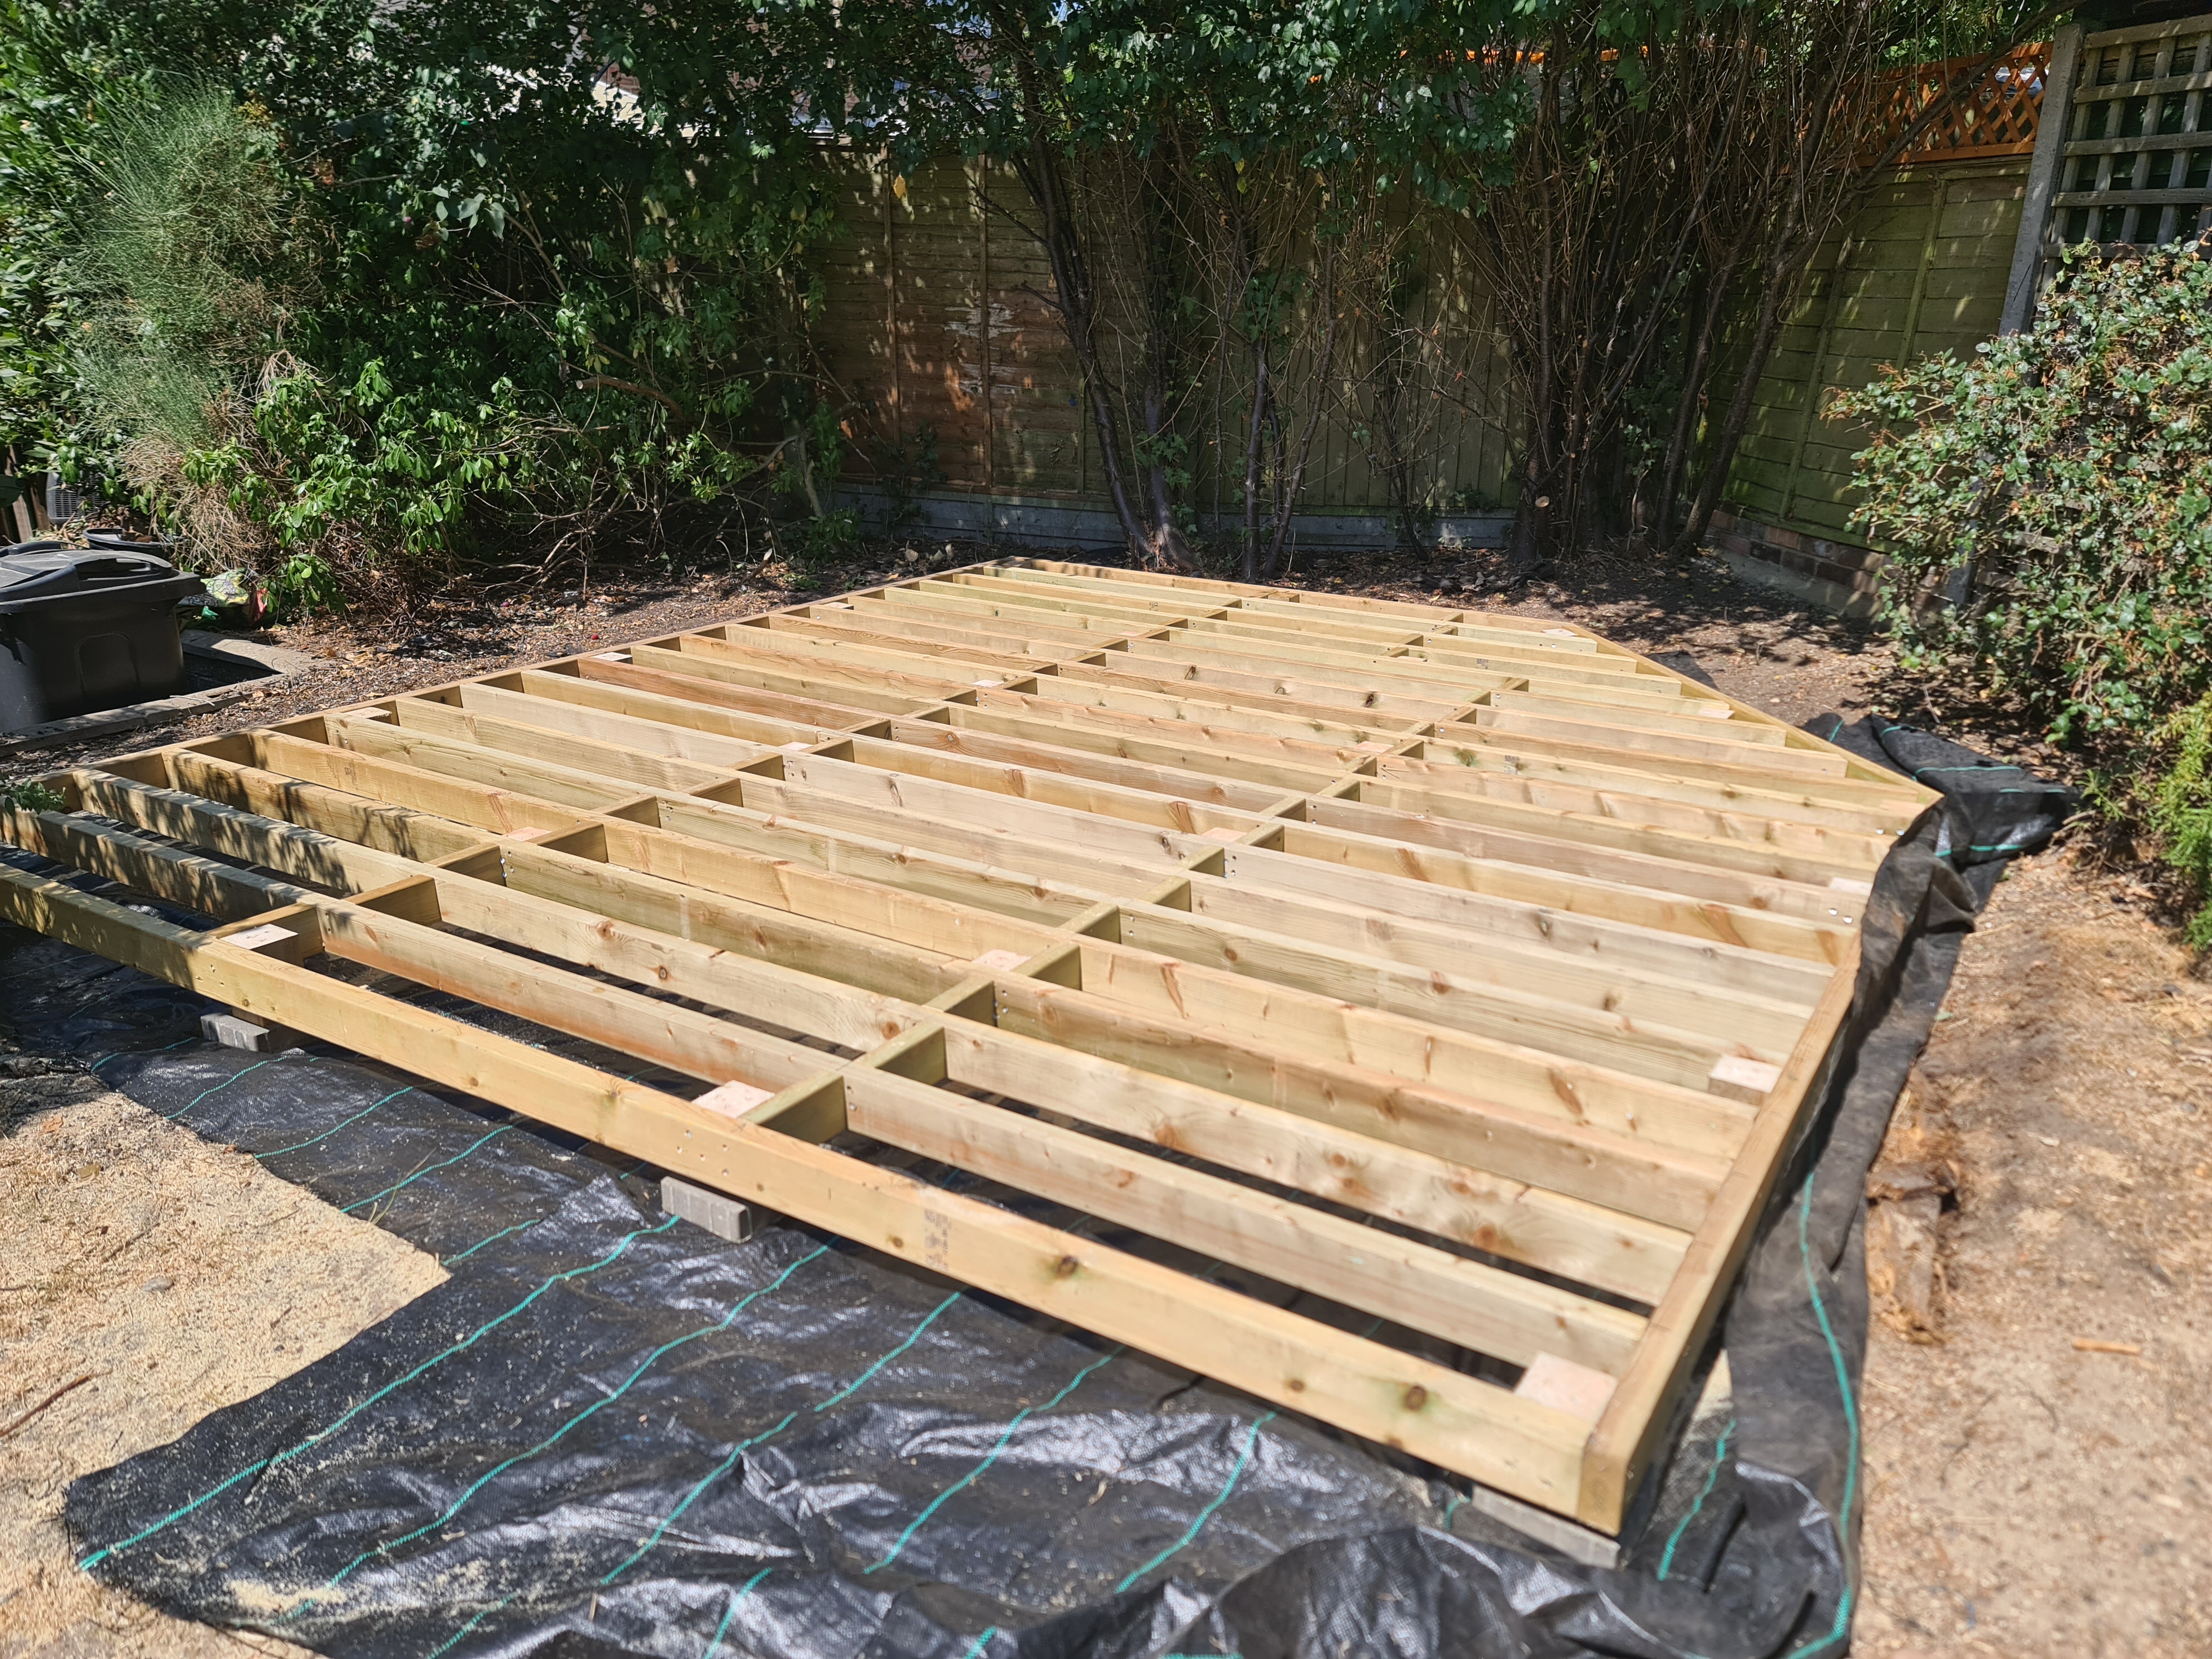
The new frame
I originally had enough C24 frame timber delivered to accommodate 110mm wide softwood decking boards that would easily sit on 400mm joist centres. However, my wife found some Red Balau hardwood deck boards on FB Marketplace which we went with instead. The problem with that is that the hardwood boards were only 19mm thick by 76mm wide. To support them properly I decided to drop the joists to 200mm centres — effectively doubling the internal frame material.
Pick your battles
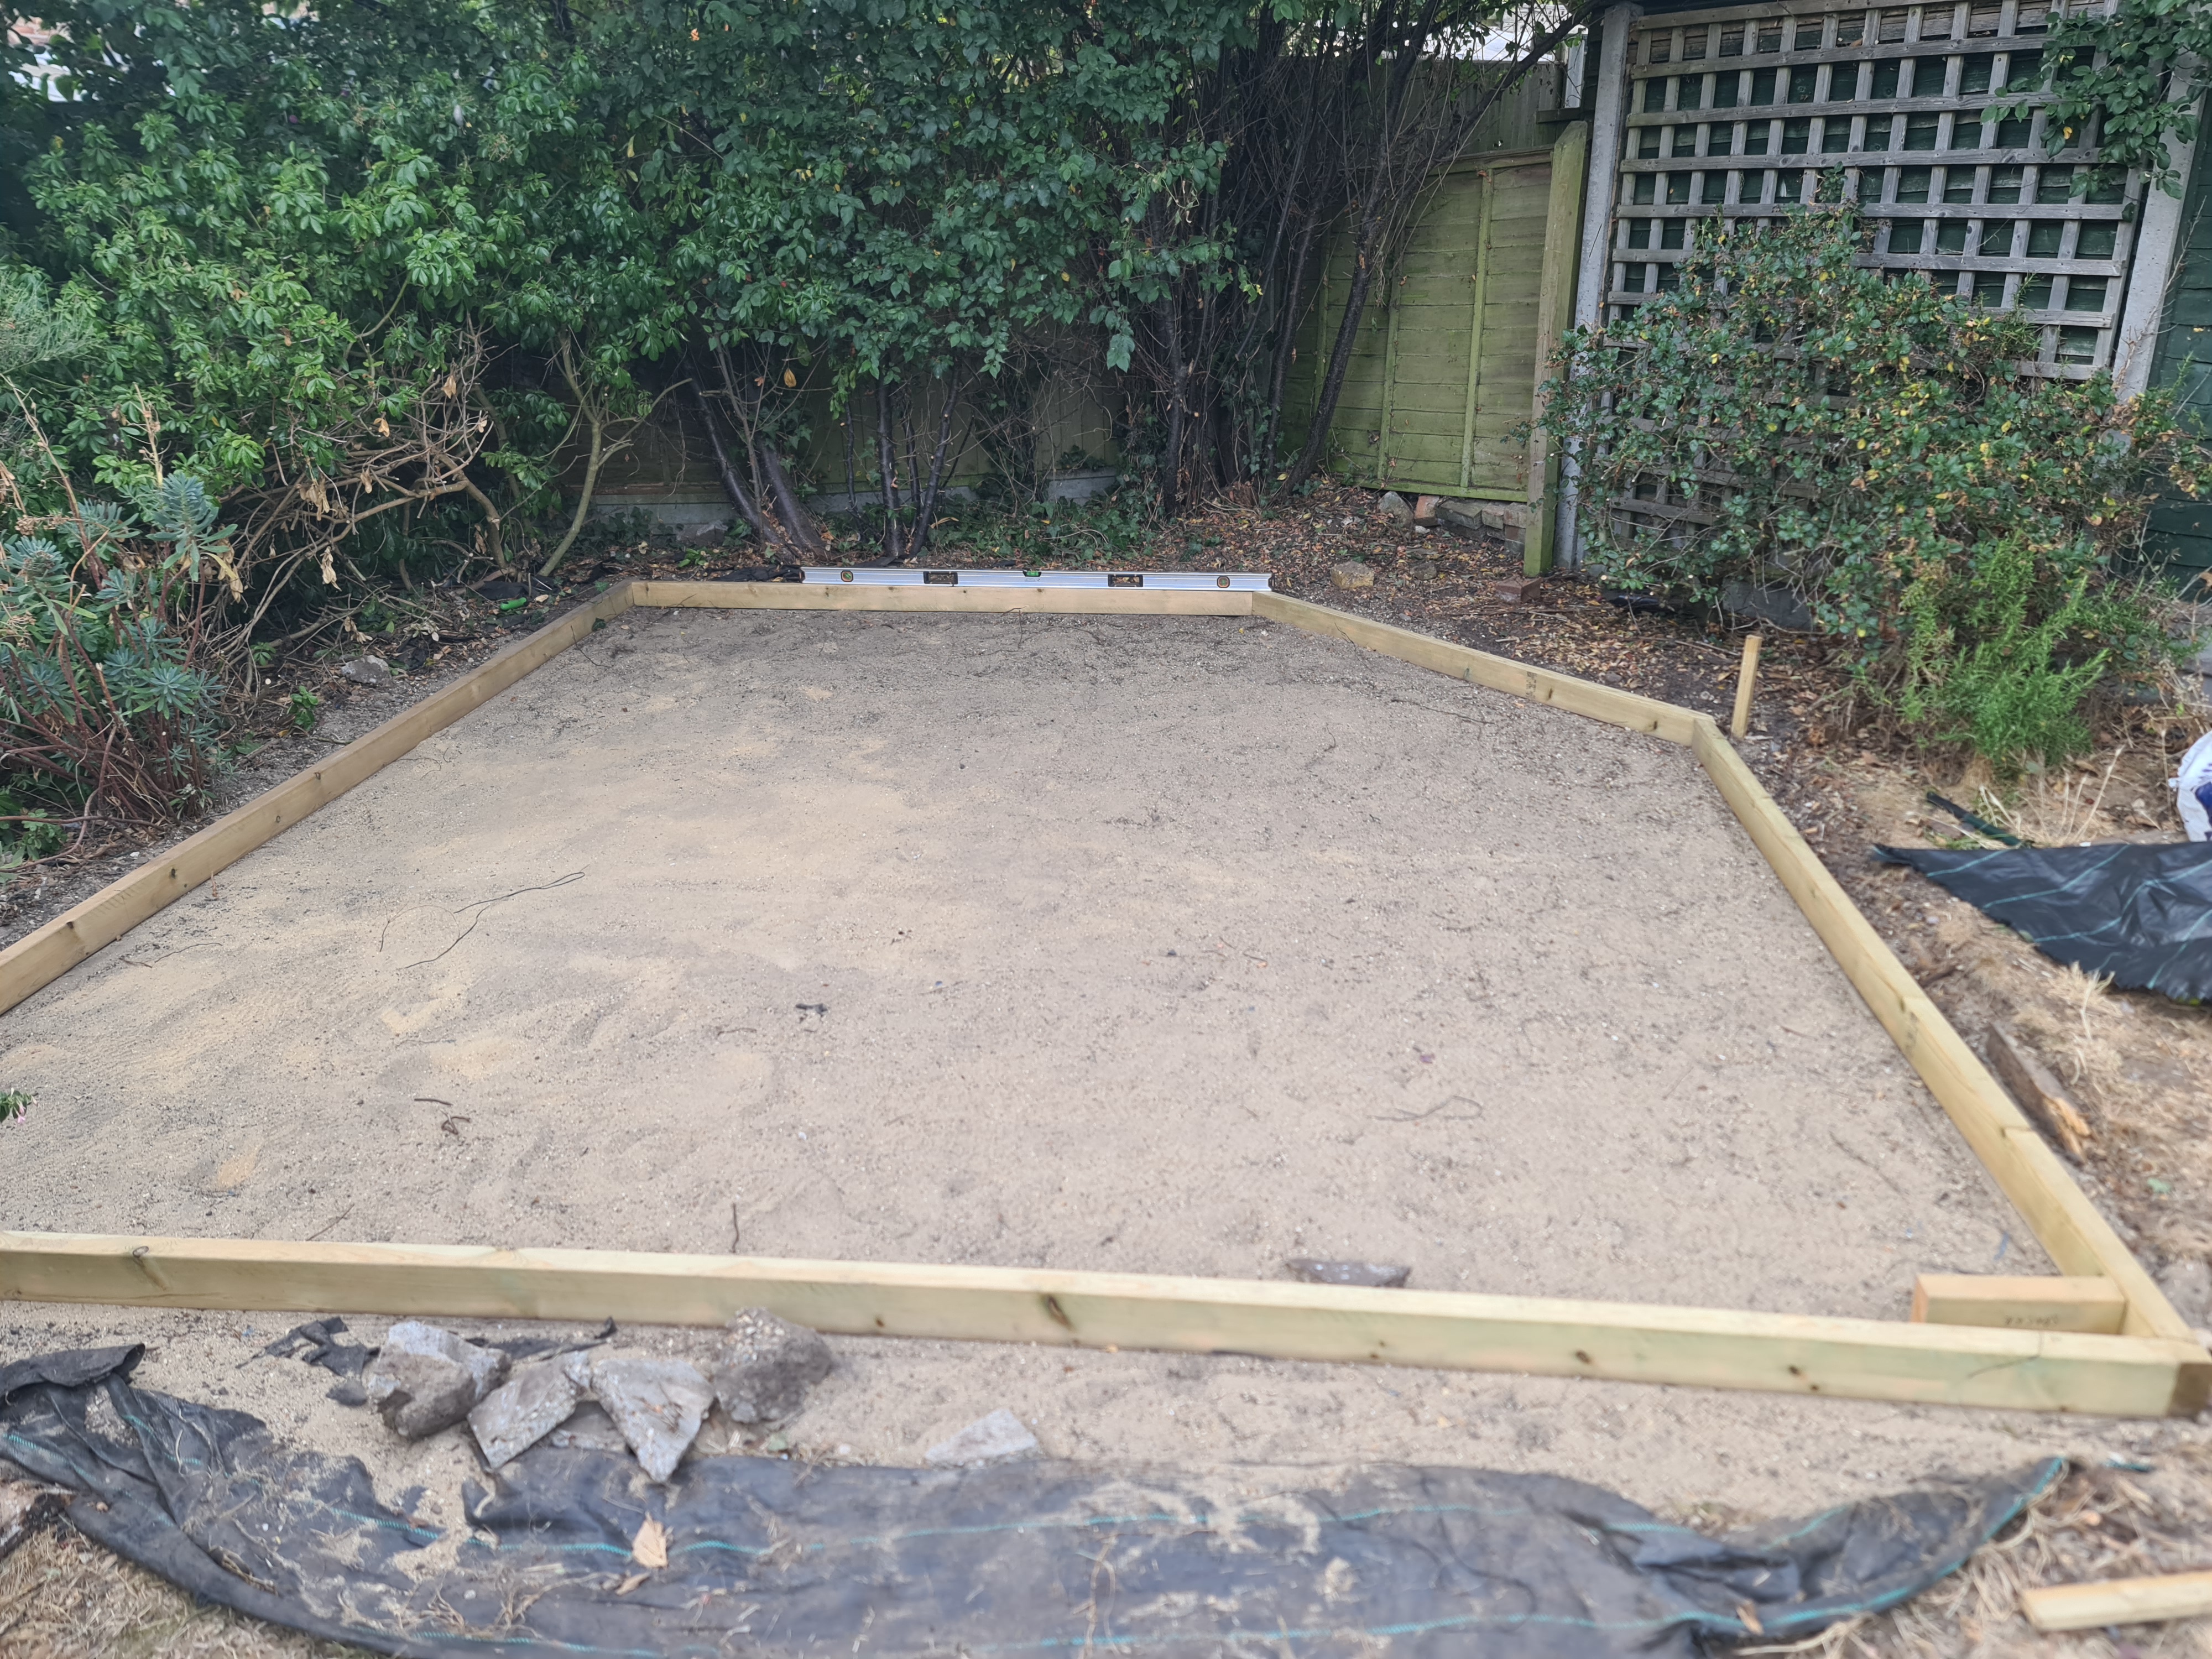
I decided that it would be better to get a landscaper in to level out the sand base properly as I was thinking of laying the joists back on the floor but this time on a water-permeable weed membrane. An ask on FB and a local landscaper came over to provide a quote. They suggested it would be better to raise the frame off the floor (as is the usual way apparently). They provided all of the extra material and built the frame up on legs. The lads worked fast - they were done in about 3 hours. Check them out on Facebook. Highly recommended!
Materials used
- C24 pressure-treated timber 47 × 100 mm (2x4 in old money)
- Decking tape (protects top of joists by blocking water from entering screw holes and rotting the wood)
- 100mm × 100mm rough-sawn posts (cut to size to level the base)
- Block pavers (the 100×100 legs sit on these)
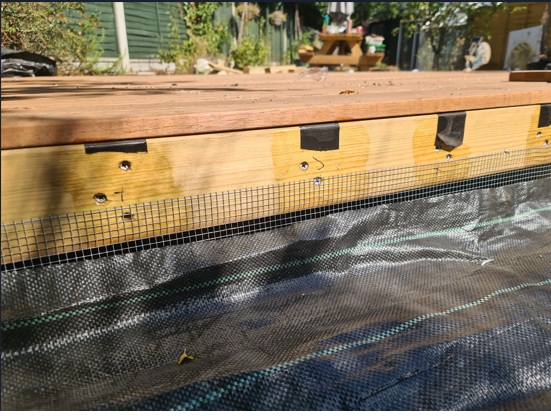
- 200mm wide galvanised mesh-weld (as the new deck is raised this is to keep rodents from nesting underneath)
- Clear decking oil (for treating the cut ends of the C24)
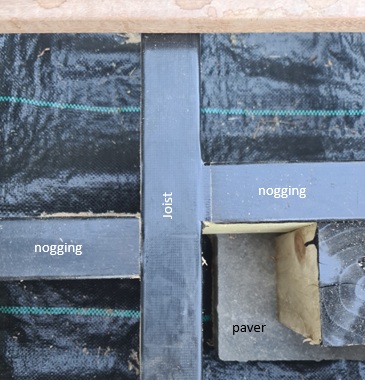
I used five 20m rolls of 50mm UltraTape joist tape across the frame. It protects the tops of the joists from water, particularly the exposed sections between the deck boards where rain can sit. It also seals around the screw fixings and has a very strong adhesive, so once it’s down, it stays put.
...A side quest
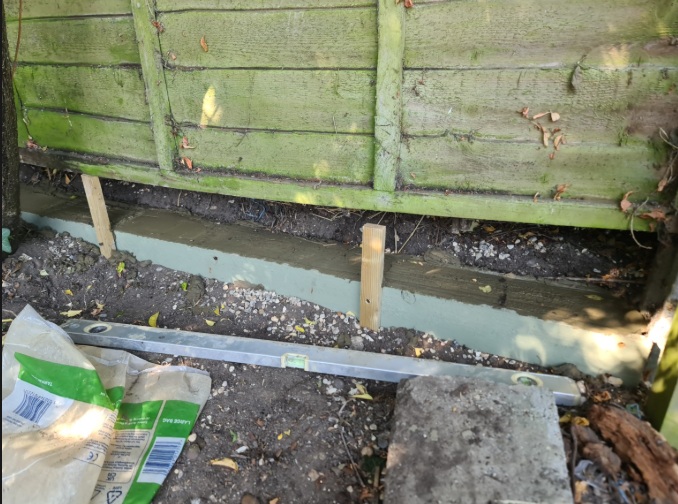
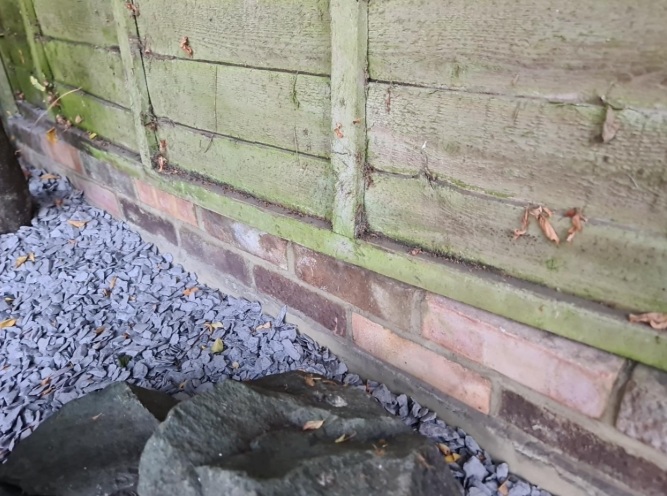
The fence at the back of the decking was propped up on old bits of wood, fire bricks and all sorts of other crap. The new neighbours have a couple of doggies that were hell-bent on trying to dig their way through. So while I was at it, and having recently dug up a load of old bricks from the garden, I thought I'd put 'em to use...
Laying the hardwood
I wouldn't normally buy tropical hardwood for something as trivial as a garden deck. Had these boards not come up second-hand I wouldn't have used them here. As they'd already been bought for another project and were being sold on I was happy to give the timber a long-term use. With a properly built frame and some annual maintenance, there's no reason this deck shouldn't last 30+ years.
It is well worth spending time getting the first board square to the frame as subsequent boards will be positioned relative to the first.
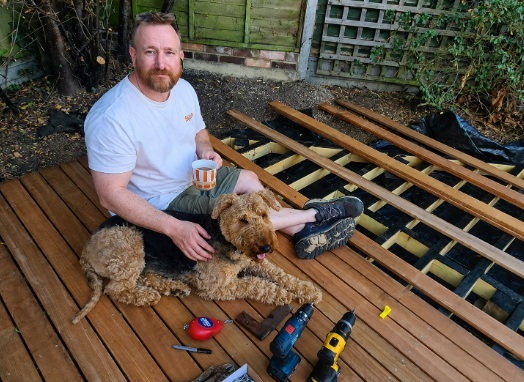
Red Balau is extremely dense; it has a Janka (hardness) rating anywhere between ~1,560 – 1,600 lbf (7,120 N) — roughly twice as hard as English Oak. Some useful info here: Janka Wood Hardness Scale
Because of the timber's hardness, each screw hole (22 per 4-metre board × 40 boards!) needed to be pilot drilled and countersunk to stop material splits (especially at the ends of each board).
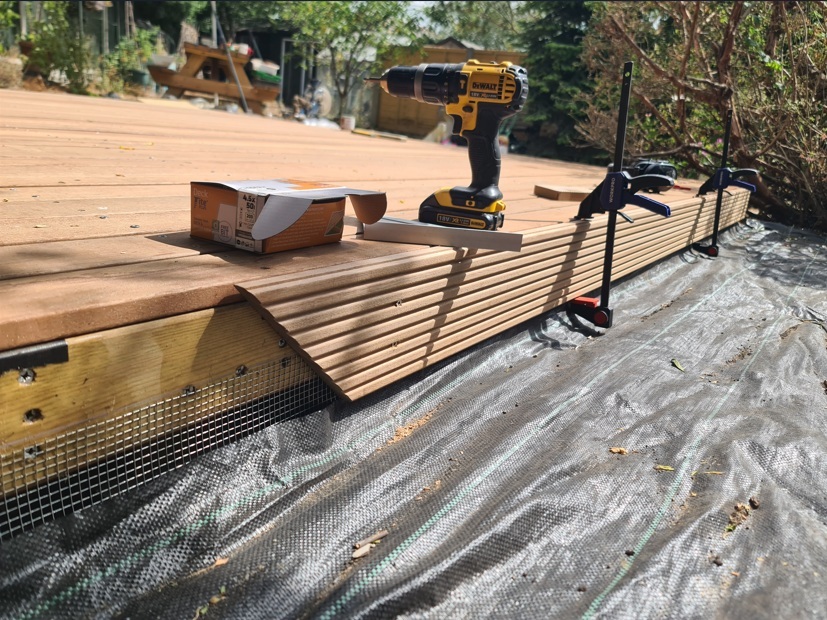
The overkill 200mm joist centres proved to be very useful as most of these long boards (originally 4.6m long) were either twisted, cupped or both. Being able to cramp each board up to a 6mm spacer pulled them straight again.
Which side up?
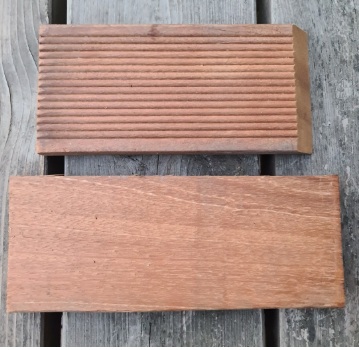
These boards have a smooth side and a grooved (reeded) side. Smooth side up is recommended as it makes the boards easier to clean. More importantly, dirt and debris do not accumulate (as they would reeded side up), which reduces slippery algae growth.
The biggest benefit of having the reeded side facing down is providing airflow between the boards and joists. As my decking sits under a massive wild plum tree, I chose smooth side up.
Jigs and fixtures
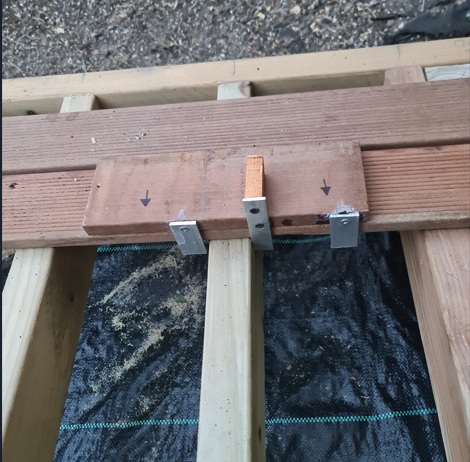
As the boards were not straight over their 4.6m length, I could not lay them out and snap a chalk line to line the screws up. In the end, I came up with a drilling jig to be positioned on top of the decking boards: the jig used two pins (oval brad nails) hammered through a Balau offcut about 20mm from each edge of the offcut. Three aluminium legs were then attached. The outermost legs locate on the front edge of the board to be fixed, whilst the centre leg locates along the side of the joist. Incidentally, each board was secured along its length to every other joist.
Once all three legs are located squarely, it was just a matter of pressing the jig downwards which left two witness marks (left by the brad nails) in the decking board. This ensured every pilot hole (and screw) was consistently positioned. It worked really well.
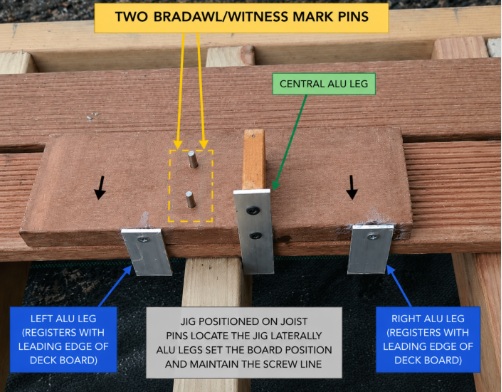
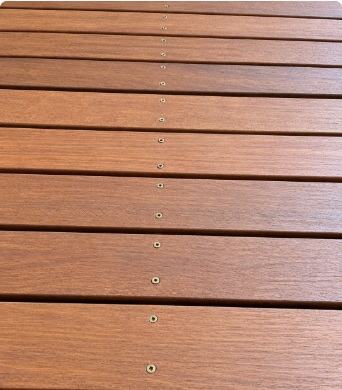
It was well worth experimenting with this jig — 880 shiny stainless steel screws not aligned neatly would look awful!
Finishing
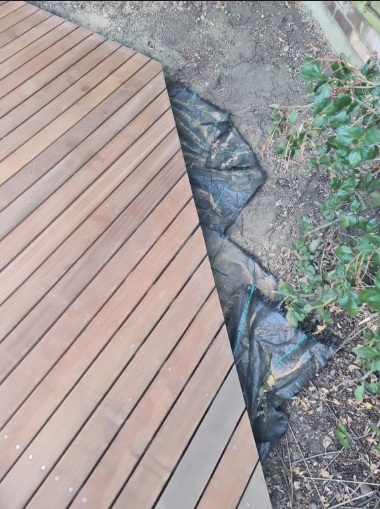
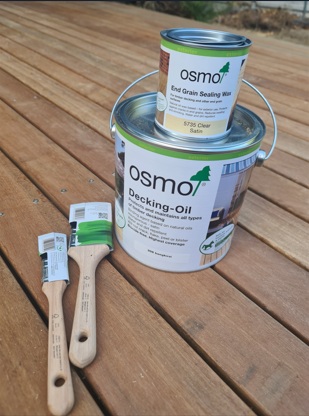
Once all the boards were fixed, the edges were trimmed flush with a circular saw and the freshly cut end grain was sealed with Osmo wax.
Final steps
Before fitting the fascia boards I needed to add the mesh-weld around the perimeter of the deck to stop rodents building nests. 100mm of the total 200mm width was dug into the soil to stop anything tunnelling, and all of this mess was hidden behind wide Balau fascia boards as shown below:
PS!
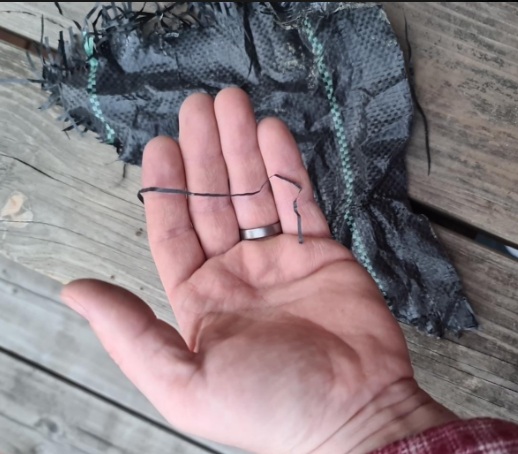
When cutting woven polypropylene weed membrane, using a Stanley knife caused the cut edges to become ragged and then shed long plastic filaments. There were a lot blowing around the garden and I noticed one strand got wrapped around a pigeon’s foot that was scratching around on the floor. Fortunately, when the bird waded into the bird bath, the strand floated free. I found trimming it with sharp scissors worked best, whilst removing loose strands (and binning them). It's also worth folding and/or burying the cut edges rather than leaving them exposed.
Raleigh Nova Bicycle

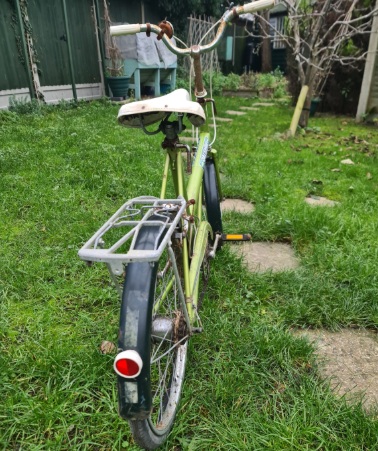
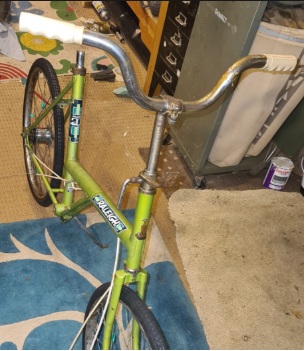
Saved from the re-cycling bin (groan) a Raleigh Nova from 1979.
One man’s rubbish…
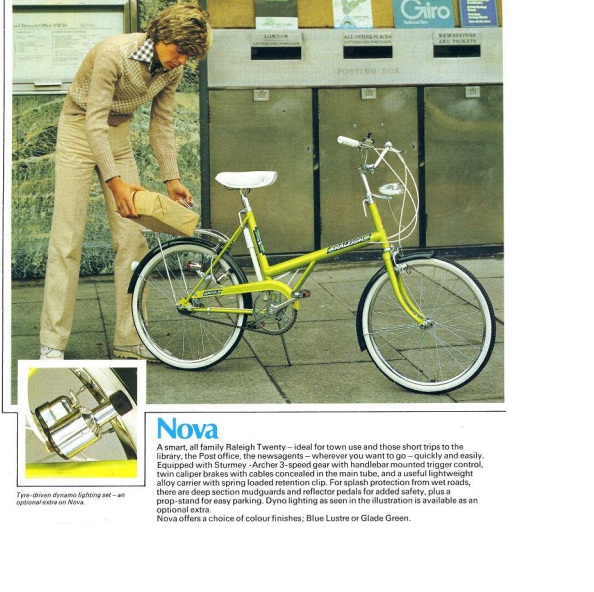
Despite its dilapidated state, I immediately loved the utility of it: an original rear cycle rack, proper mudguards front and back (with a built-in rear reflector no less), a full chain guard (complete with tetanus-inducing razor-sharp edges), and a Sturmey-Archer three-speed hub.
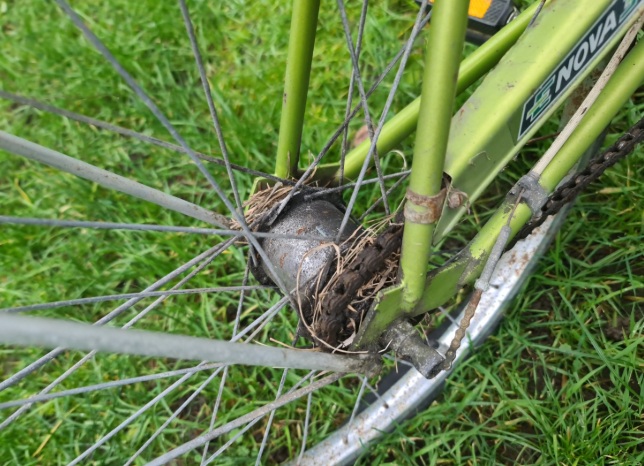
After handing the skip owner a few shekels (ten of ’em, to be exact), I dragged it out. He was kind enough to let me keep all of the shit that came out with it: grass clippings, straw, wet and rotten Mary-Rose-ish waney-edge fence panel wood firmly jammed in the rear spokes. Anyway, I tossed it in the boot on top of the weekly food shopping and drove it home, already wondering how I was going to explain this one to the wife.
Getting it moving again

To make this old speed machine go again required a bit of effort:
- Freeing off a completely seized drivetrain
- Salvaging and truing the original wheels
- New chainring bearings
- New crown bearings
- New cotter pins (40+ years of galvanic corrosion)
- New front wheel axle and bearings
- Stripping, cleaning and re-greasing the Sturmey-Archer hub
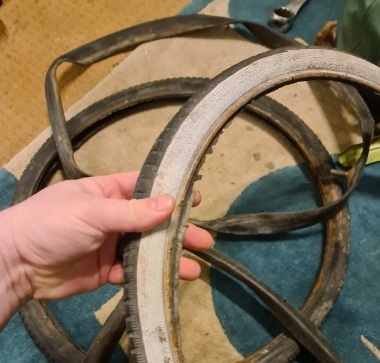
- New tyres and inner tubes throughout
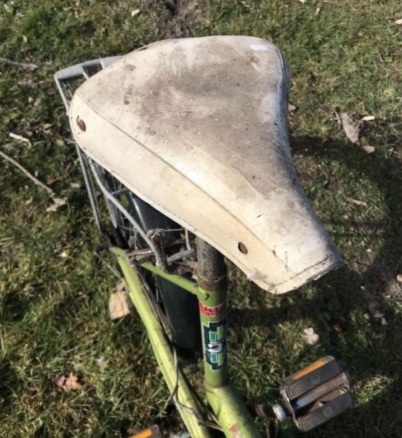
- The original white saddle had to go
- New brake and gear cables
- A new chain
Repair work
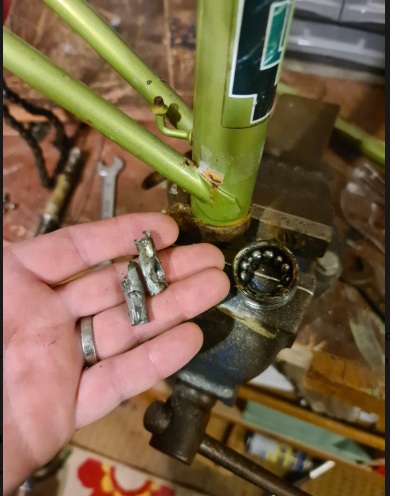
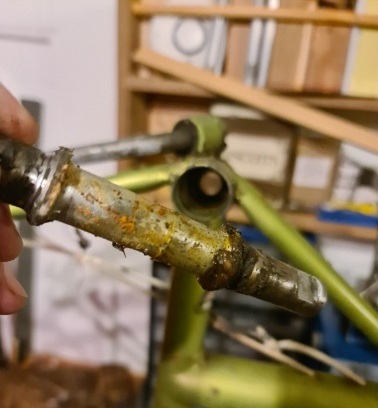

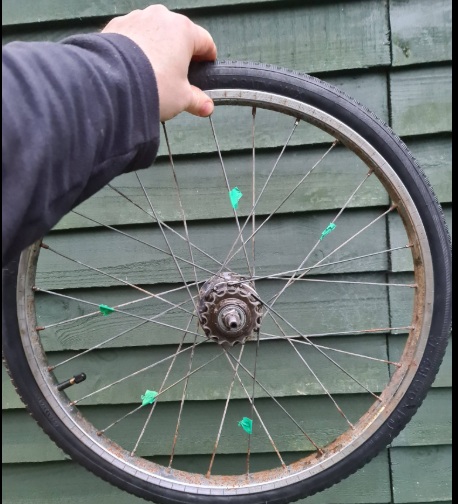
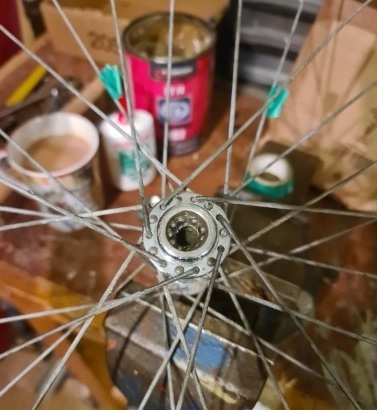
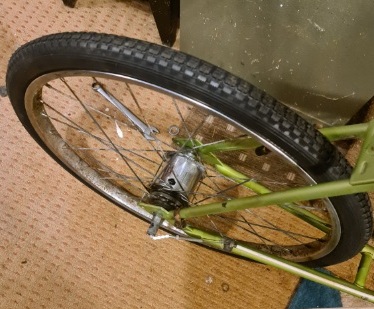
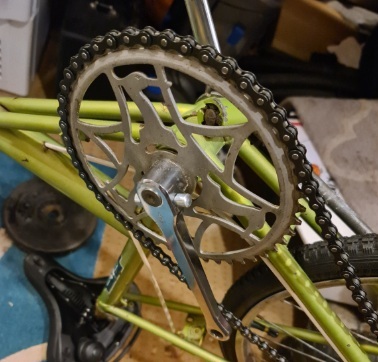
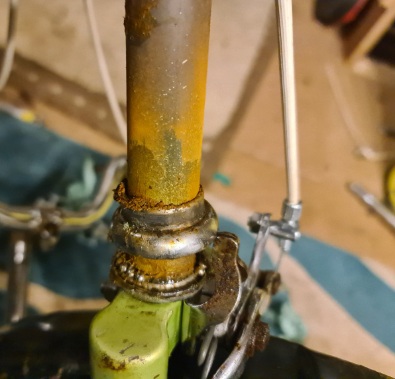
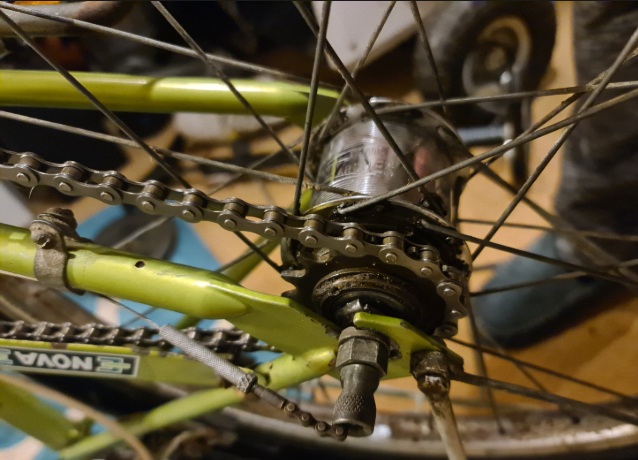


This old hub could have a page of its own. It is a Sturmey-Archer AW three-speed epicyclic (planetary) hub. The design dates back to the early 1900s. Mine is date-stamped “04 74”, meaning April 1974. It runs in an oil bath, which is why they wear so slowly. A clean and fresh oil was all it needed.
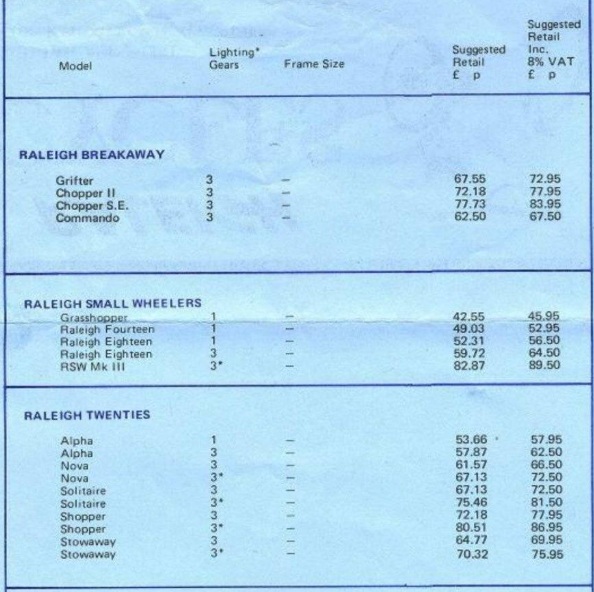
Catalogue, price list and hub schematic courtesy of icenicam.org.
Sub-Irrigation Planter (SIP)
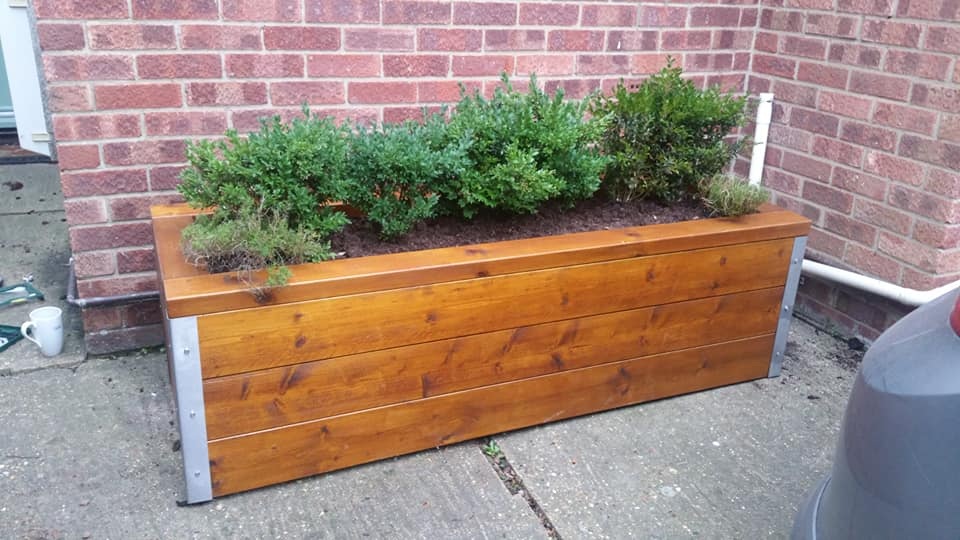
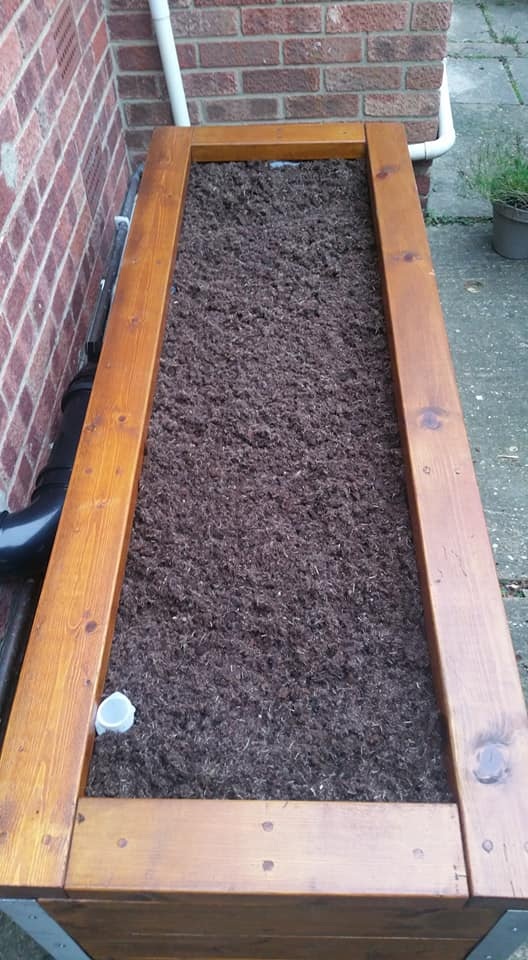
A sub-irrigation planter (SIP) is a simple container with a water reservoir beneath the soil. Moisture wicks up through the soil from below, reducing evaporation, especially during summer.
I’ve added a simple calculator at the end of this section. Plug in your length, width and height and it’ll estimate compost, reservoir capacity and total weight when wet.
Worth saying: once these suckers are loaded, they can get heavy!
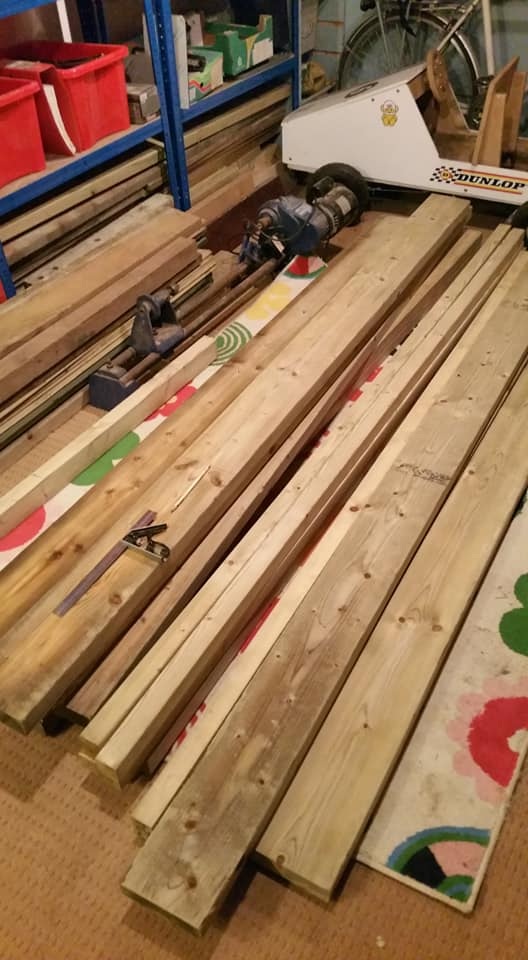
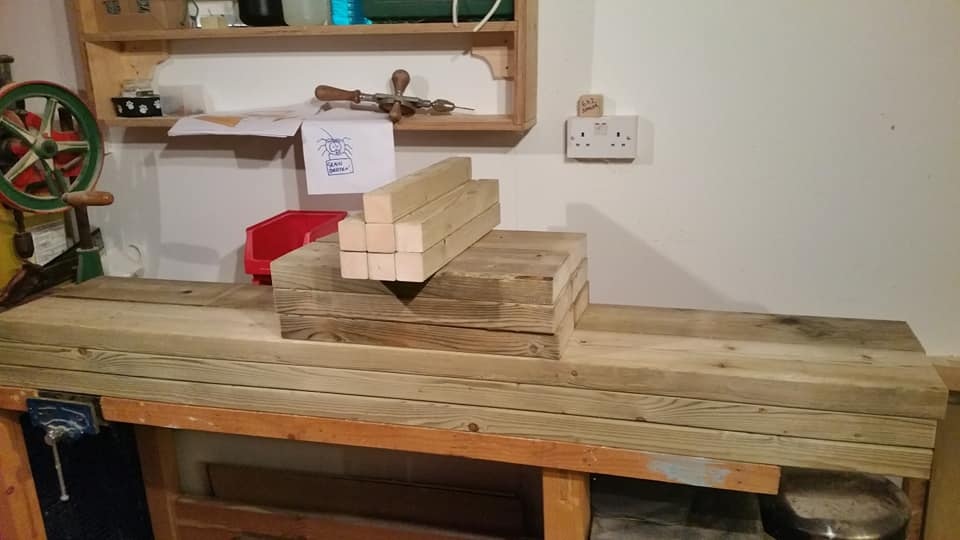
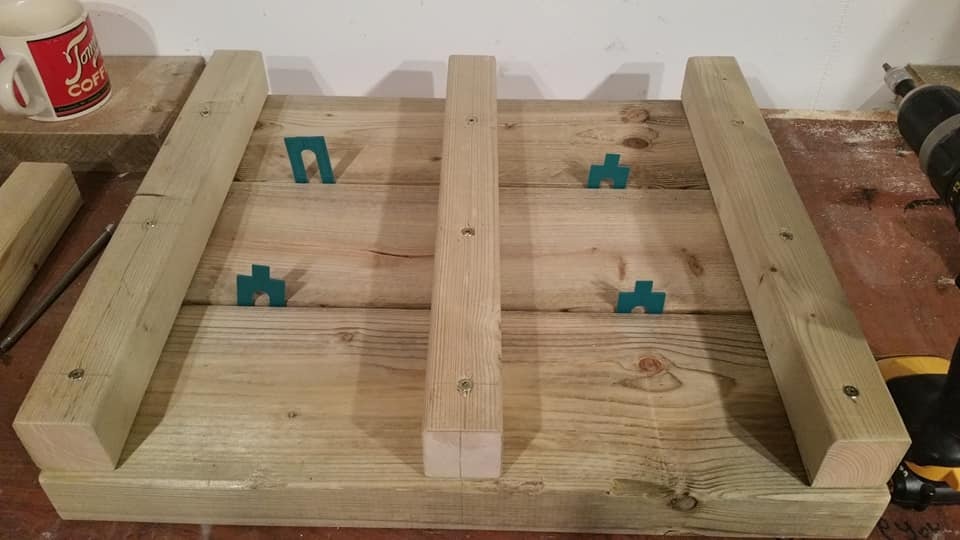
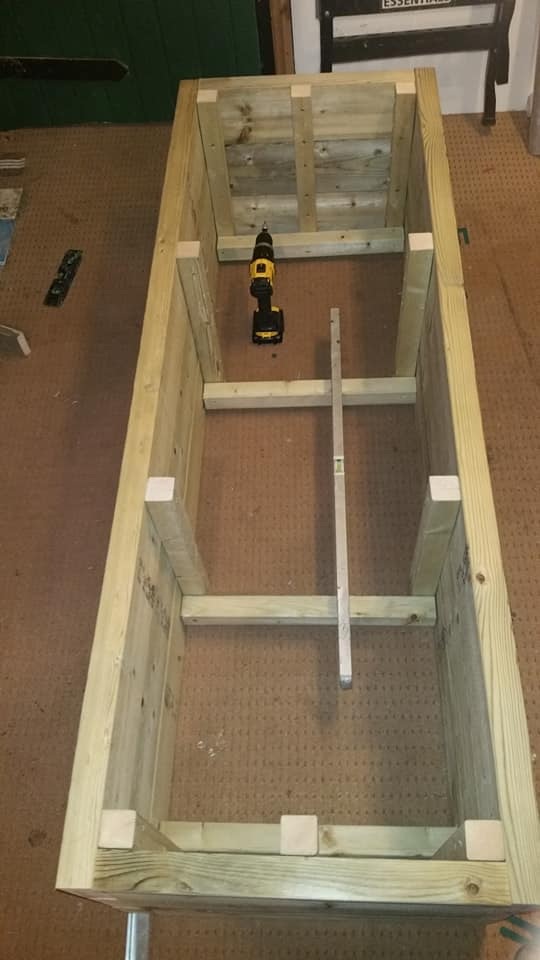
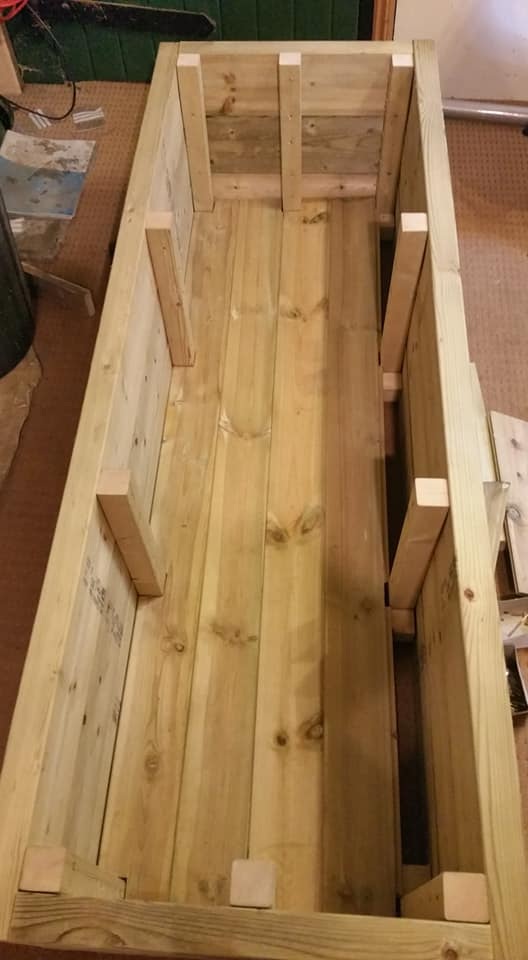
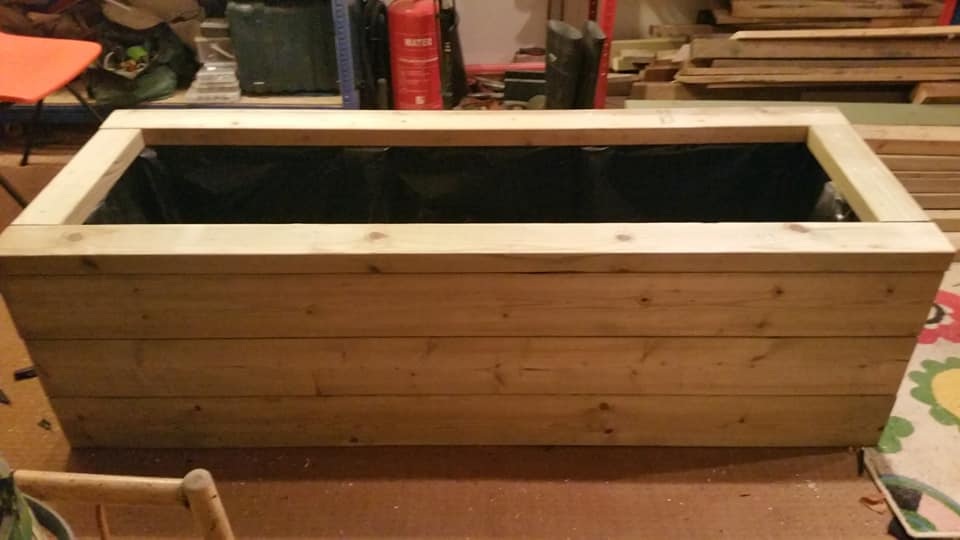
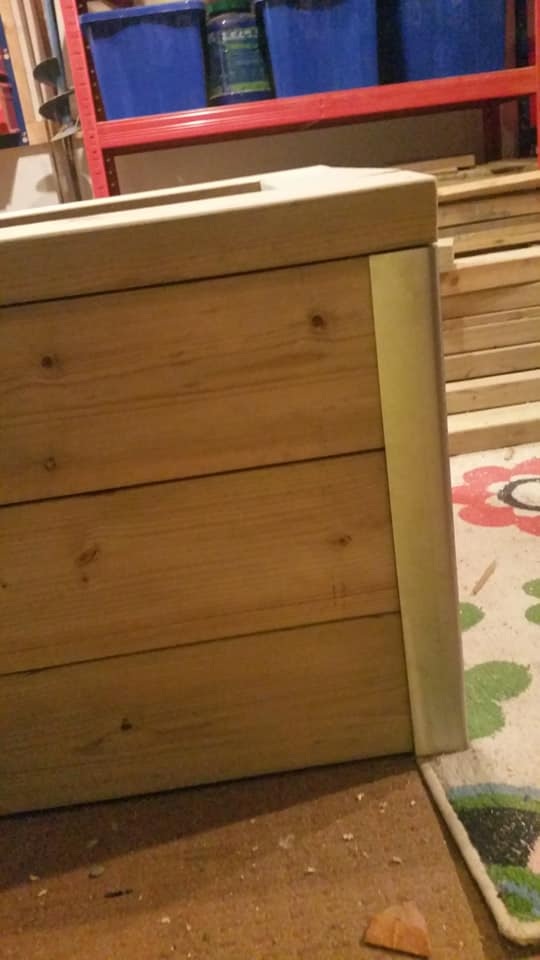
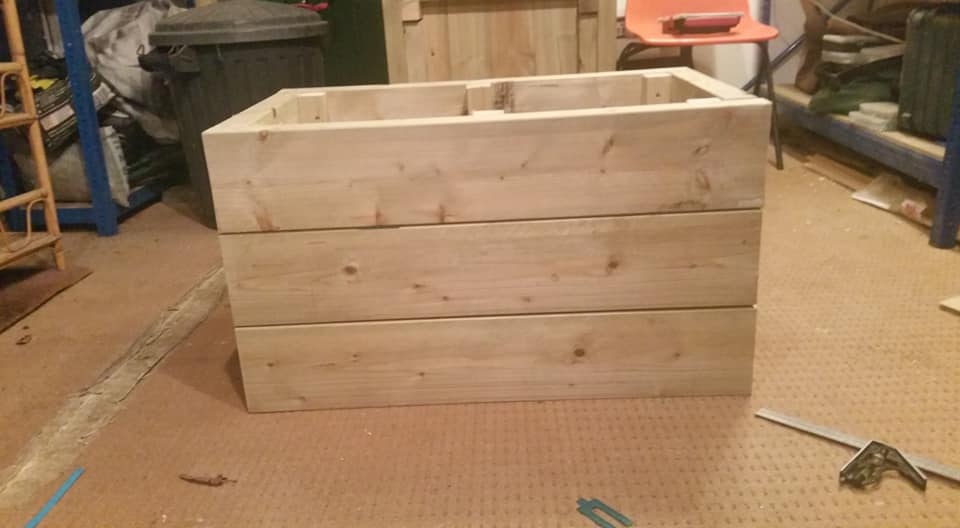
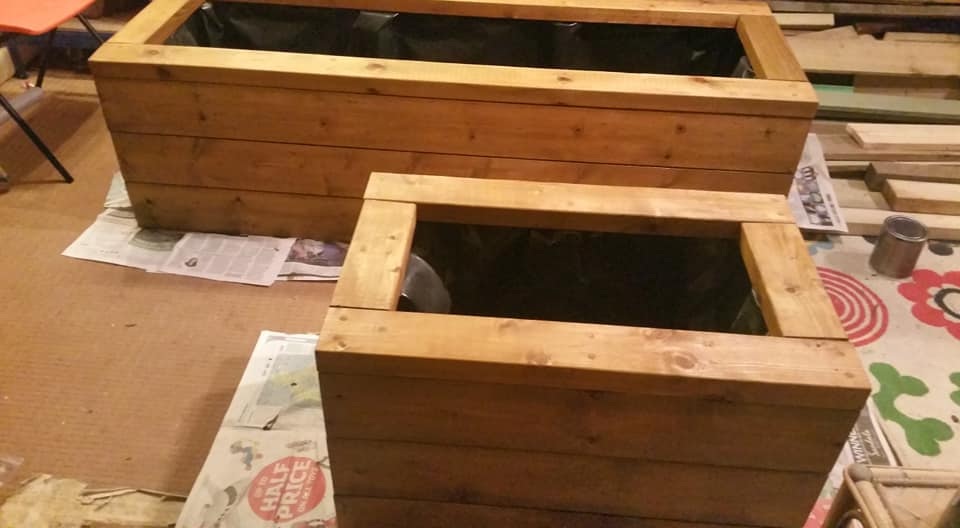
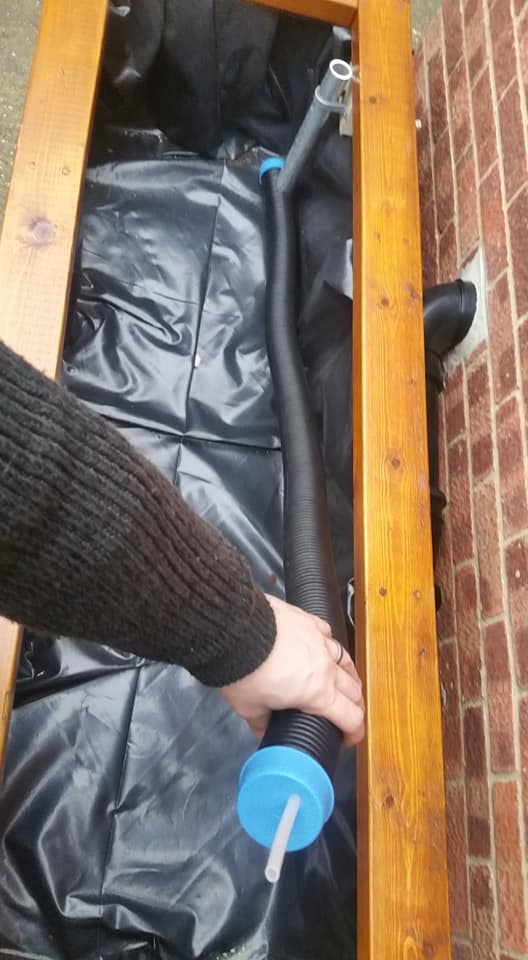
I made these planters using the following materials:
- Pressure-treated 2×6 (38 × 140 mm) timber
- Pressure-treated 45 × 45 mm timber battens
- Polythene sheet liner
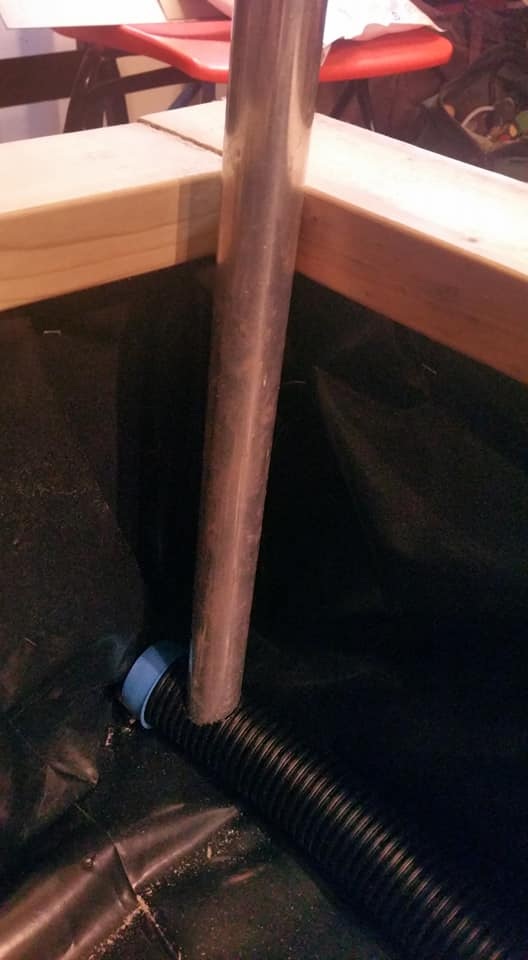
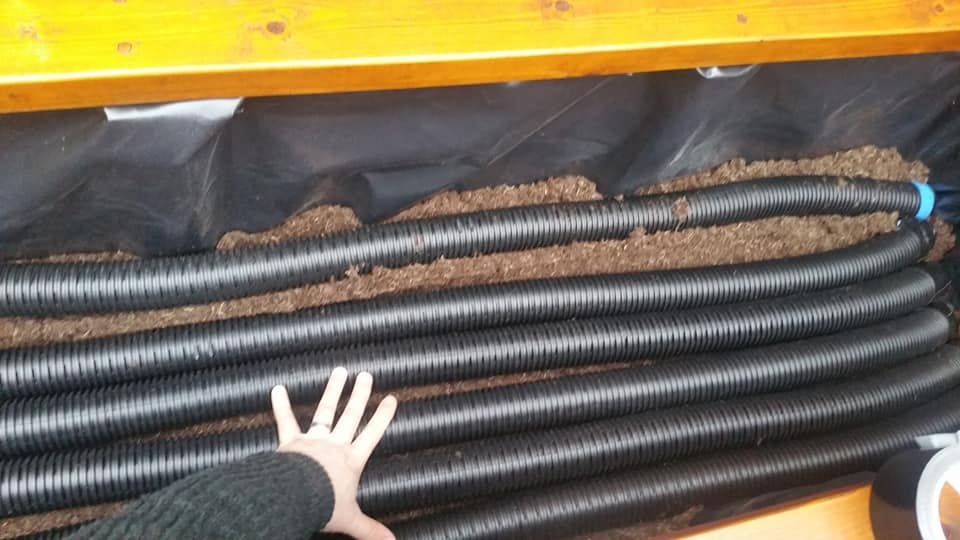
- 100 mm perforated drainage pipe
- Aluminium tubing for the filler pipe
- 6 mm flexible overflow hose
SIP planter capacity calculator
Enter the internal dimensions of the planter. The base reservoir is formed by a single layer of slotted 100 mm diameter pipes laid side-by-side. The overflow limits the maximum water level within these pipes.
Water capacity is calculated from the internal volume of the slotted pipes that make the reservoir. Soil weight assumes a typical wet garden-soil bulk density of approximately 1.4 kg per litre. Initial filling assumes the overflow outlet can discharge water at least as quickly as it is added.
The SIP planter calculator is intended as a rough guide to help with planning and sizing. Always double-check measurements, capacities and material suitability to fit your project and materials.
Making a garden gate
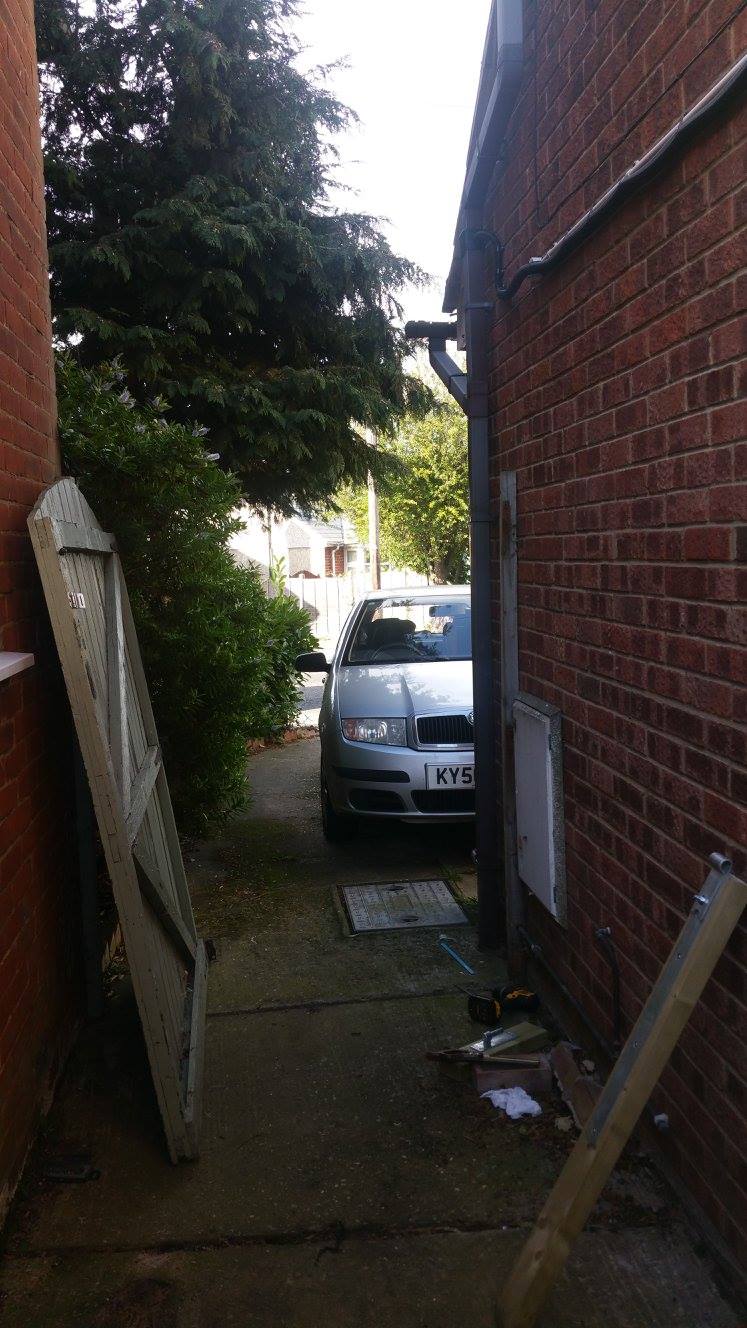
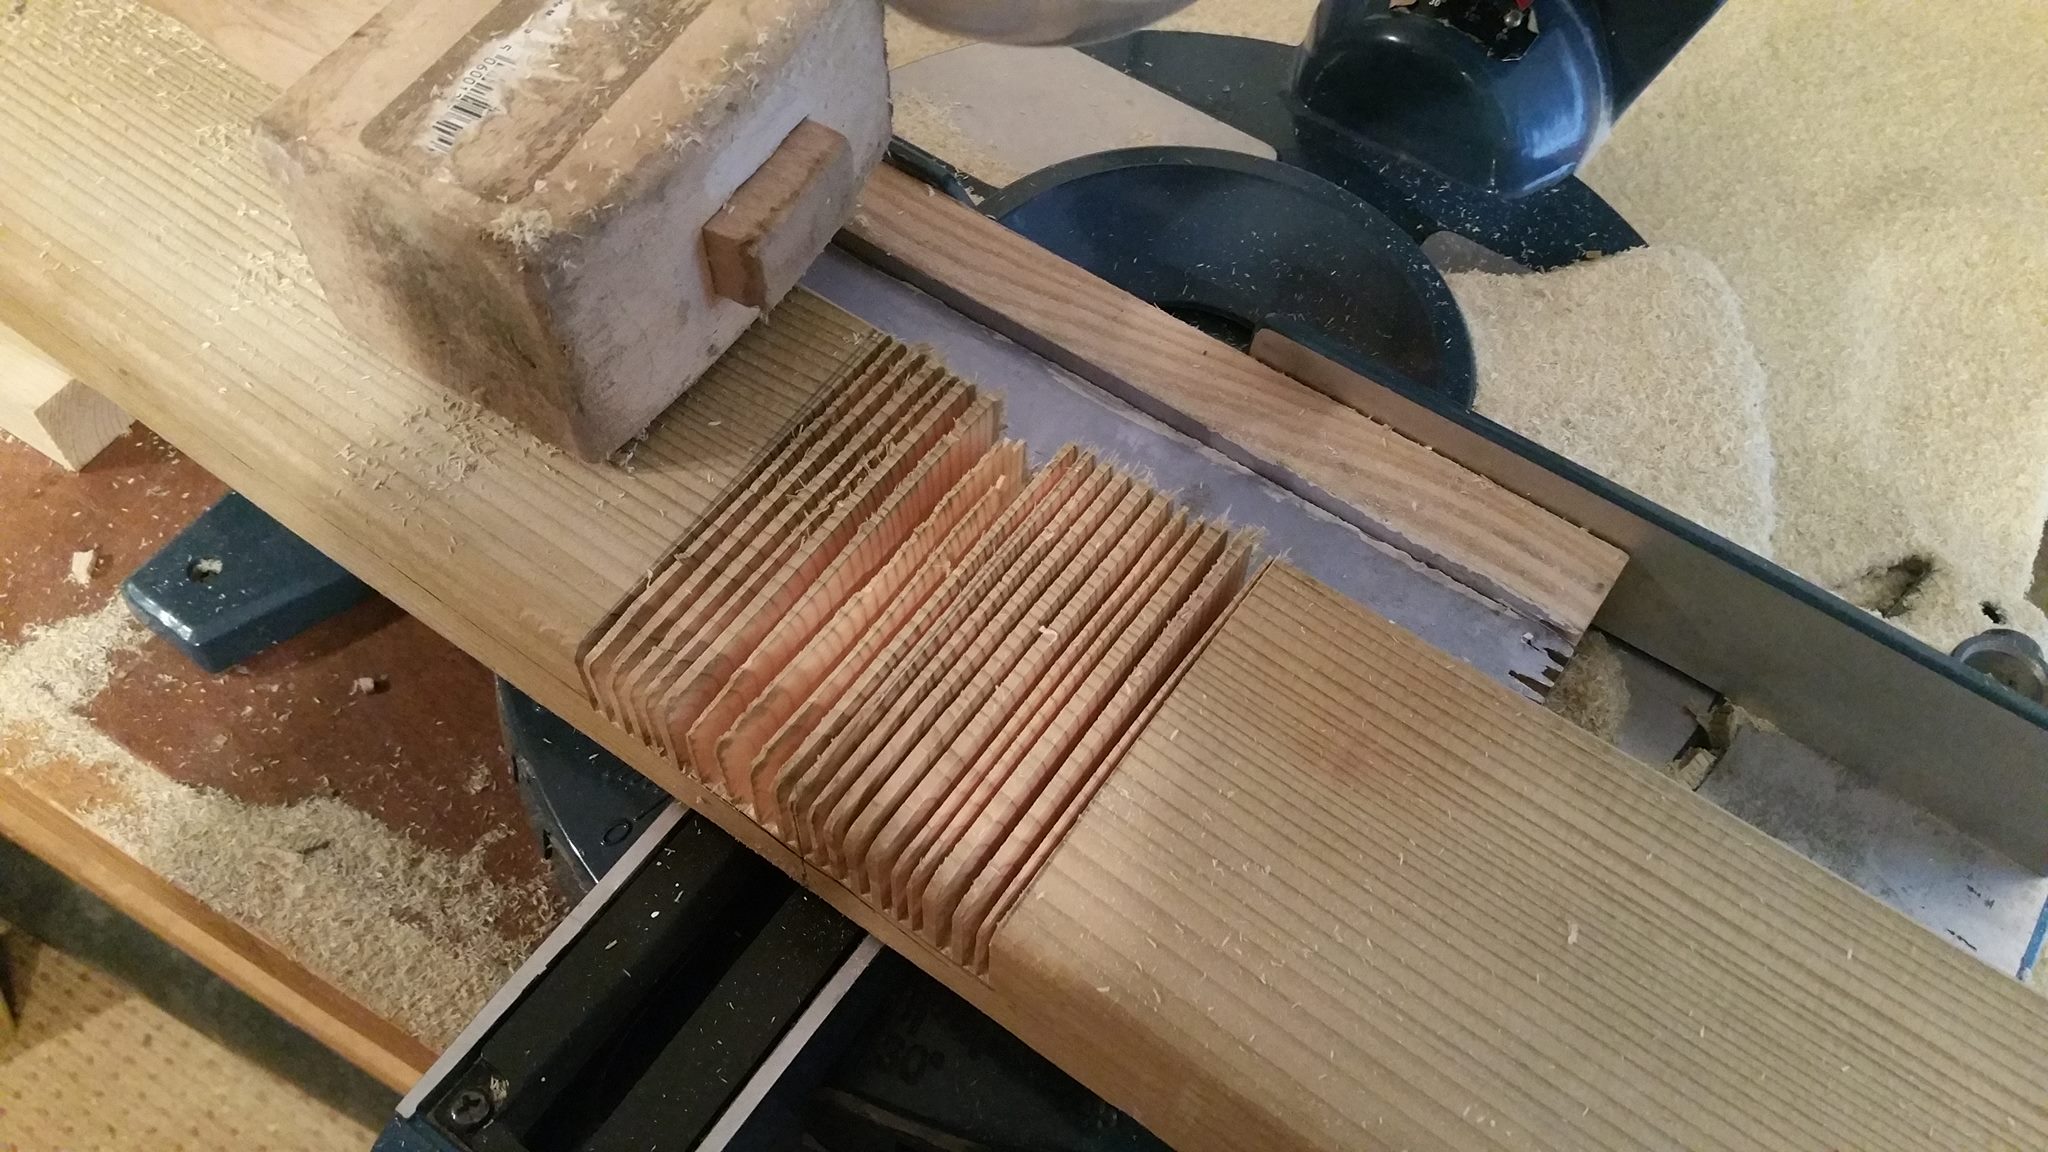
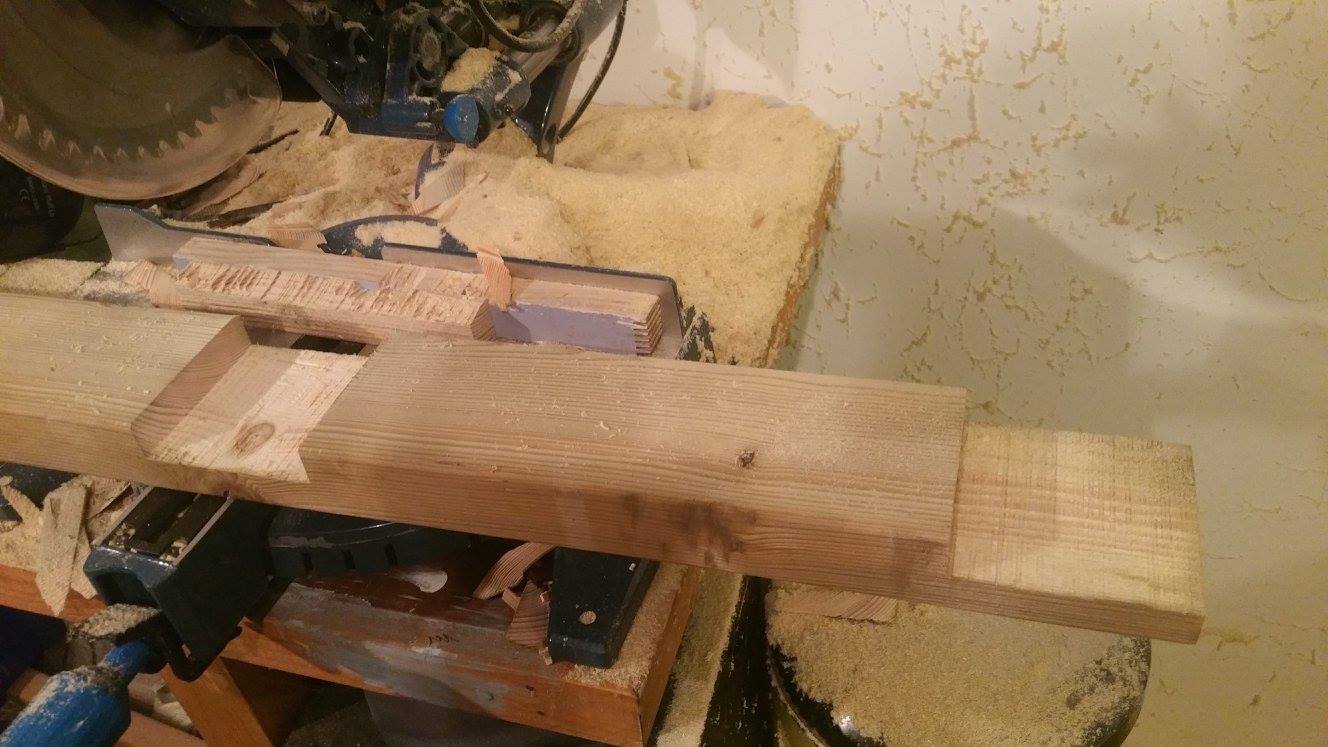
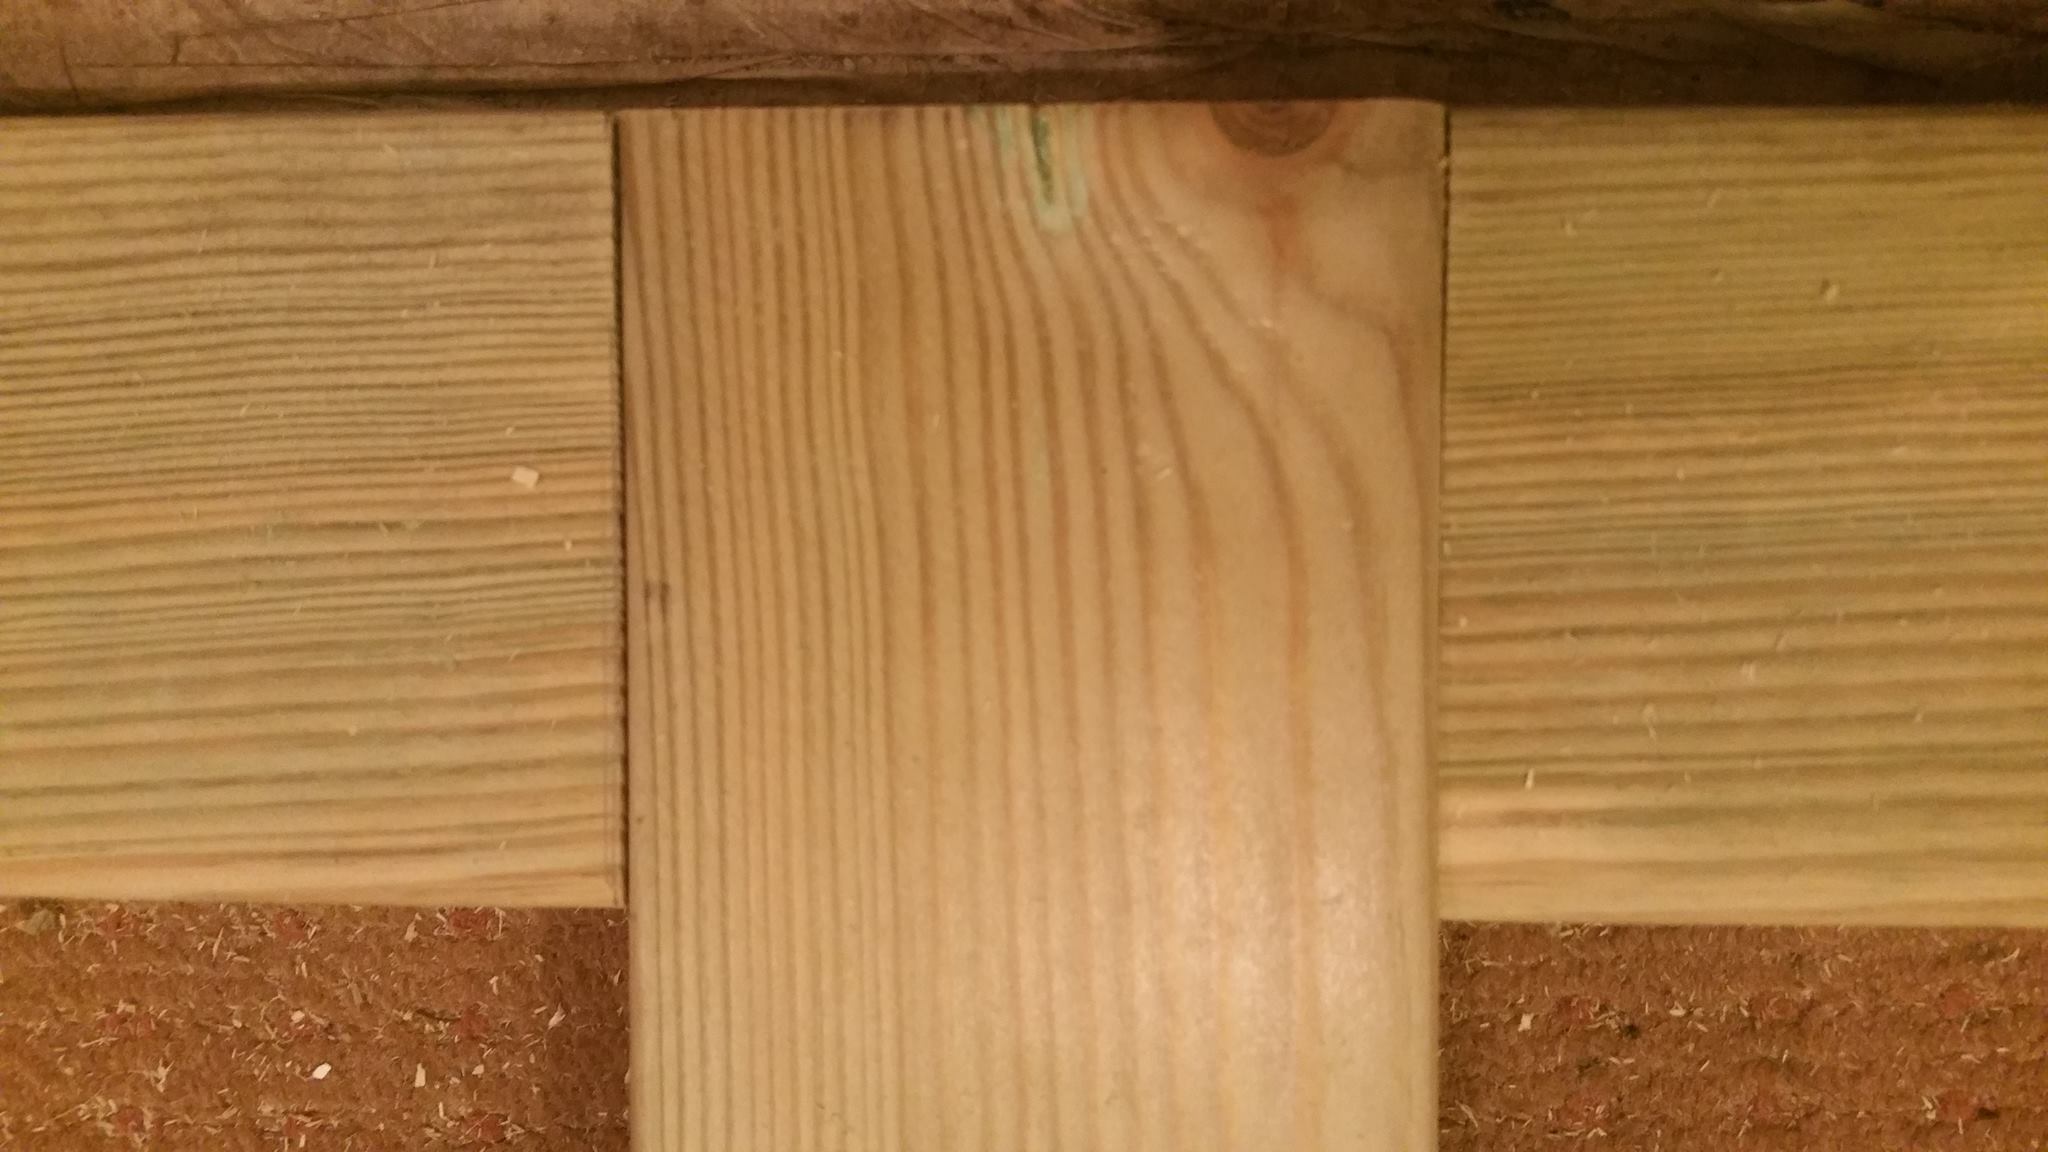
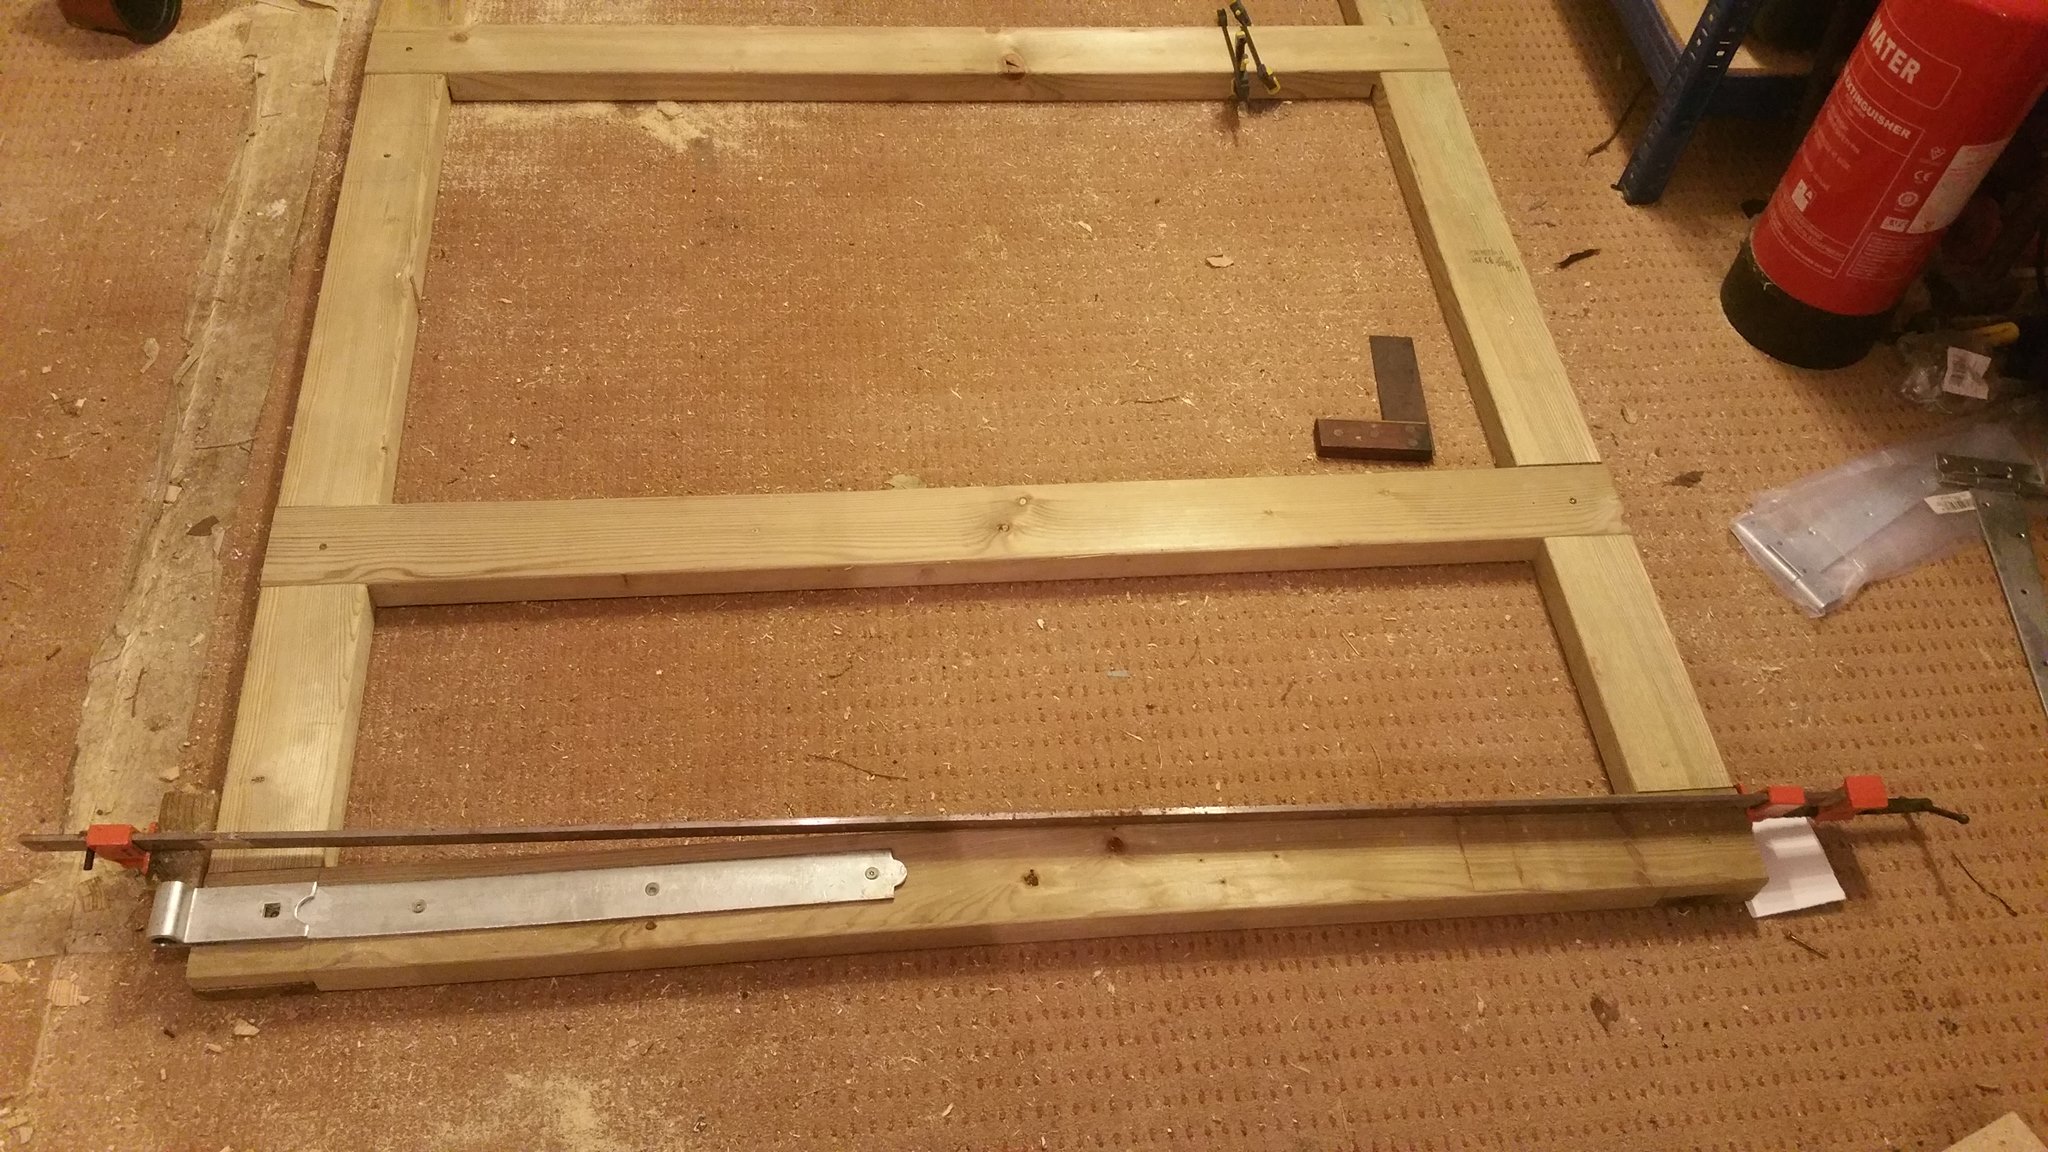
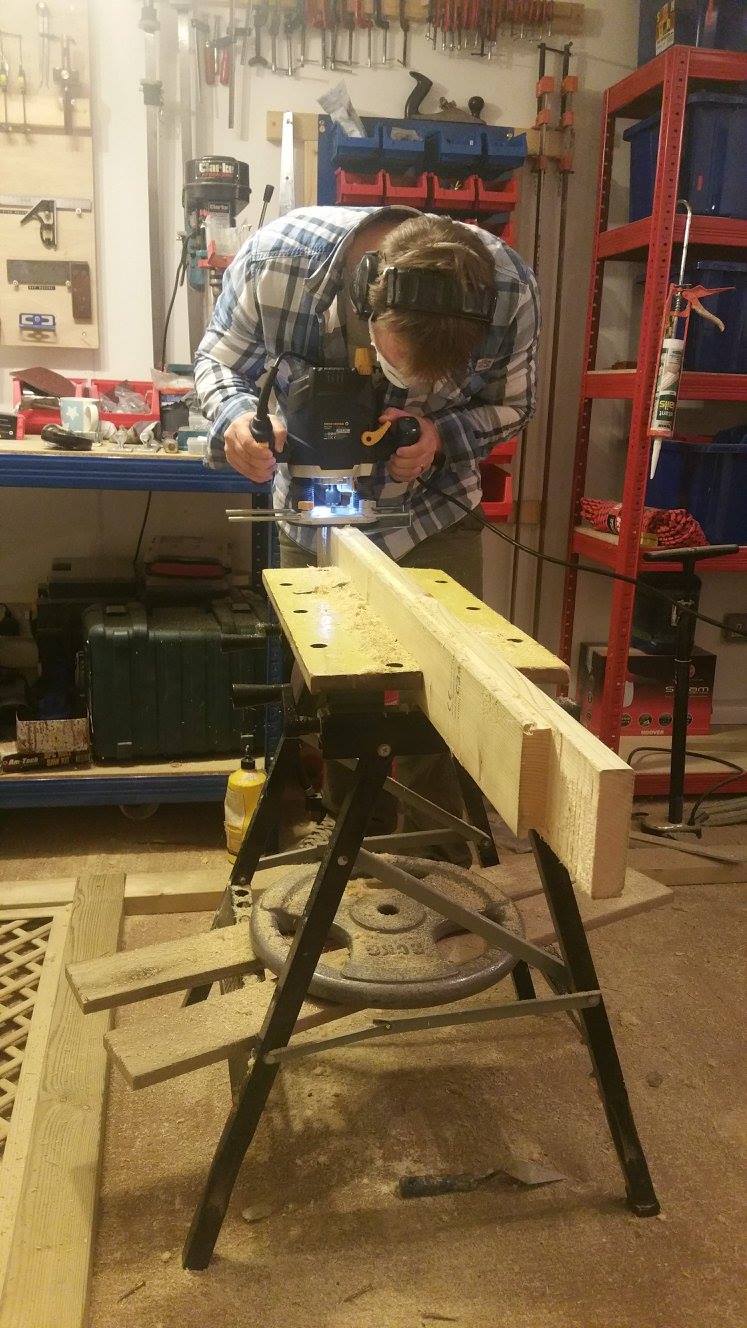
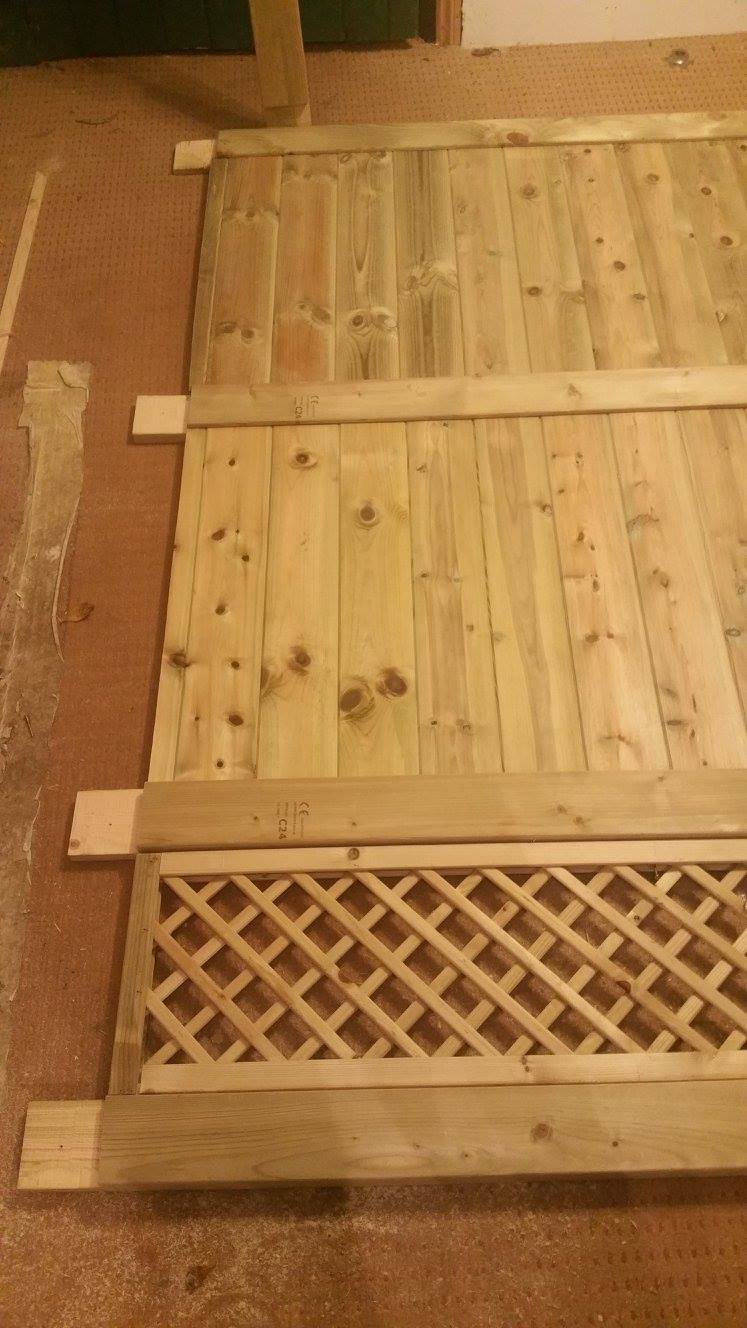
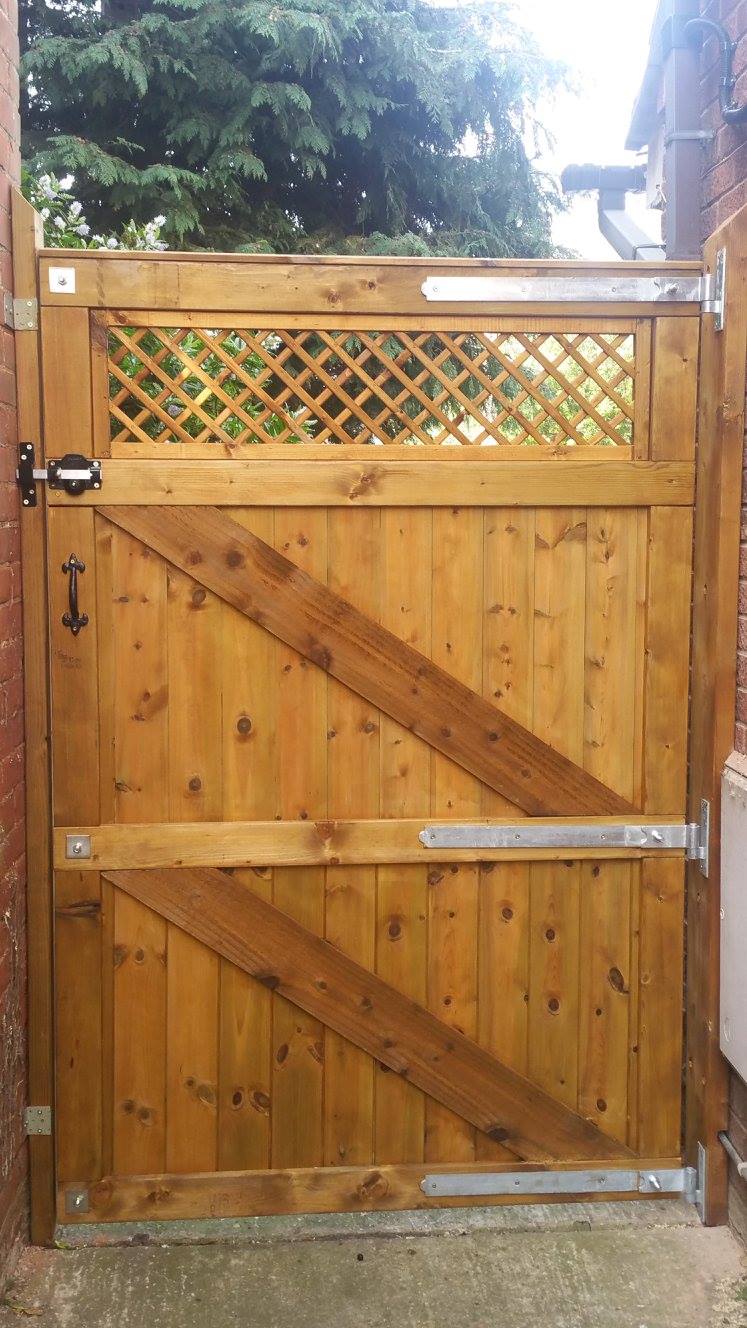
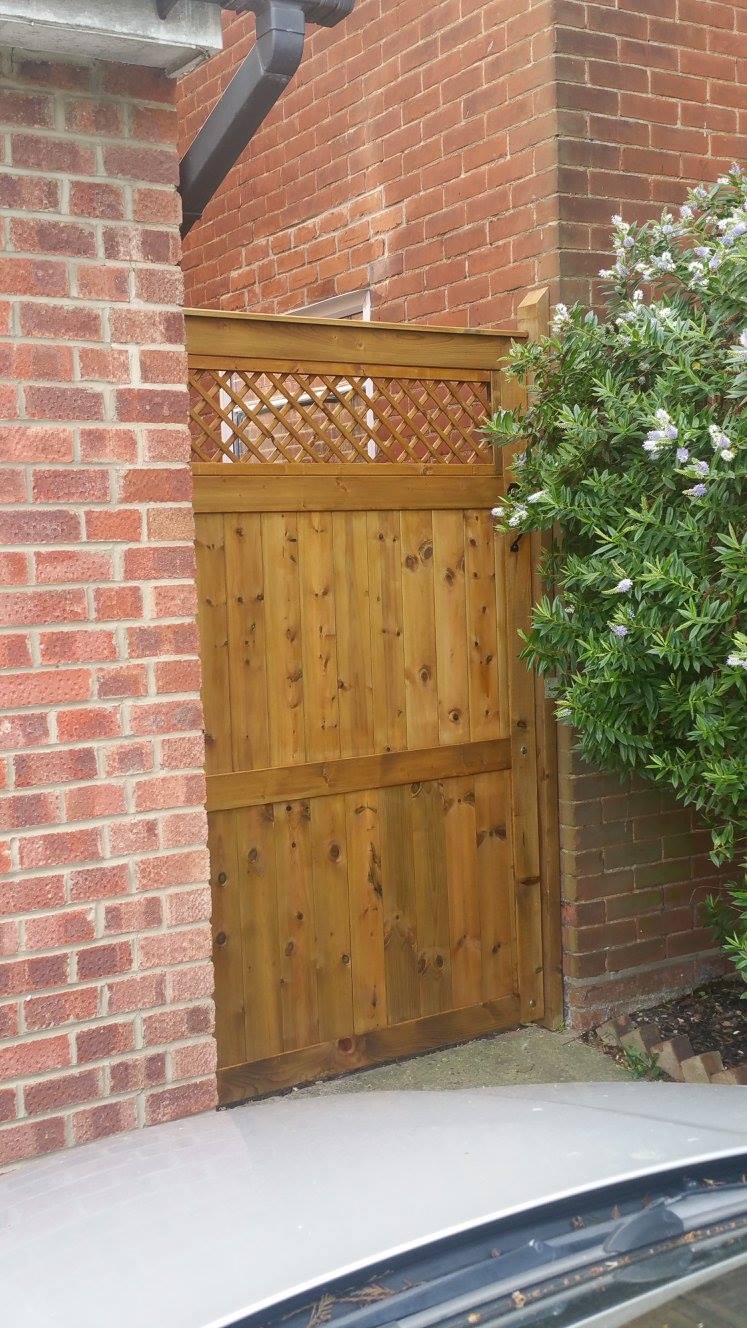
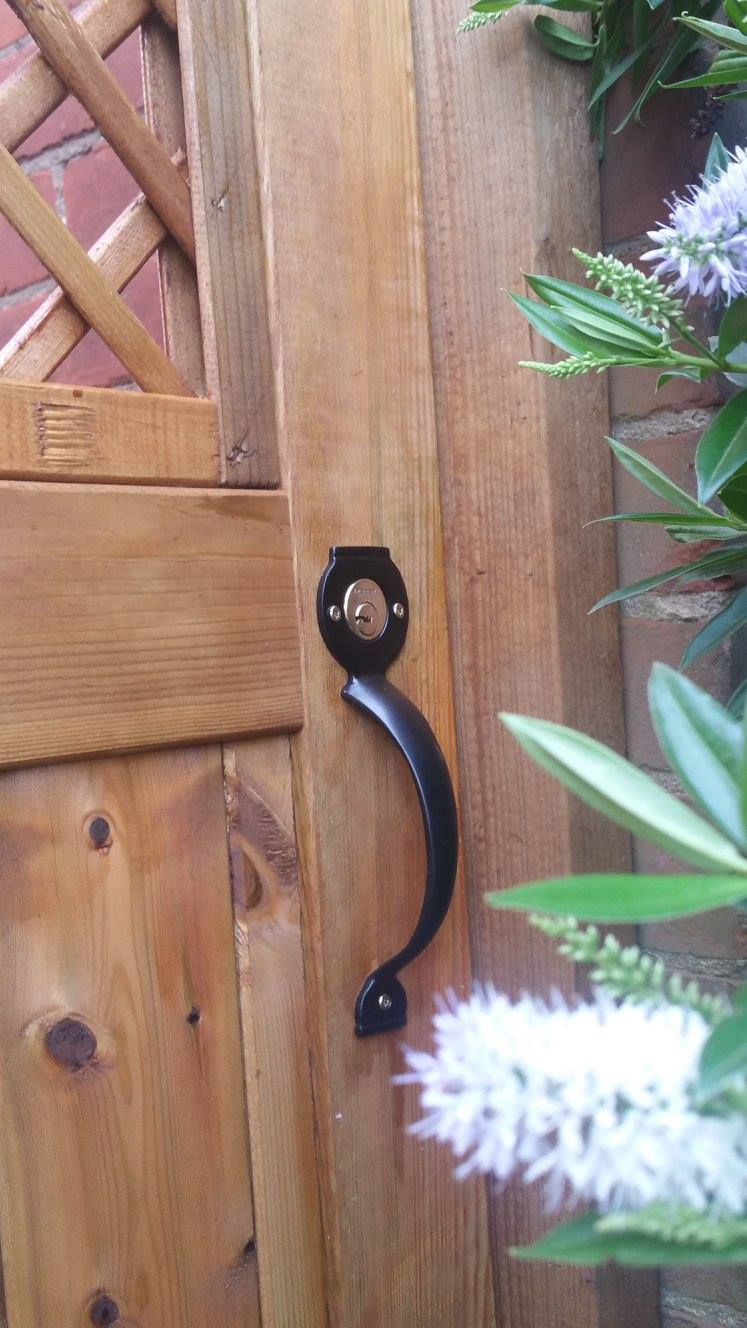
I made this gate about eight years ago. I constructed the frame using lap joints and floating tongue-and-groove boards routed into the stiles and centre support. The floating boards allow for expansion and contraction. Although it was made from pressure-treated timber, I finished it with Sikkens Cetol 7 woodstain.
Tip learned the hard way: modern pressure-treated timber usually contains copper-based preservatives. Copper + moisture + steel screws = electrochemical corrosion. Bright zinc and cheap plated screws are a no-no. Hot-dip galvanised or stainless are better.
Go-kart build
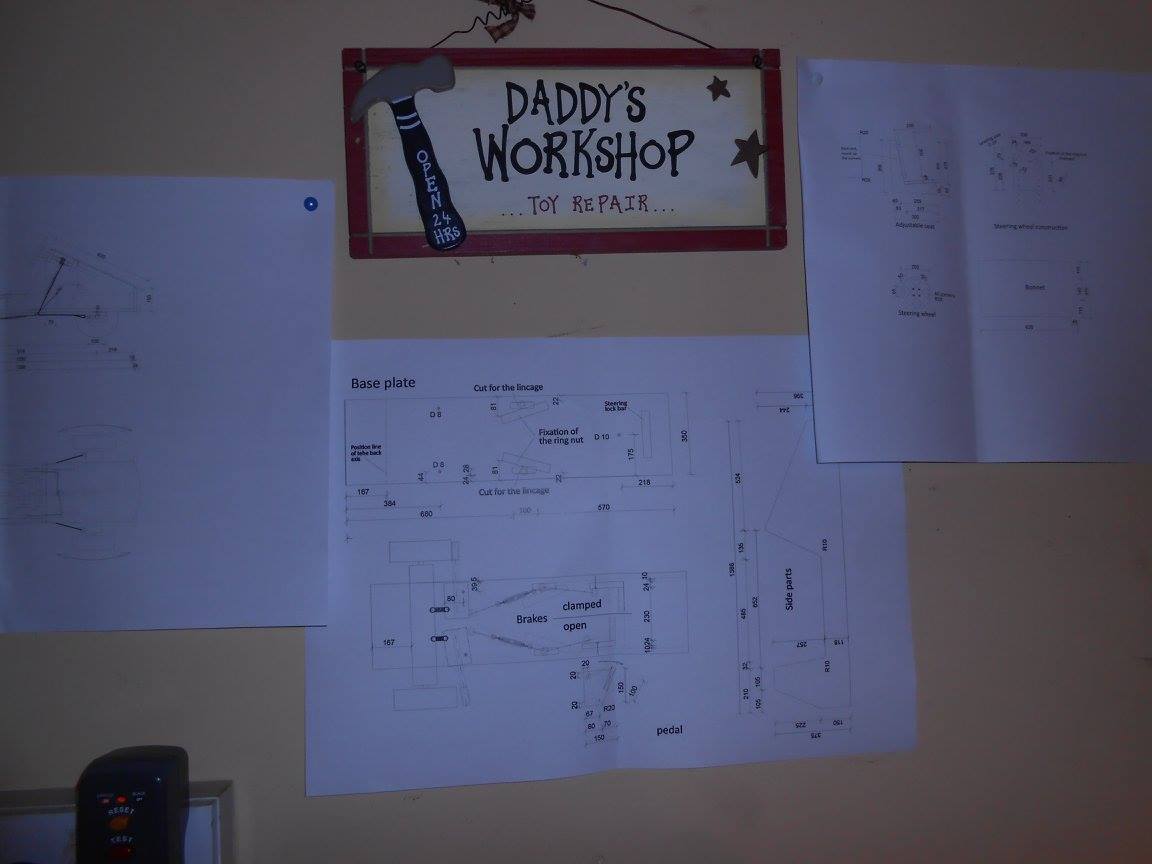
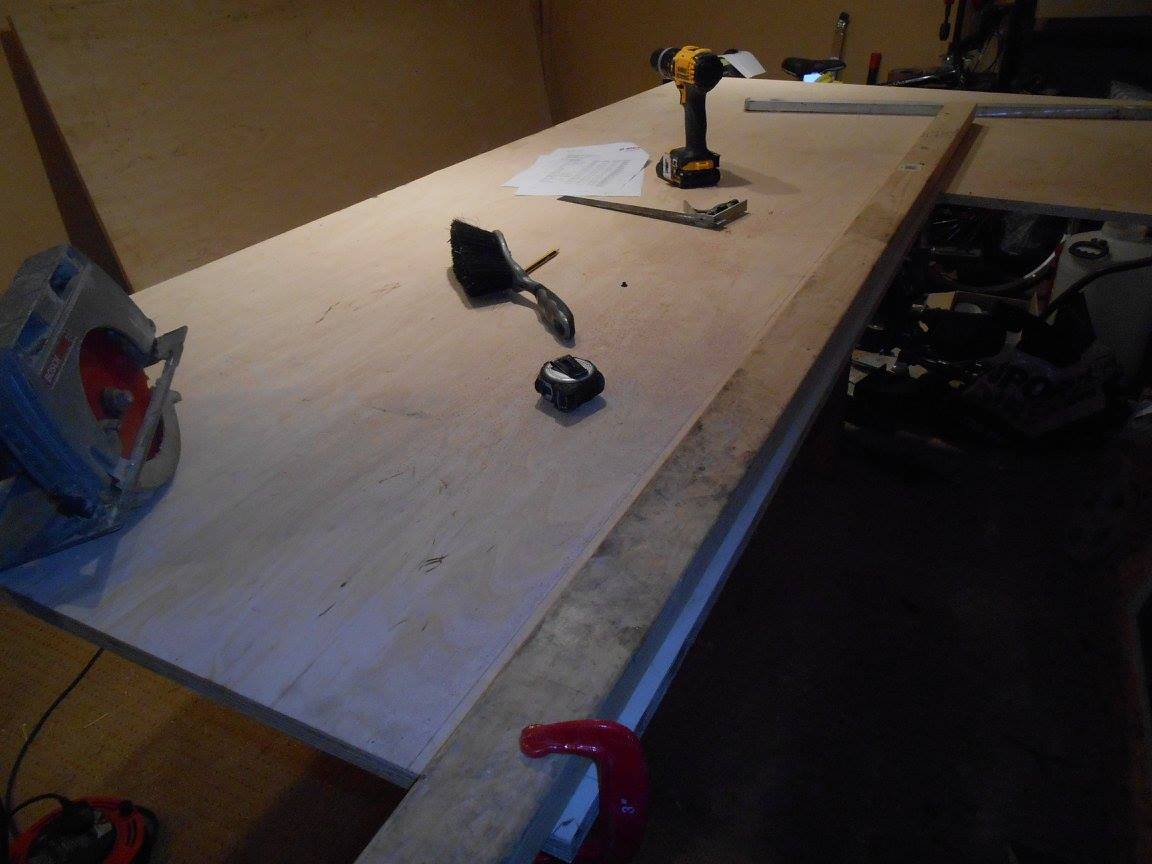
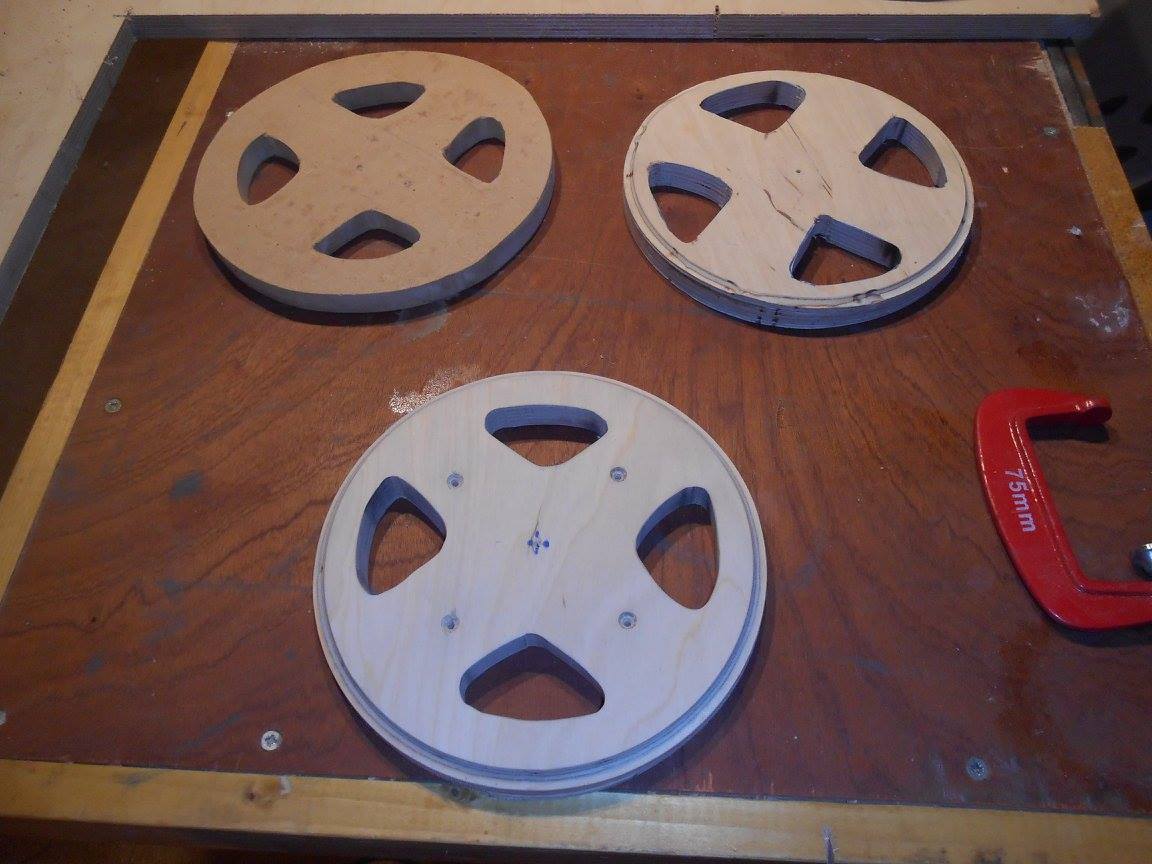
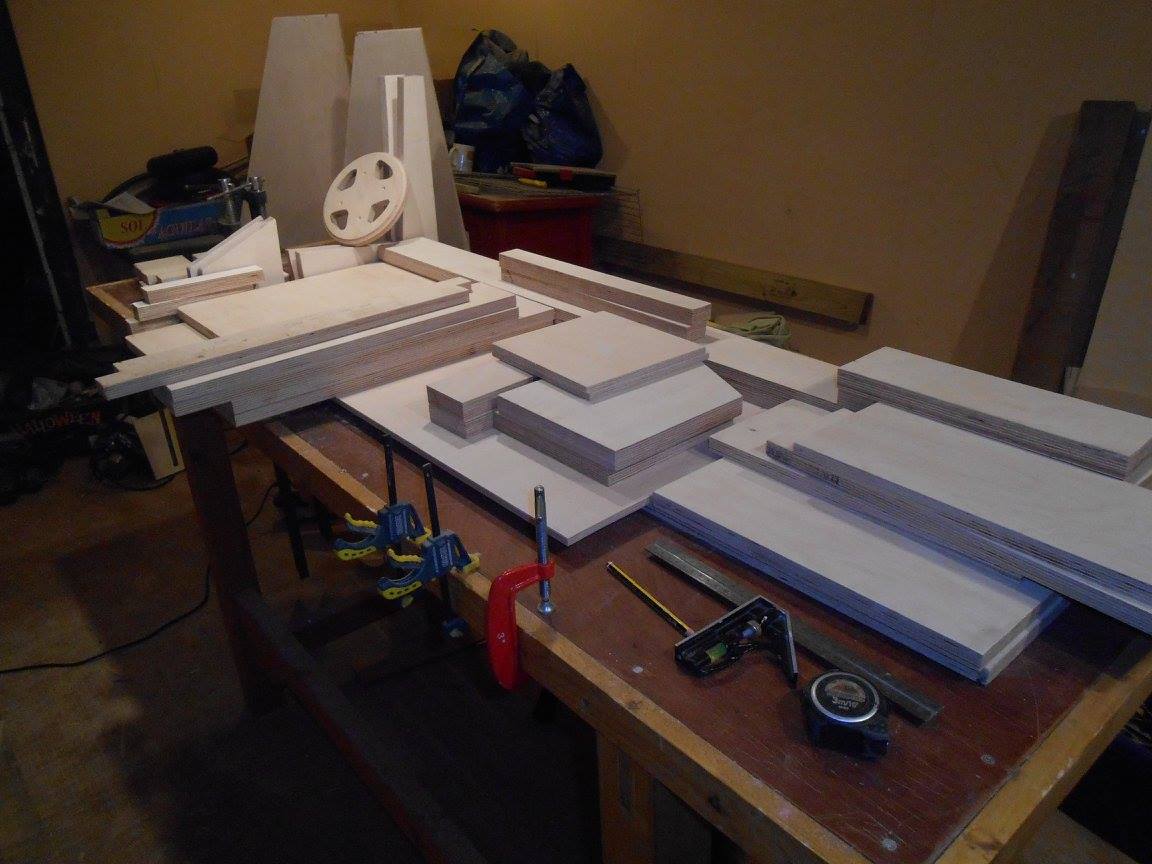
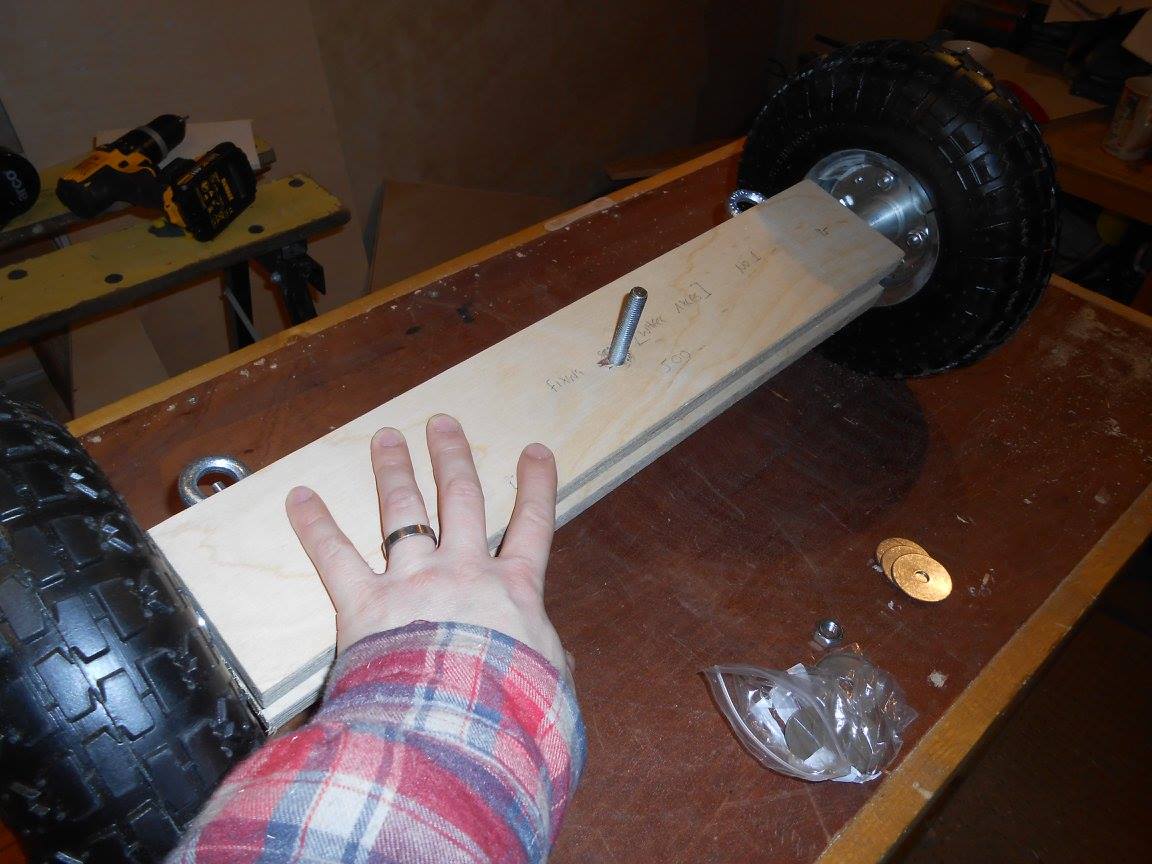
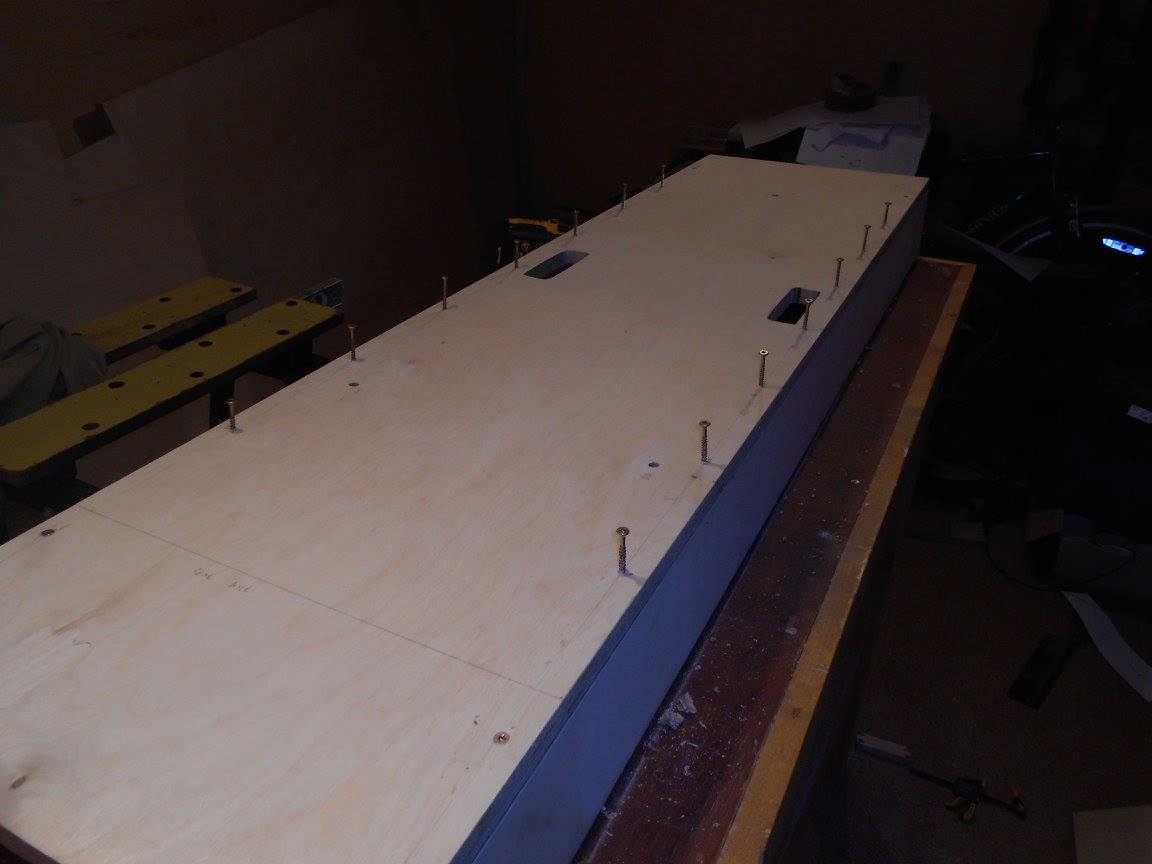
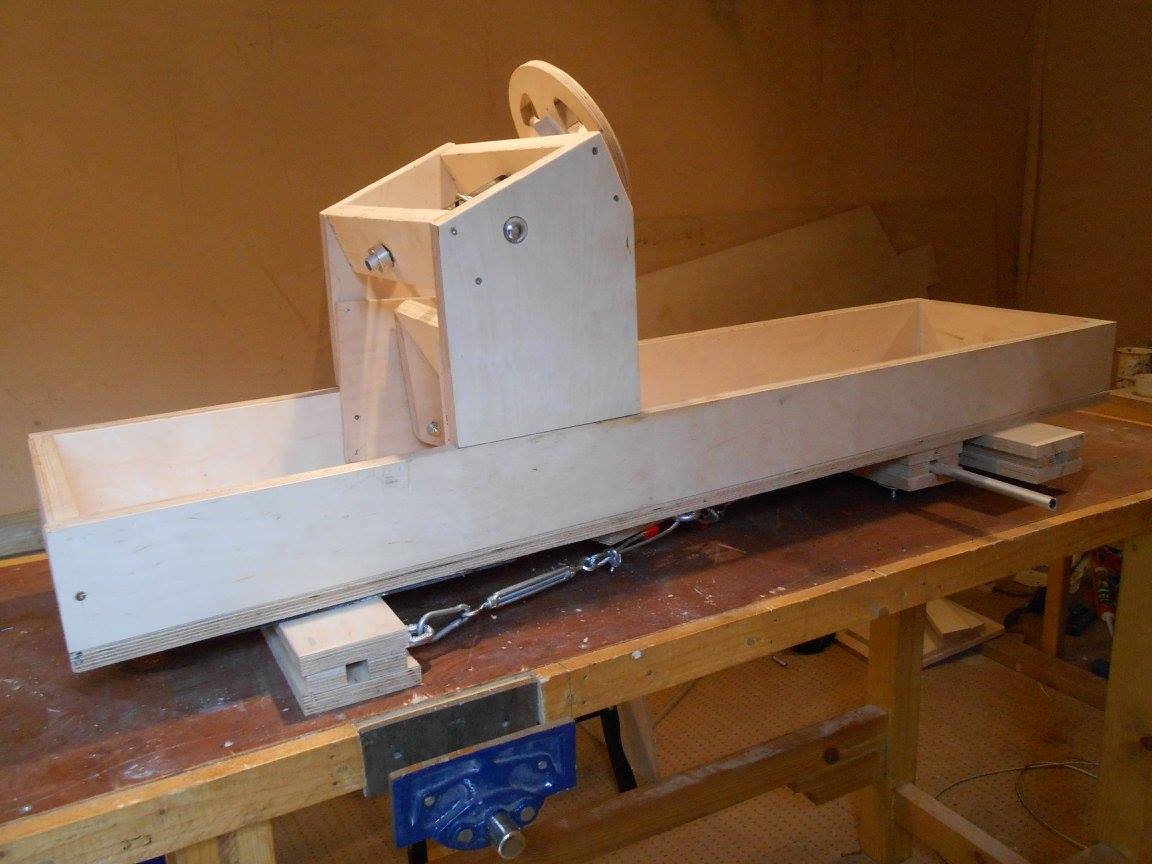
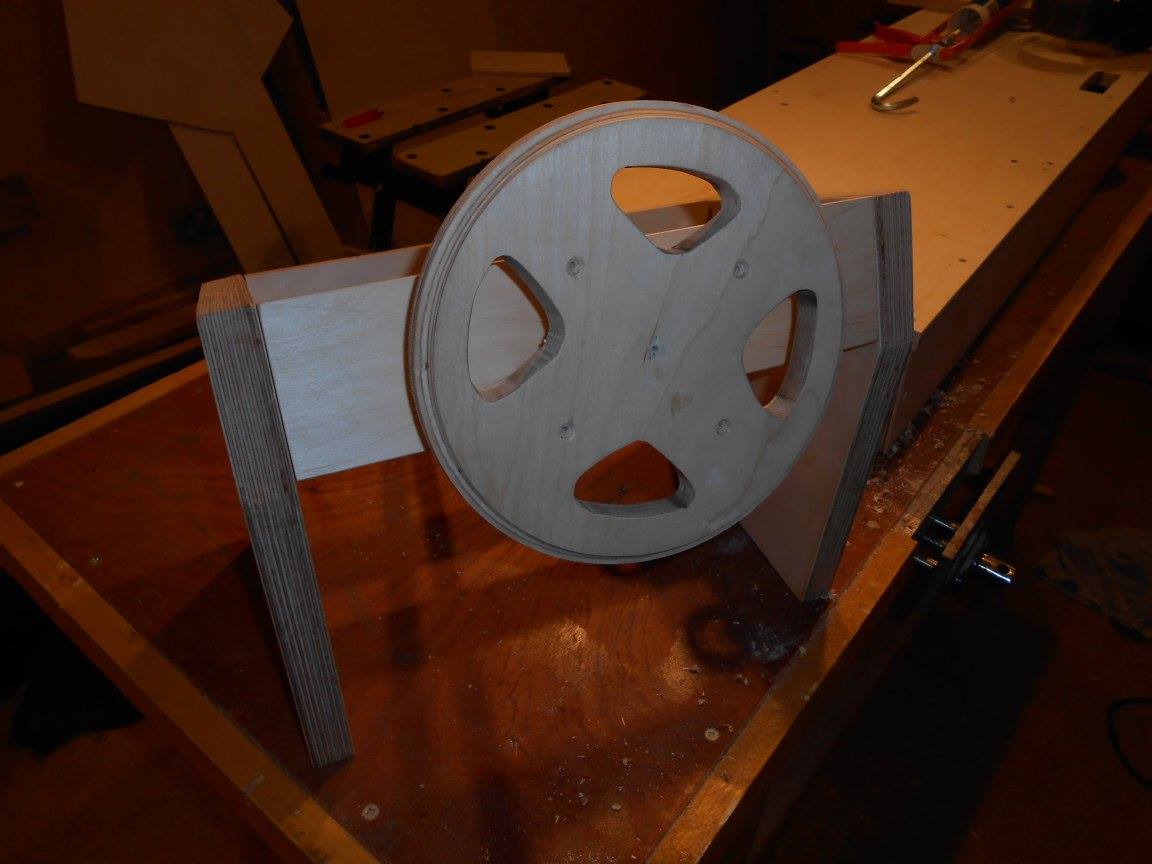
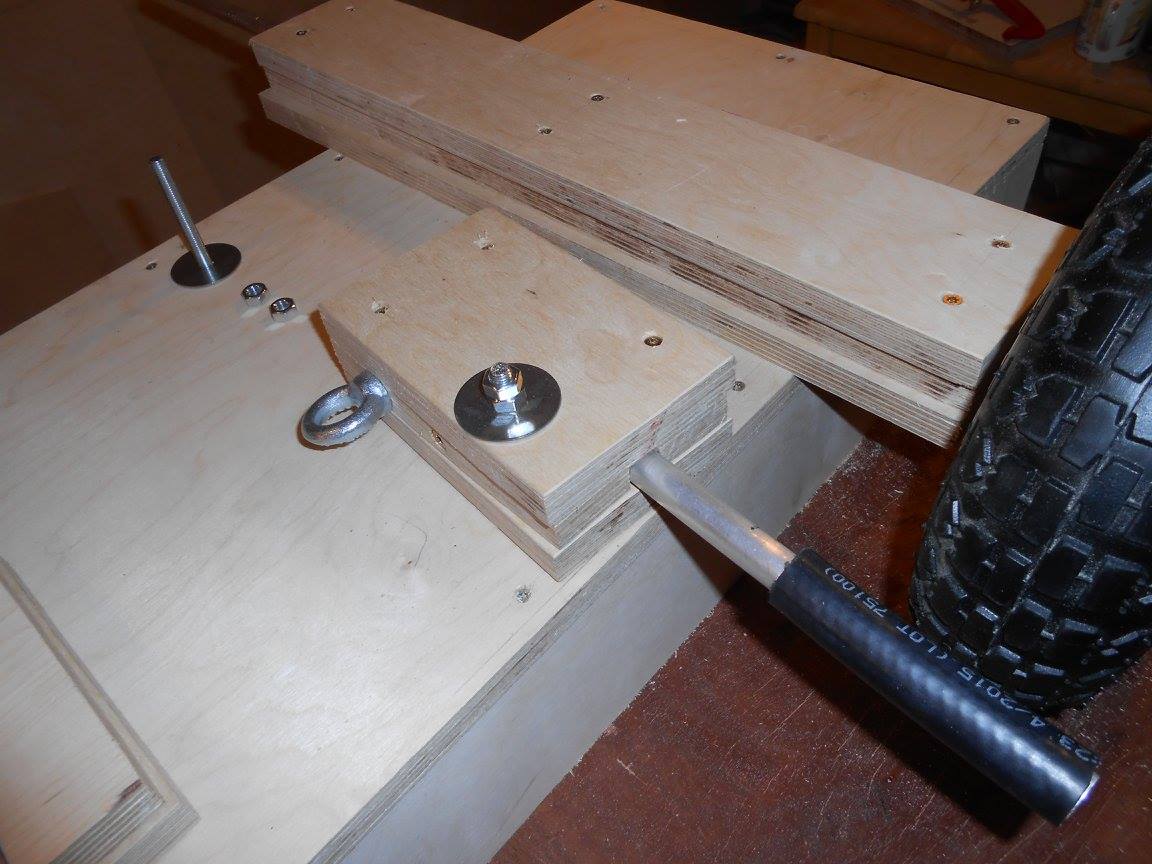
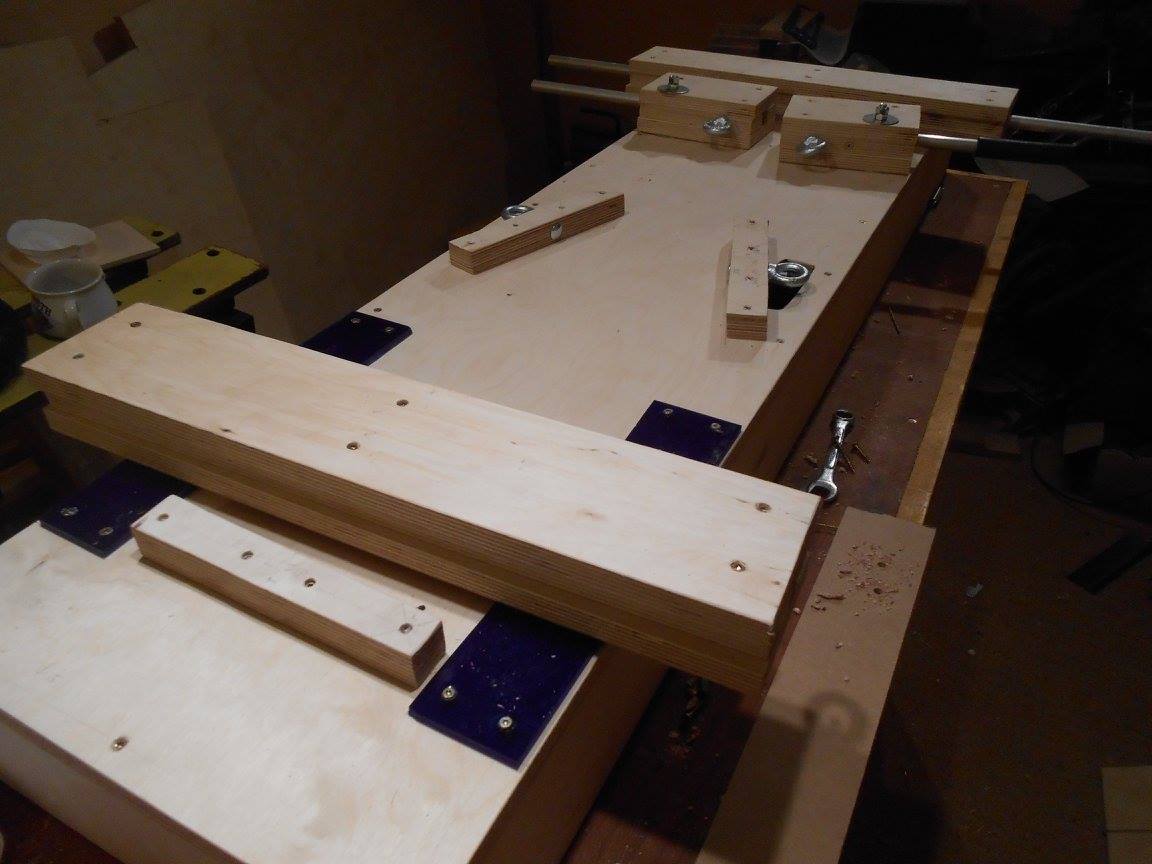
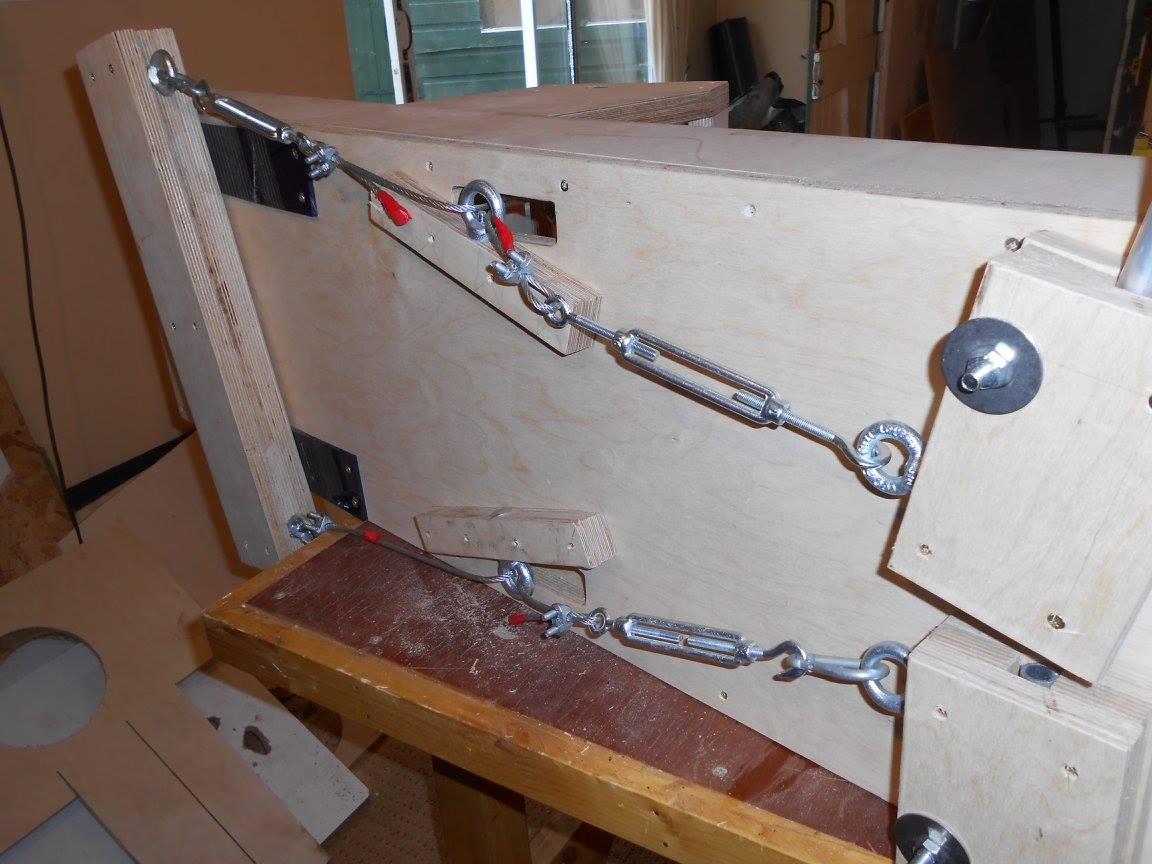
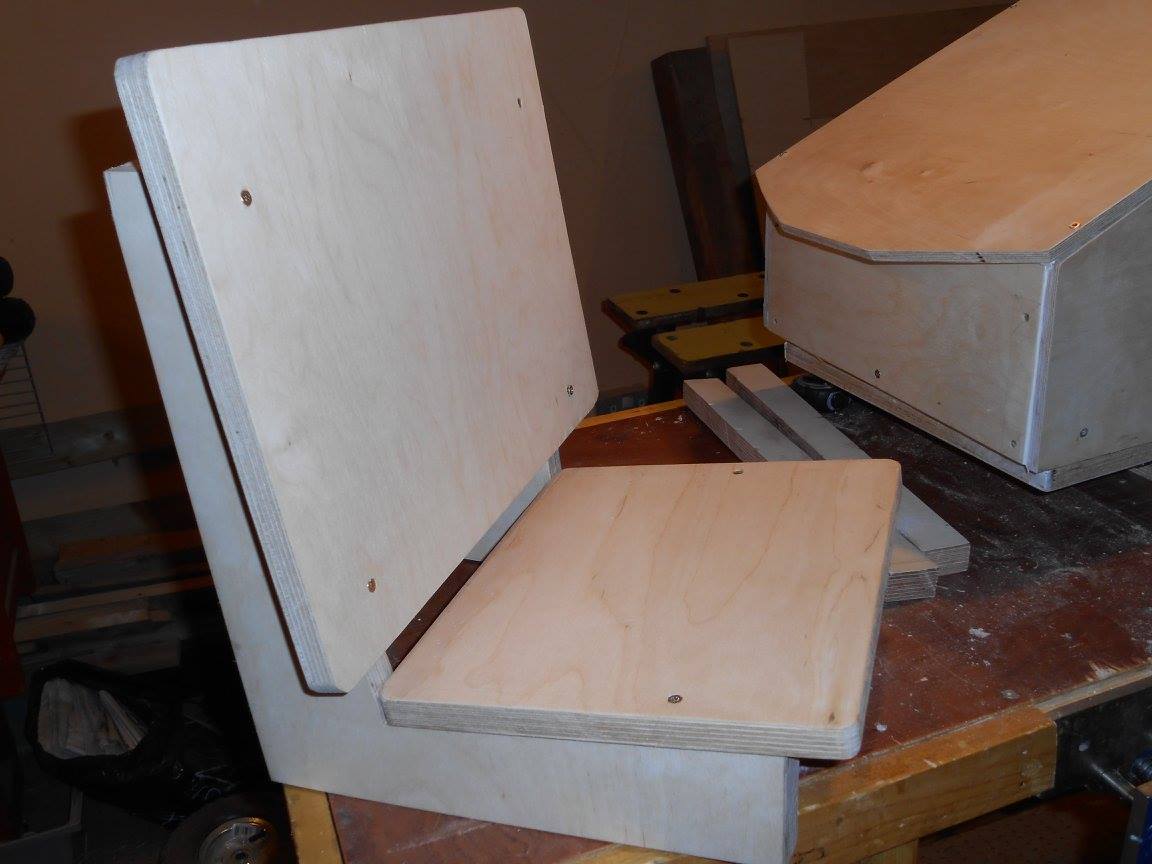
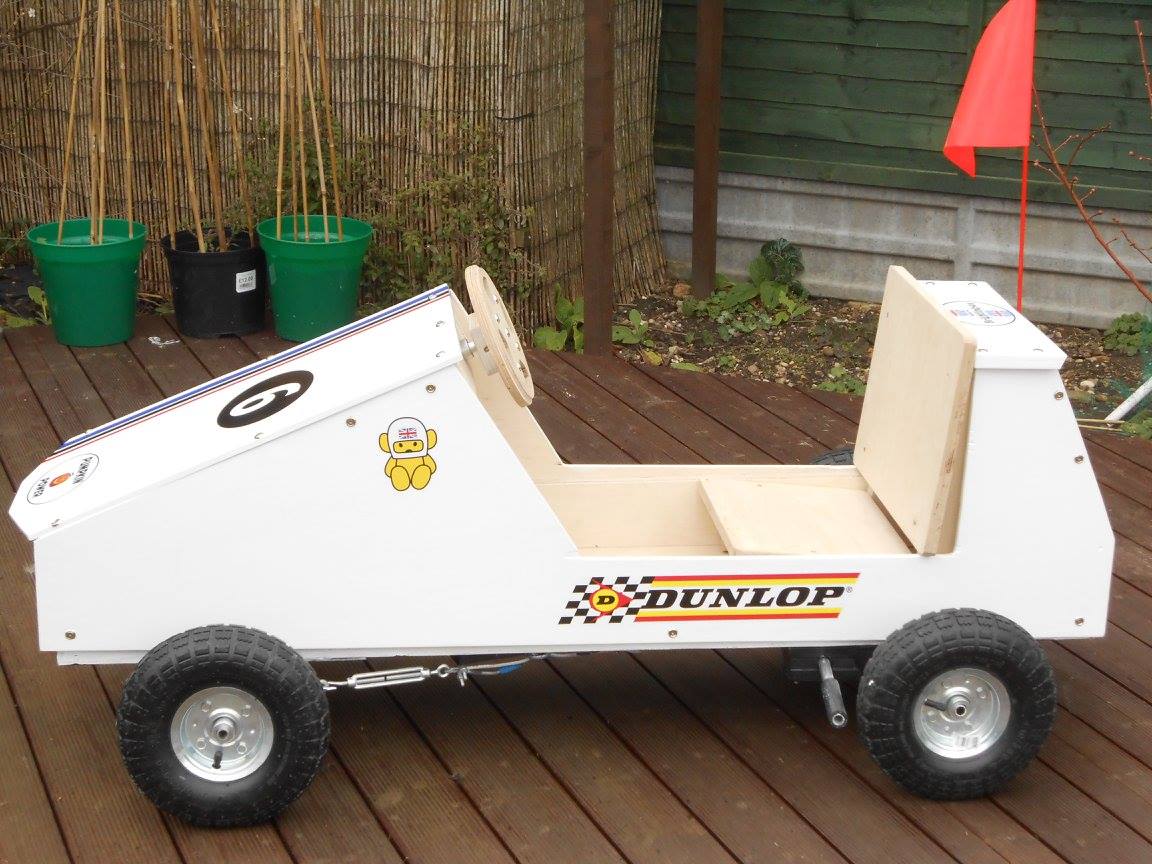
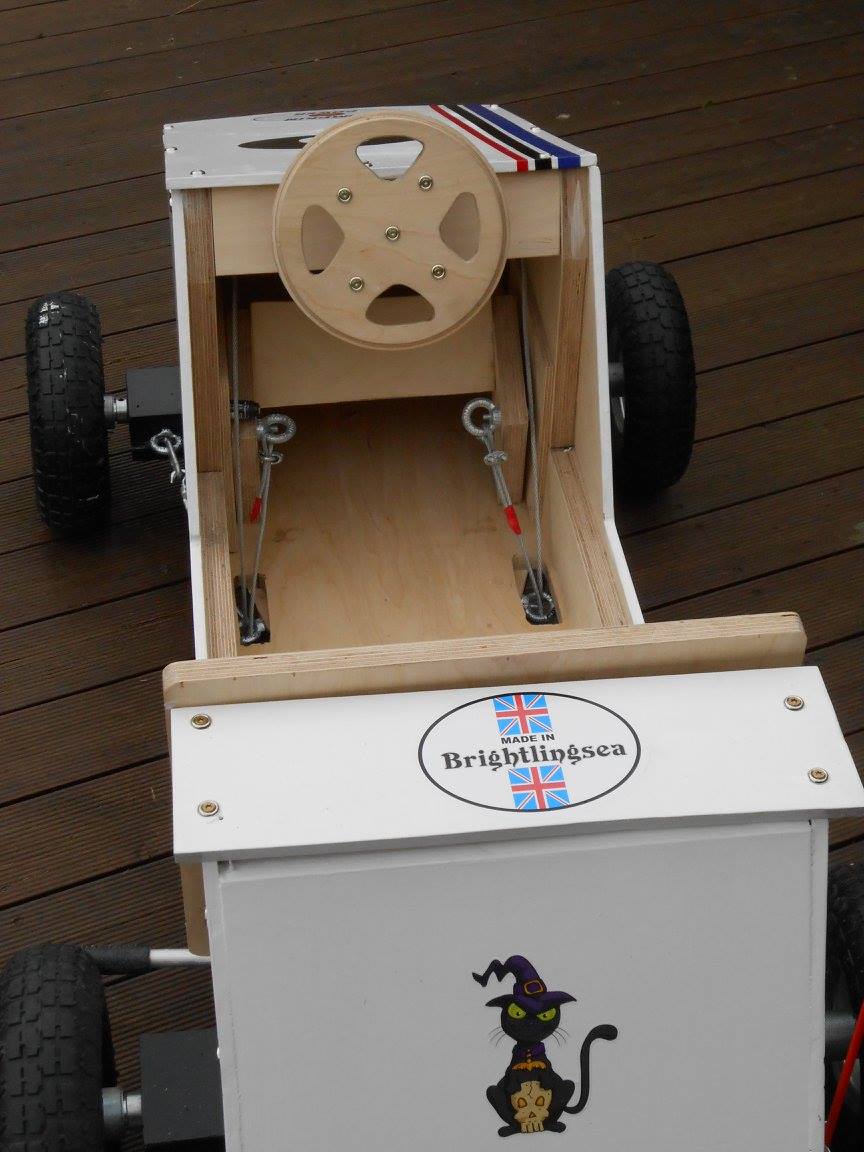
Once upon a time, in a land long before my daughter discovered computer games, she asked for a go-kart. I could have bought something ready-made, but where’s the fun in that? These plans originally came from Bosch Tools.
Christmas projects
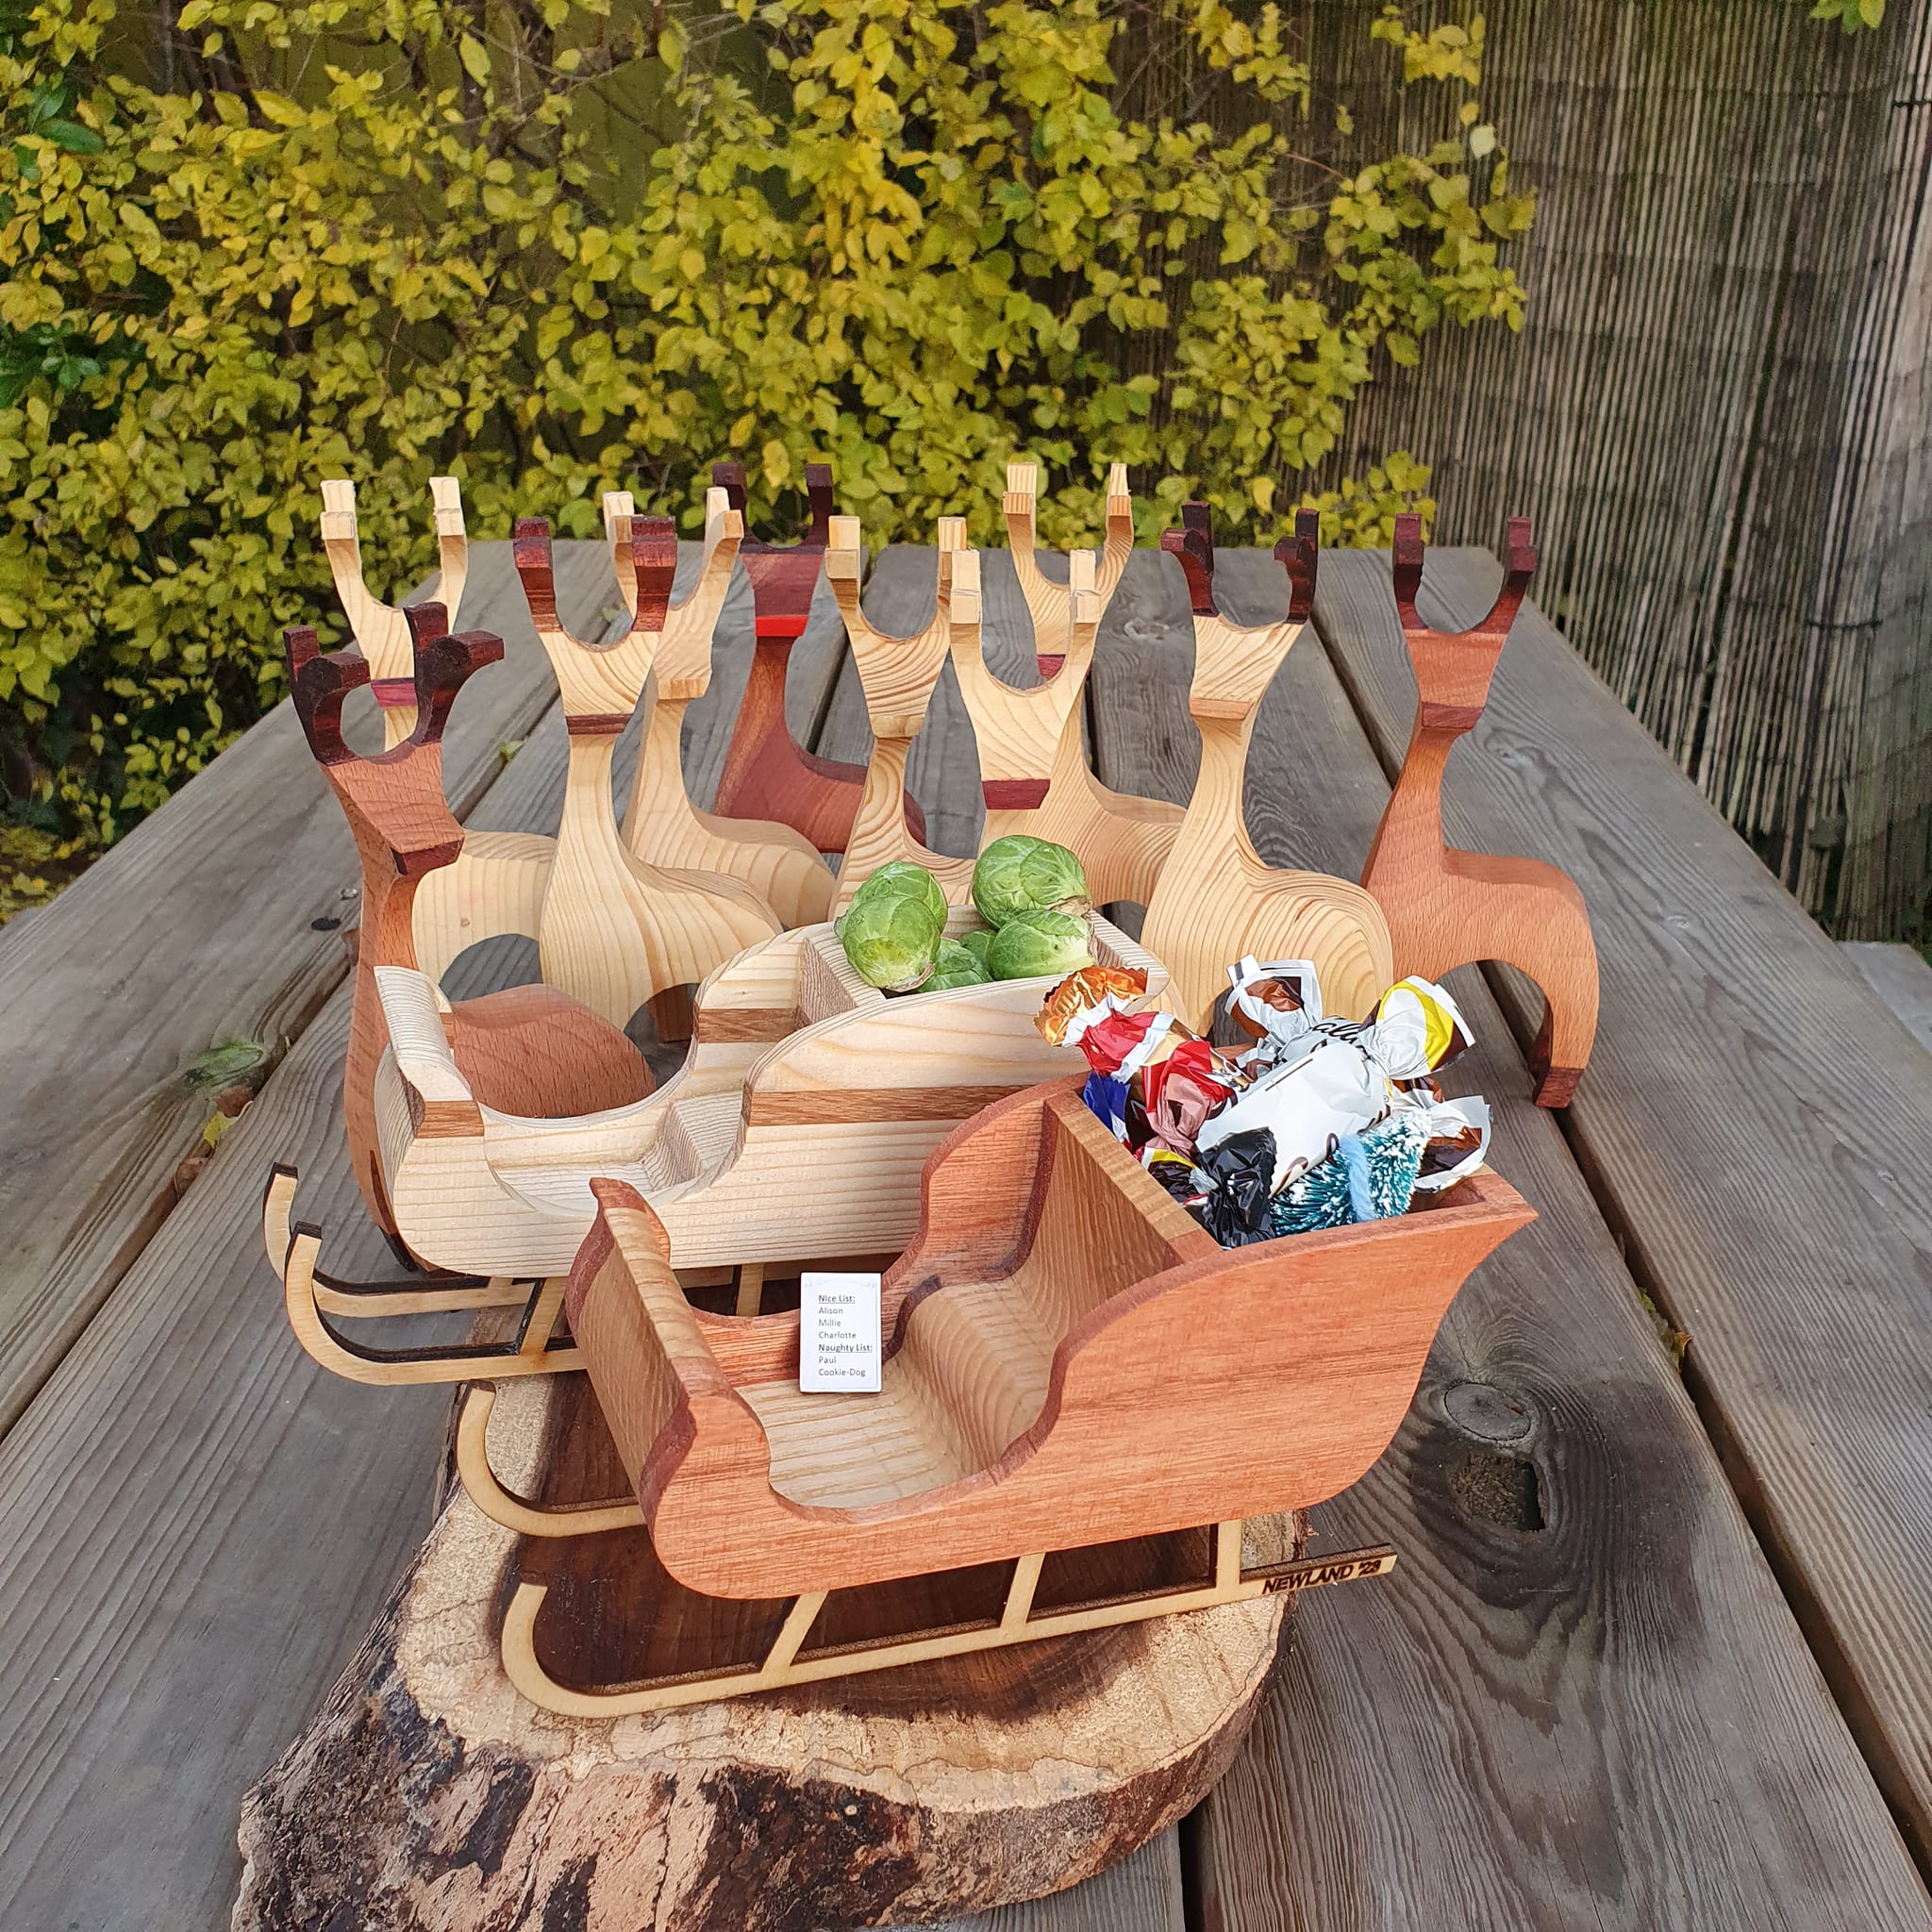
Small seasonal decorations and gifts. I’m working on my own designs, possibly to sell for a few pennies if they’re good enough. The examples below are bandsaw reindeer, sleighs and elves that I made from plans by Nick Engler. His plans are available from workshopcompanion.com.